#75 bad luck

I know, I'm terribly late, over 2 weeks. I'm sorry.


During the first one, I was hiding. Mostly from myself. There are times when you would rather be someone else... or not be entirely. I'm just like that, but it does not mean I should stop trying.
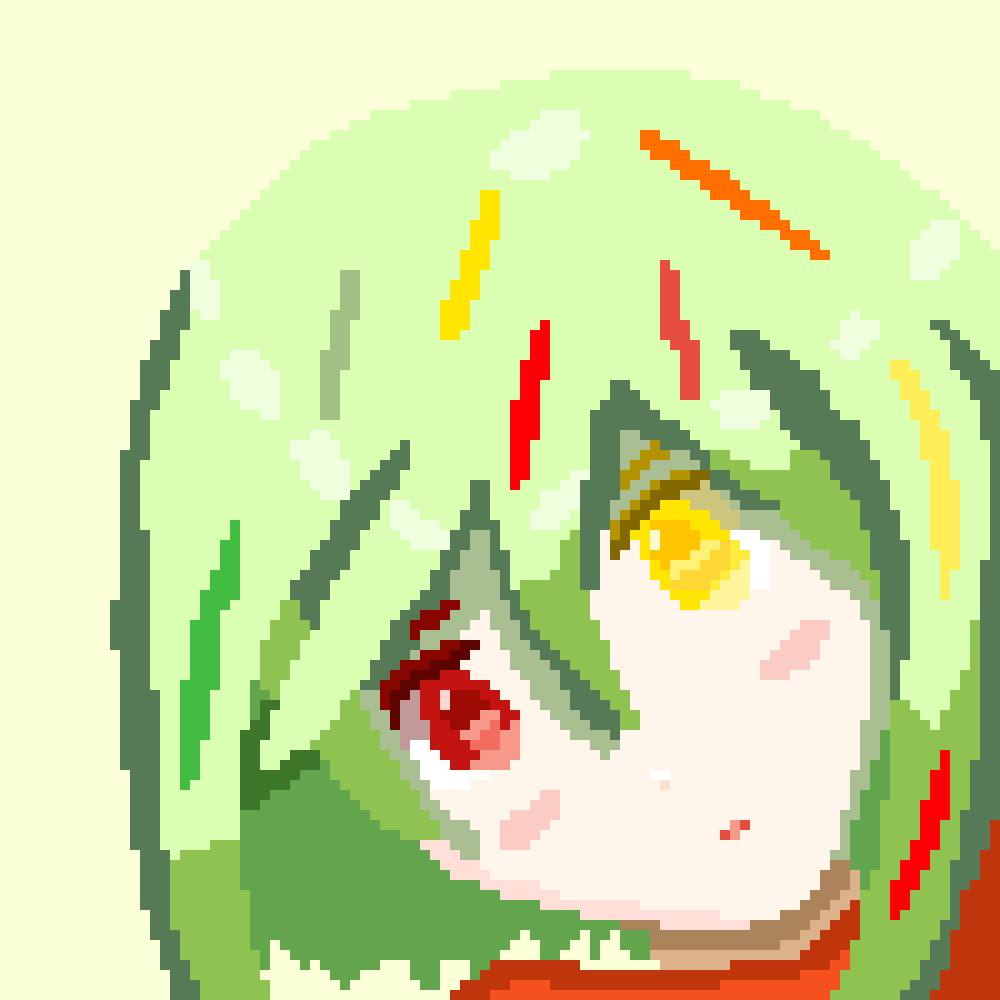
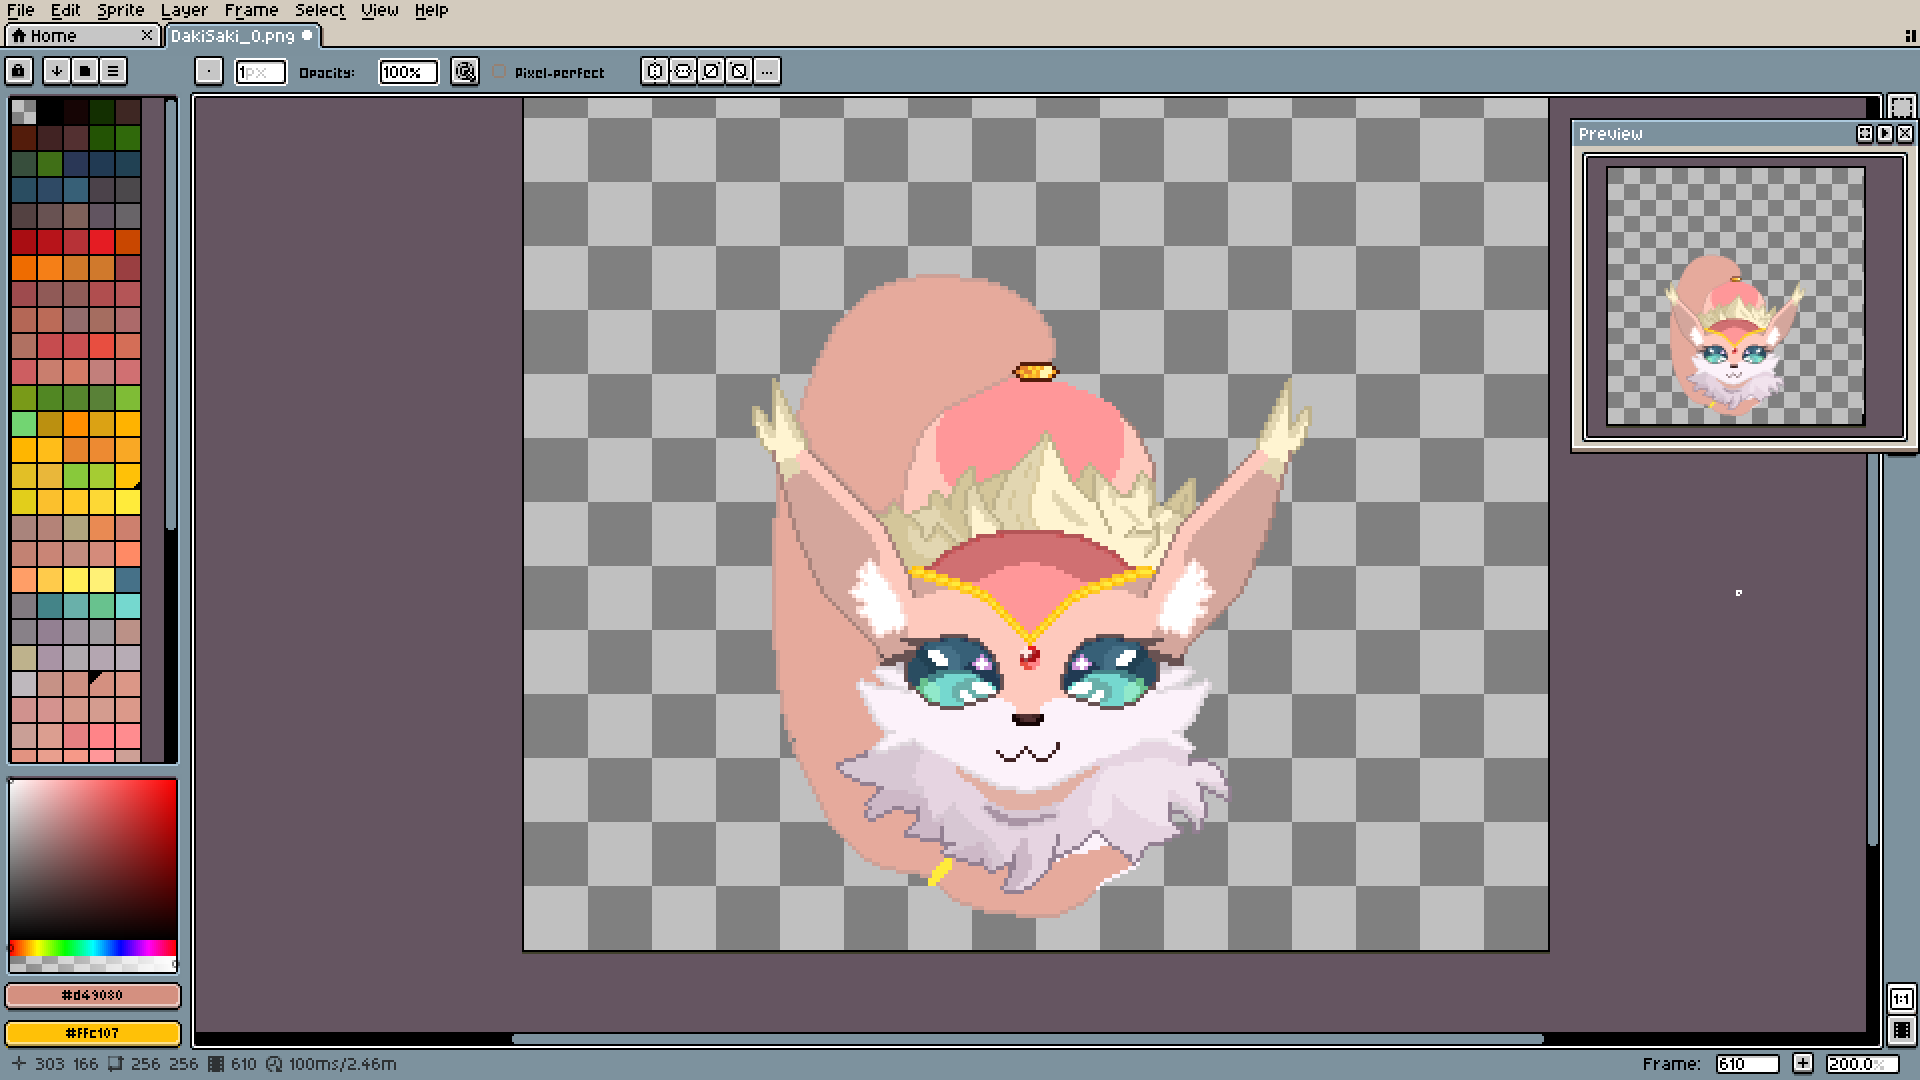
The second week was committed to the pixel you see above. It took 3 days and
14-15 hours of work in total. It was made to celebrate someone without whose help I don't think I would have even survived my first year of this project. Endless acceptance and support, even for my first uncertain steps. And especially one message I still have on my desktop and read every time I feel like giving up.
That's why I had to make this my biggest and most polished pixel yet. After all, this is still my goal: learn how to make great things to thank people who deserve it.
To compensate for the lack of posts, I will try my very best to explain everything on this pixel with details. I feel like this is the time when you can finally really learn something from me.

Yep, the explanation will be that detailed.
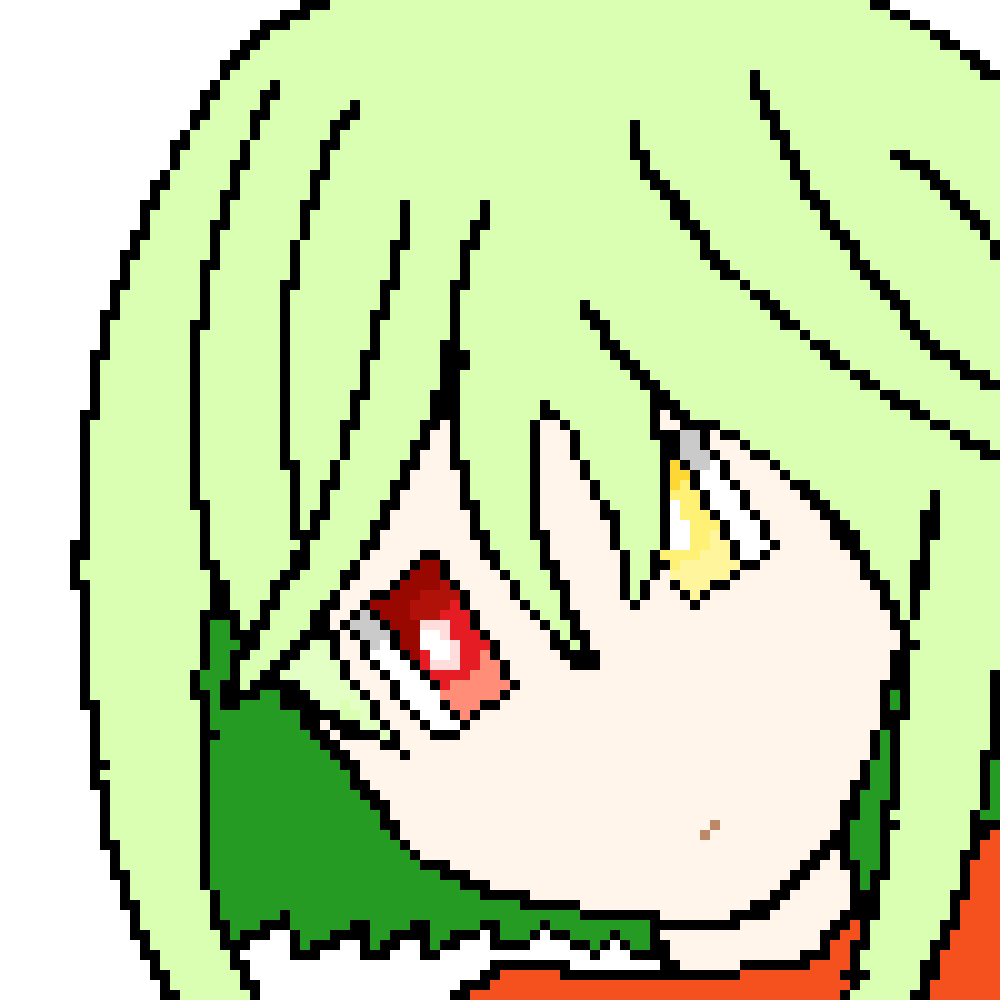
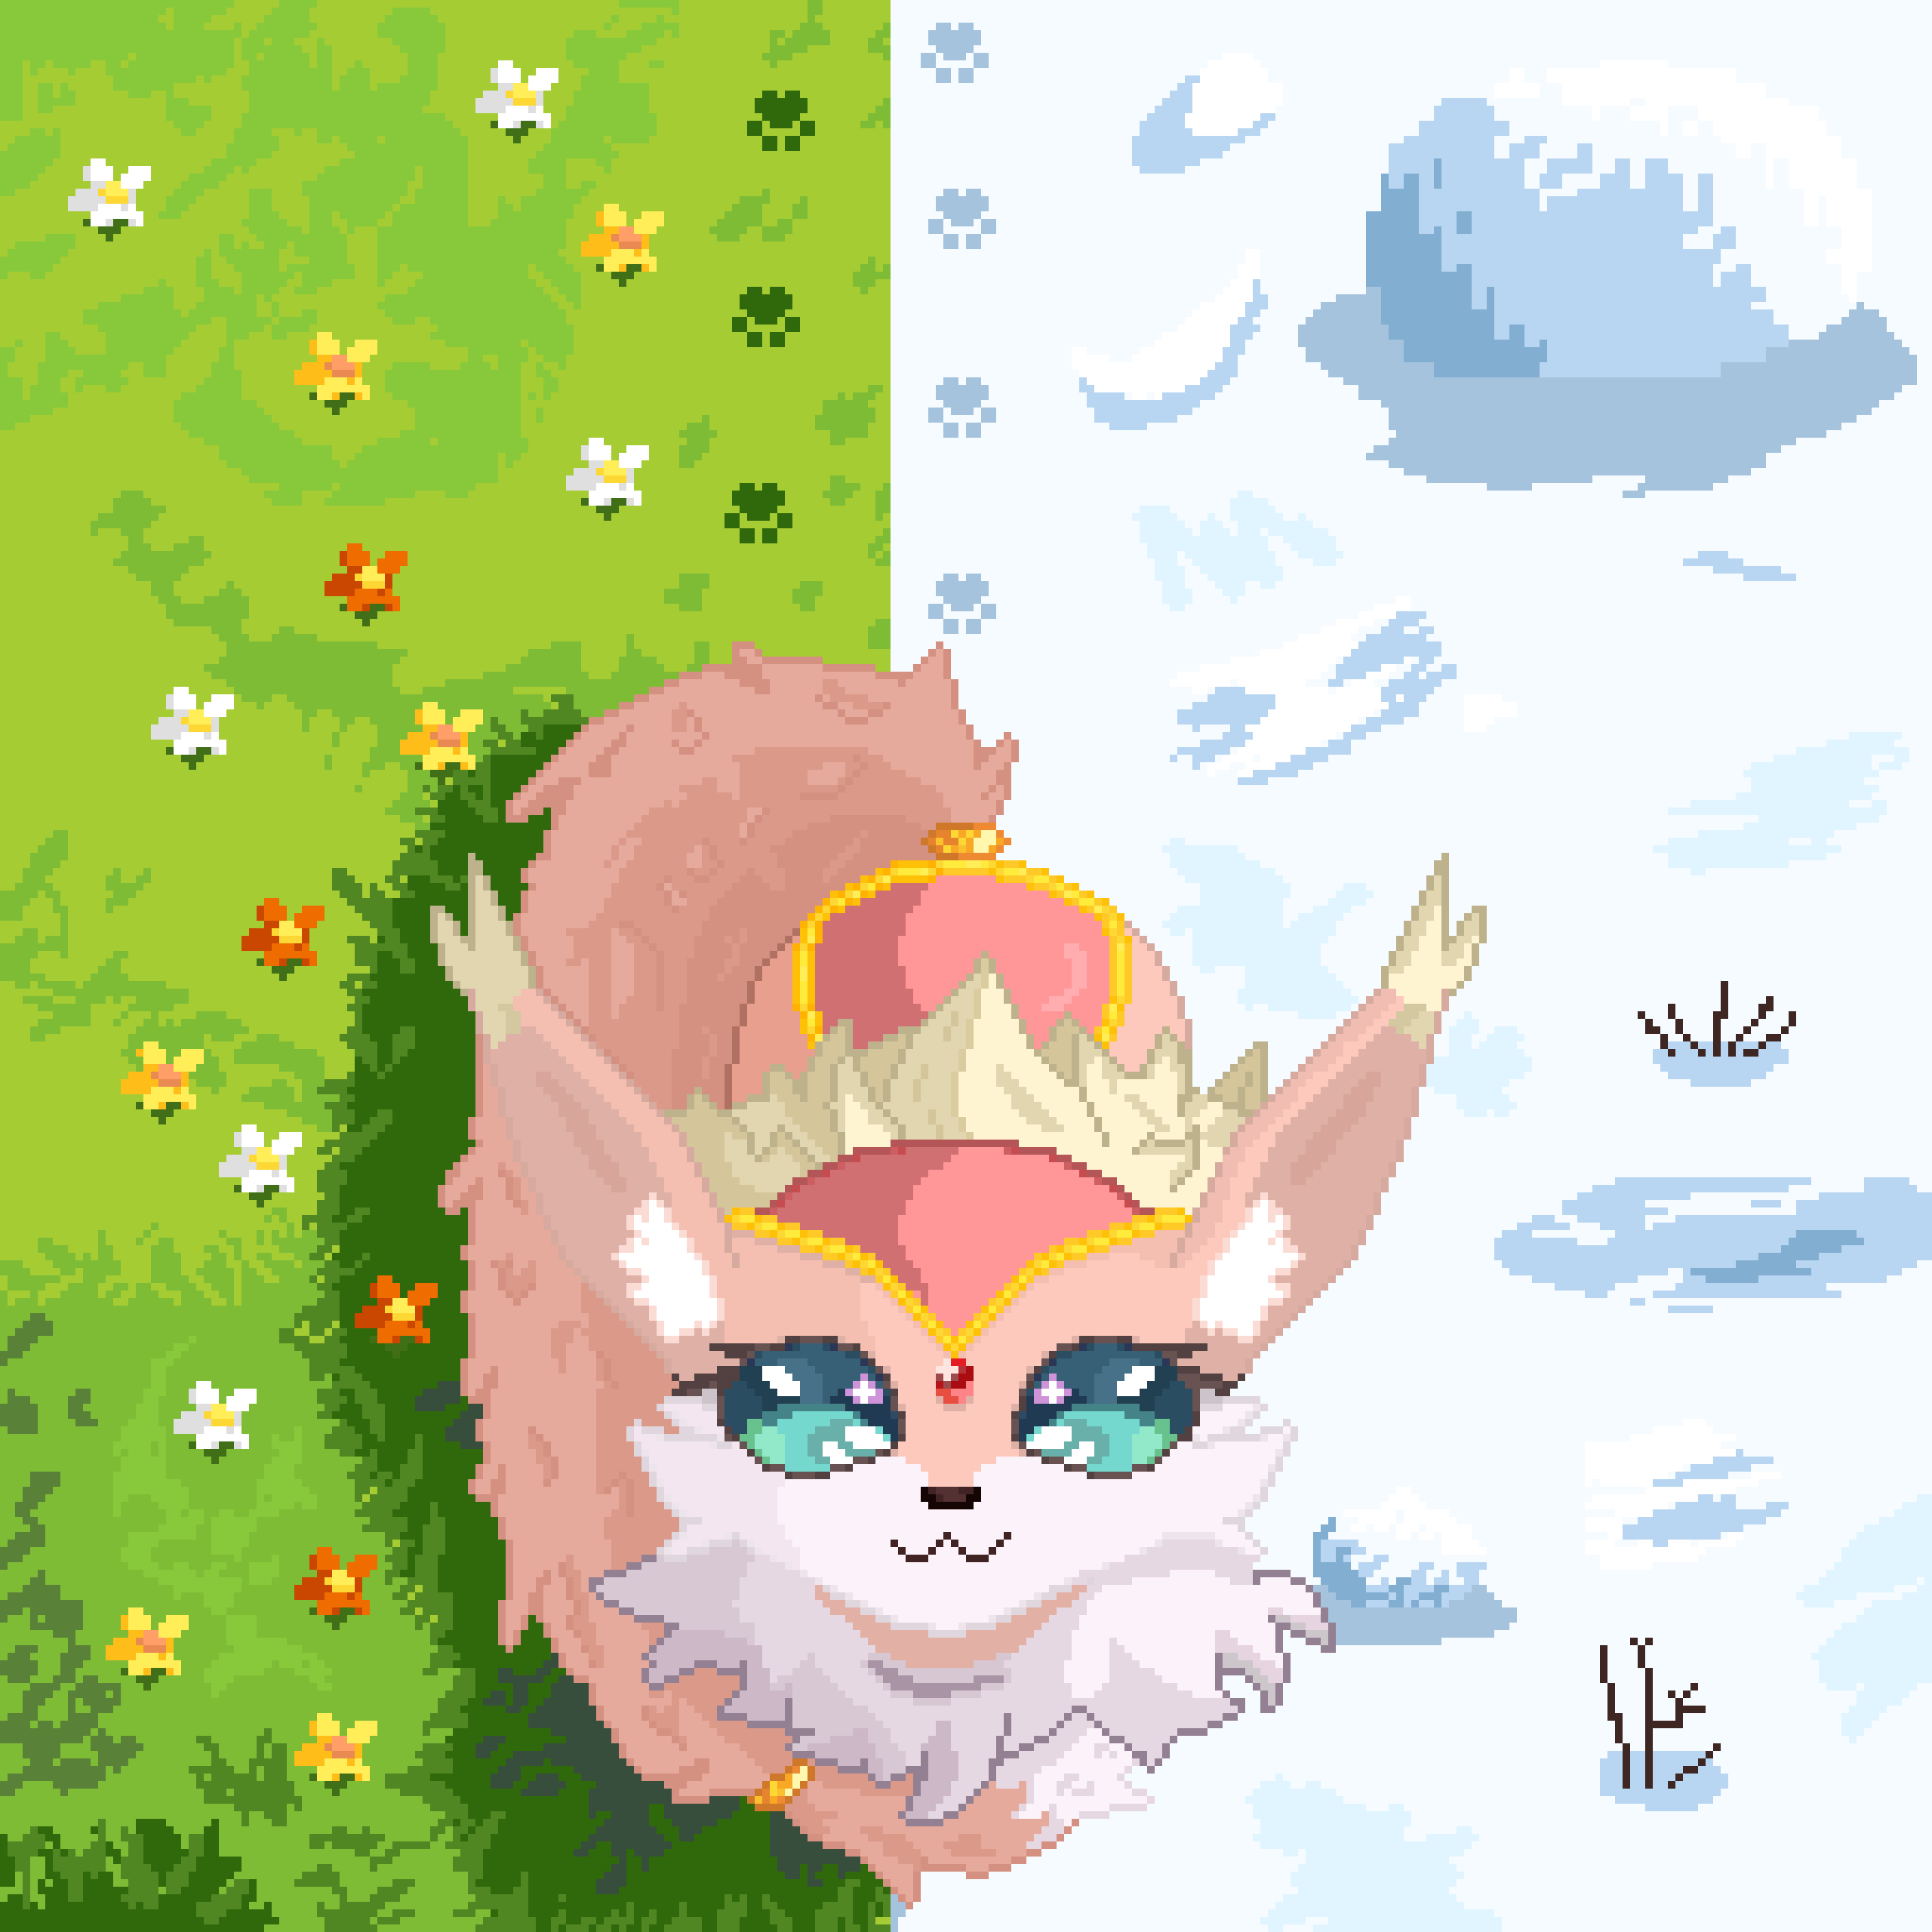
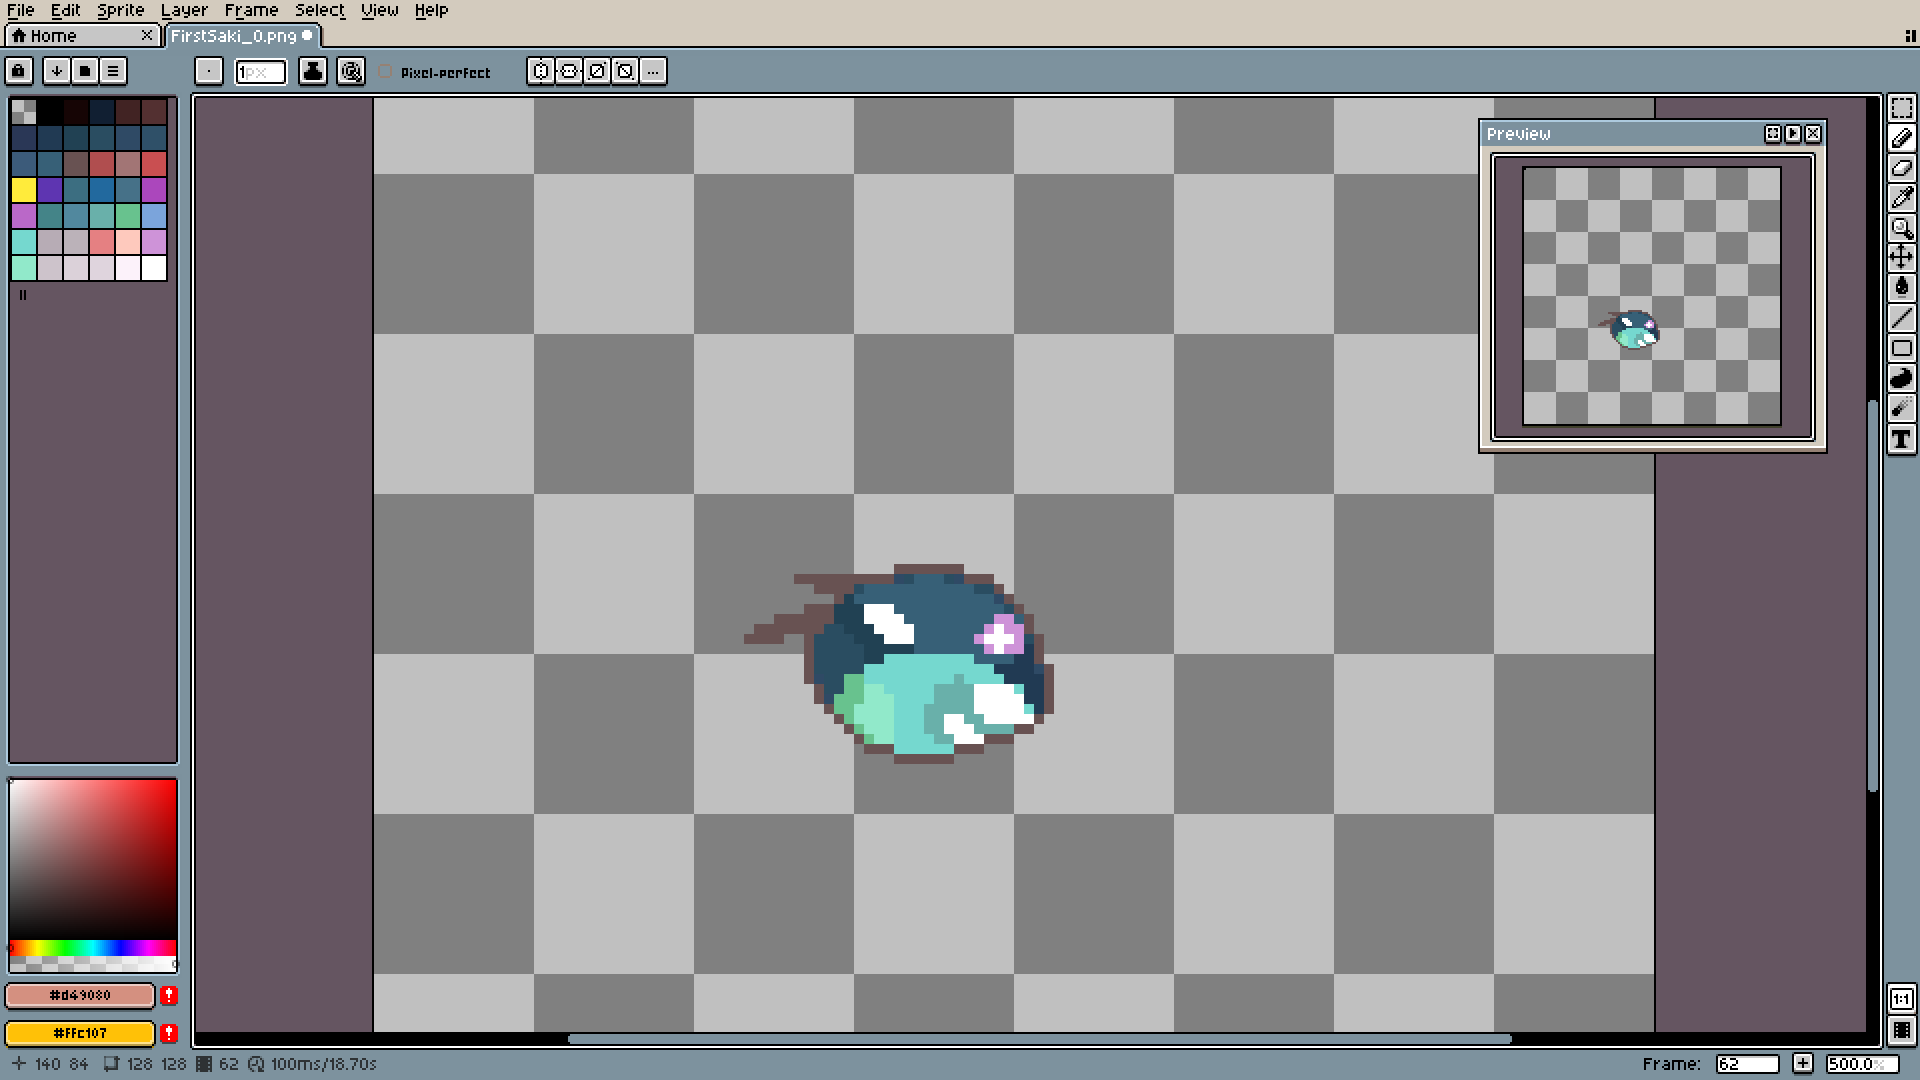
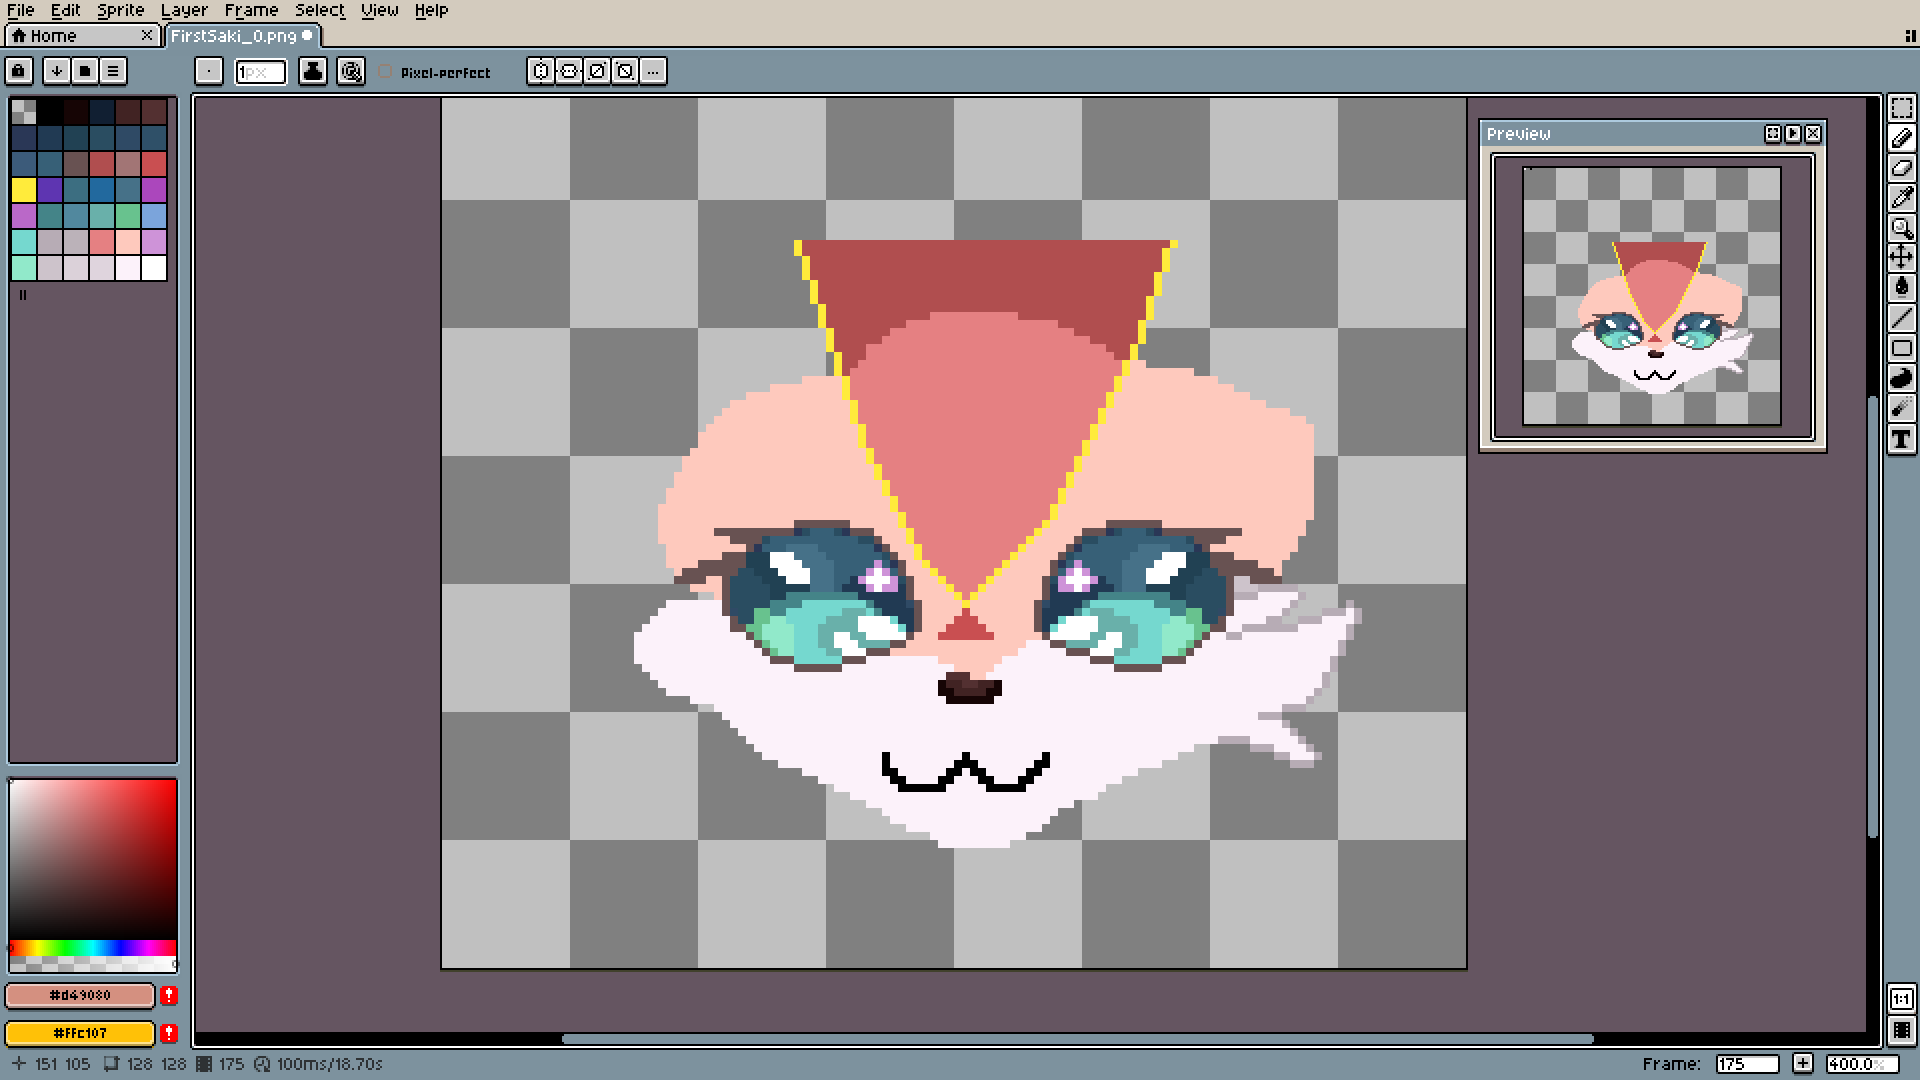
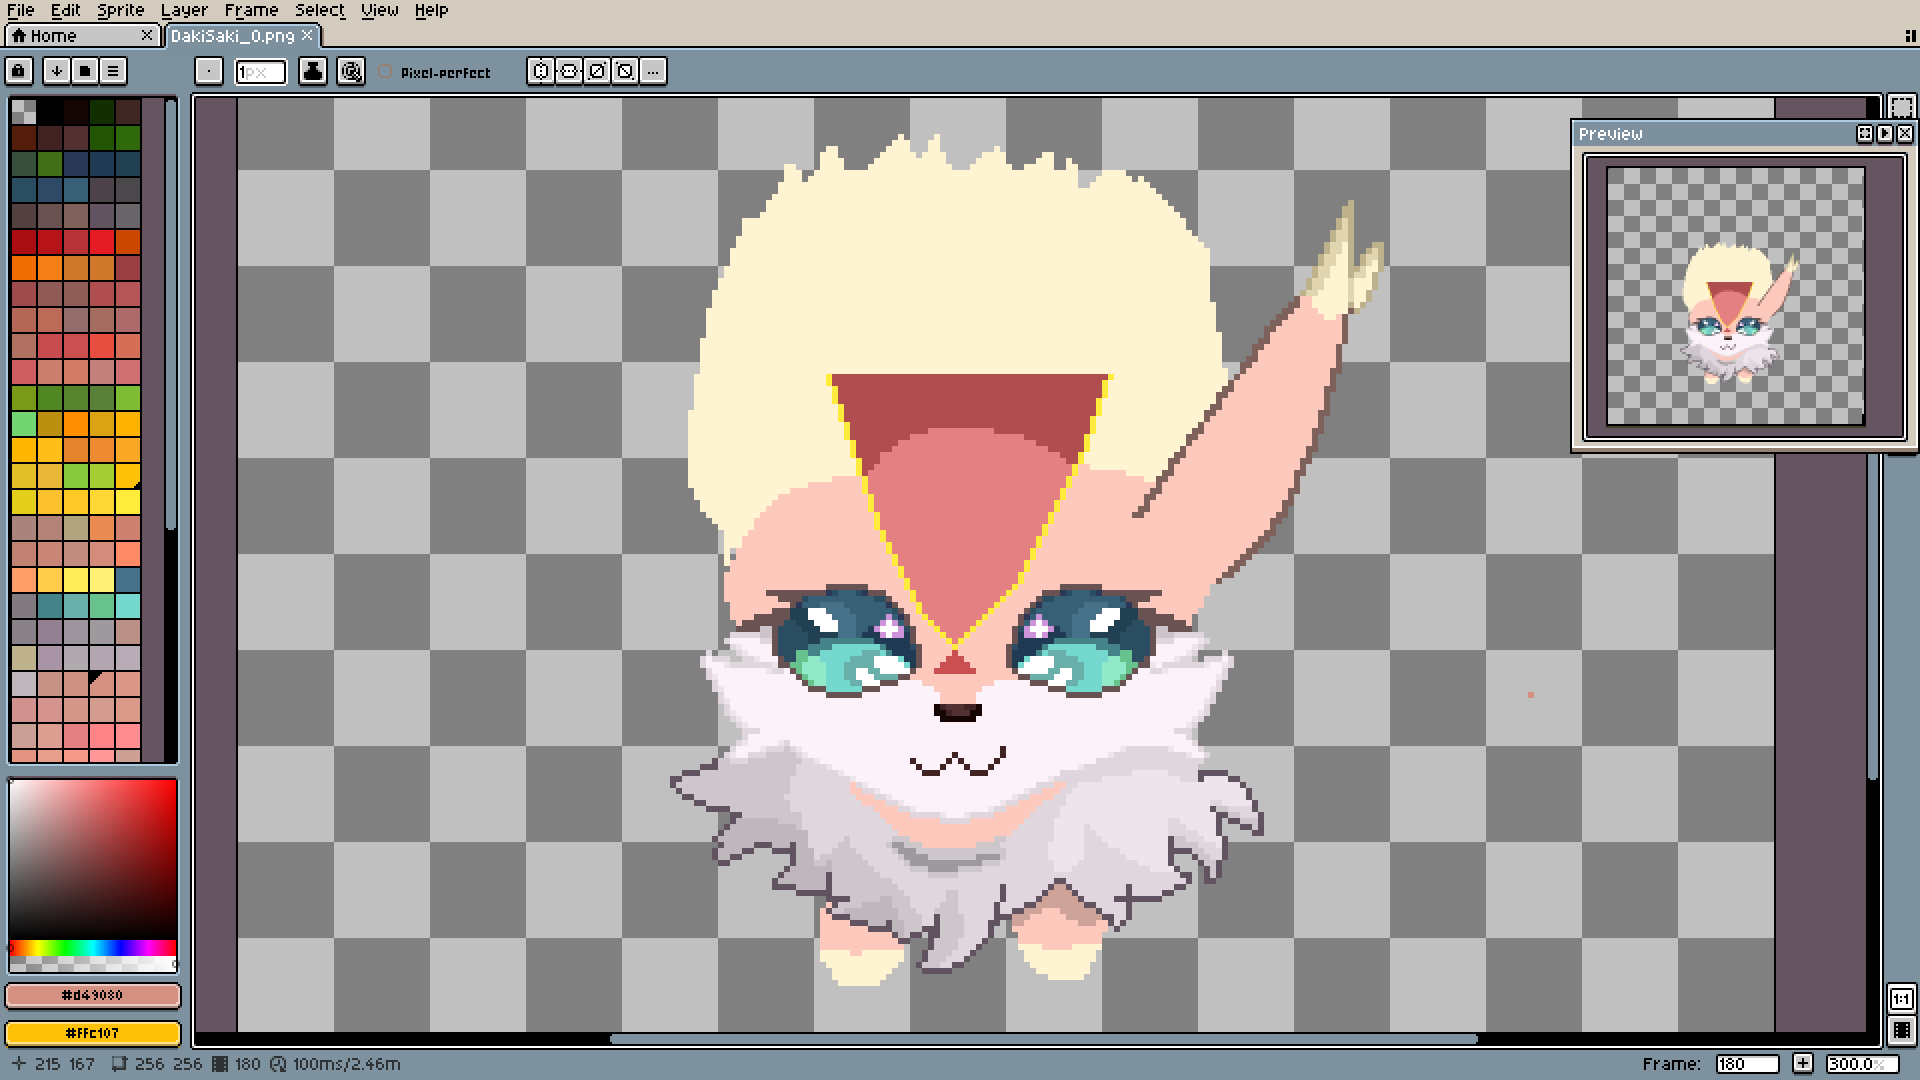
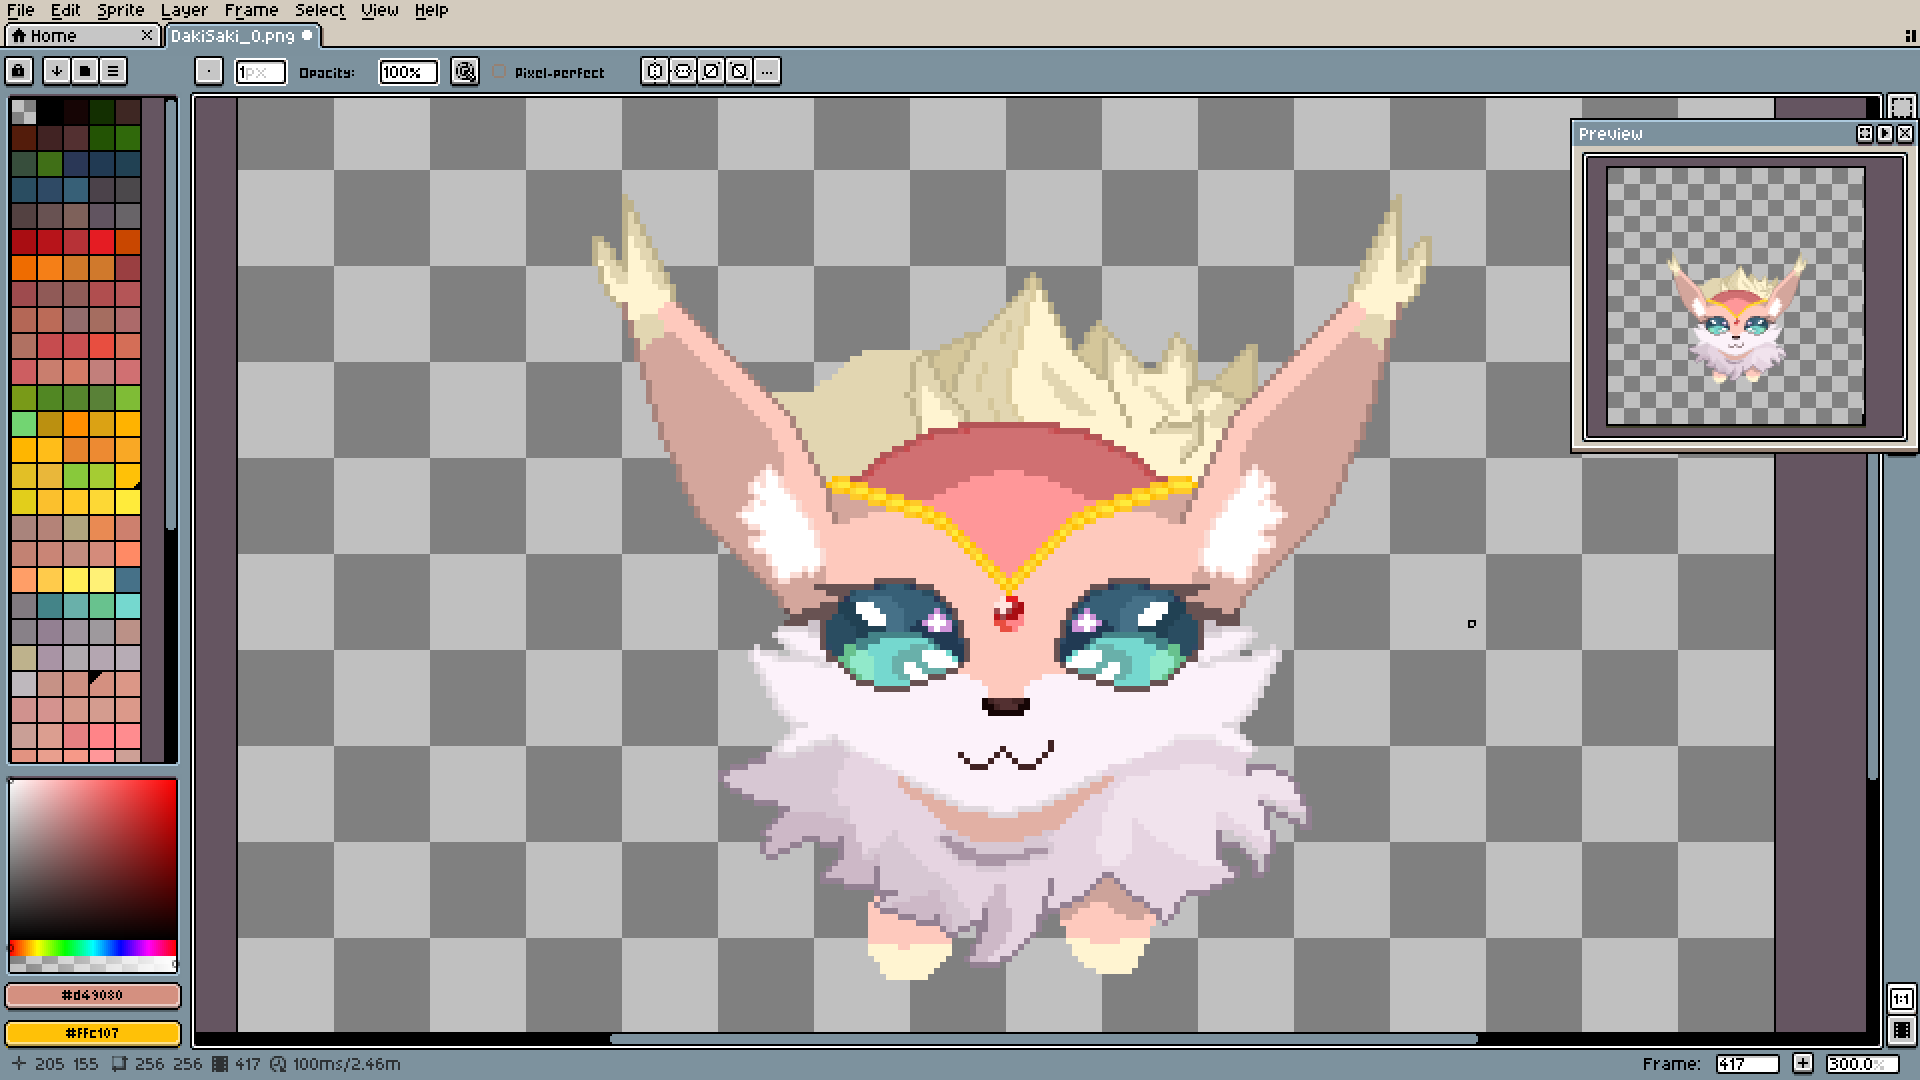
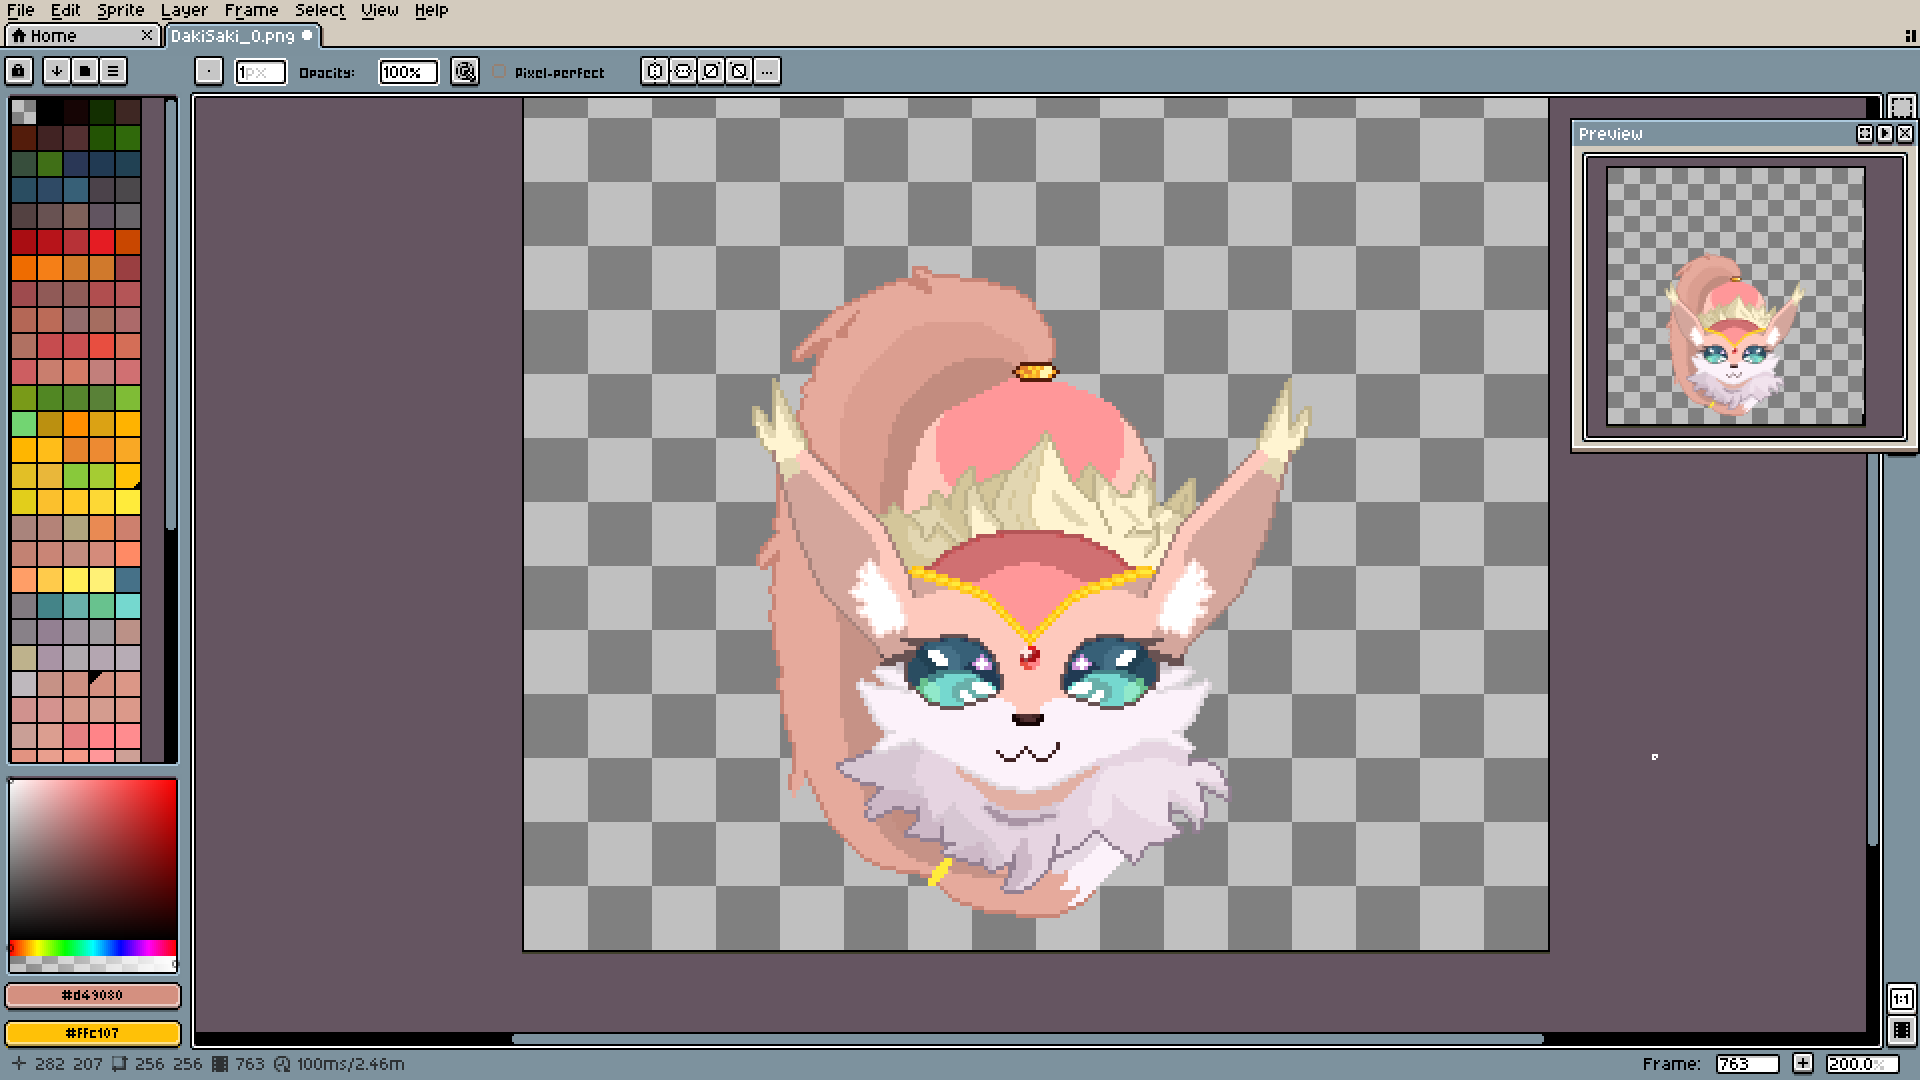
Personally, I really like starting with eyes. They aren't that difficult to make, so they make for a great warmup. Later it's much easier to set the face and rest of the body with this stable point.
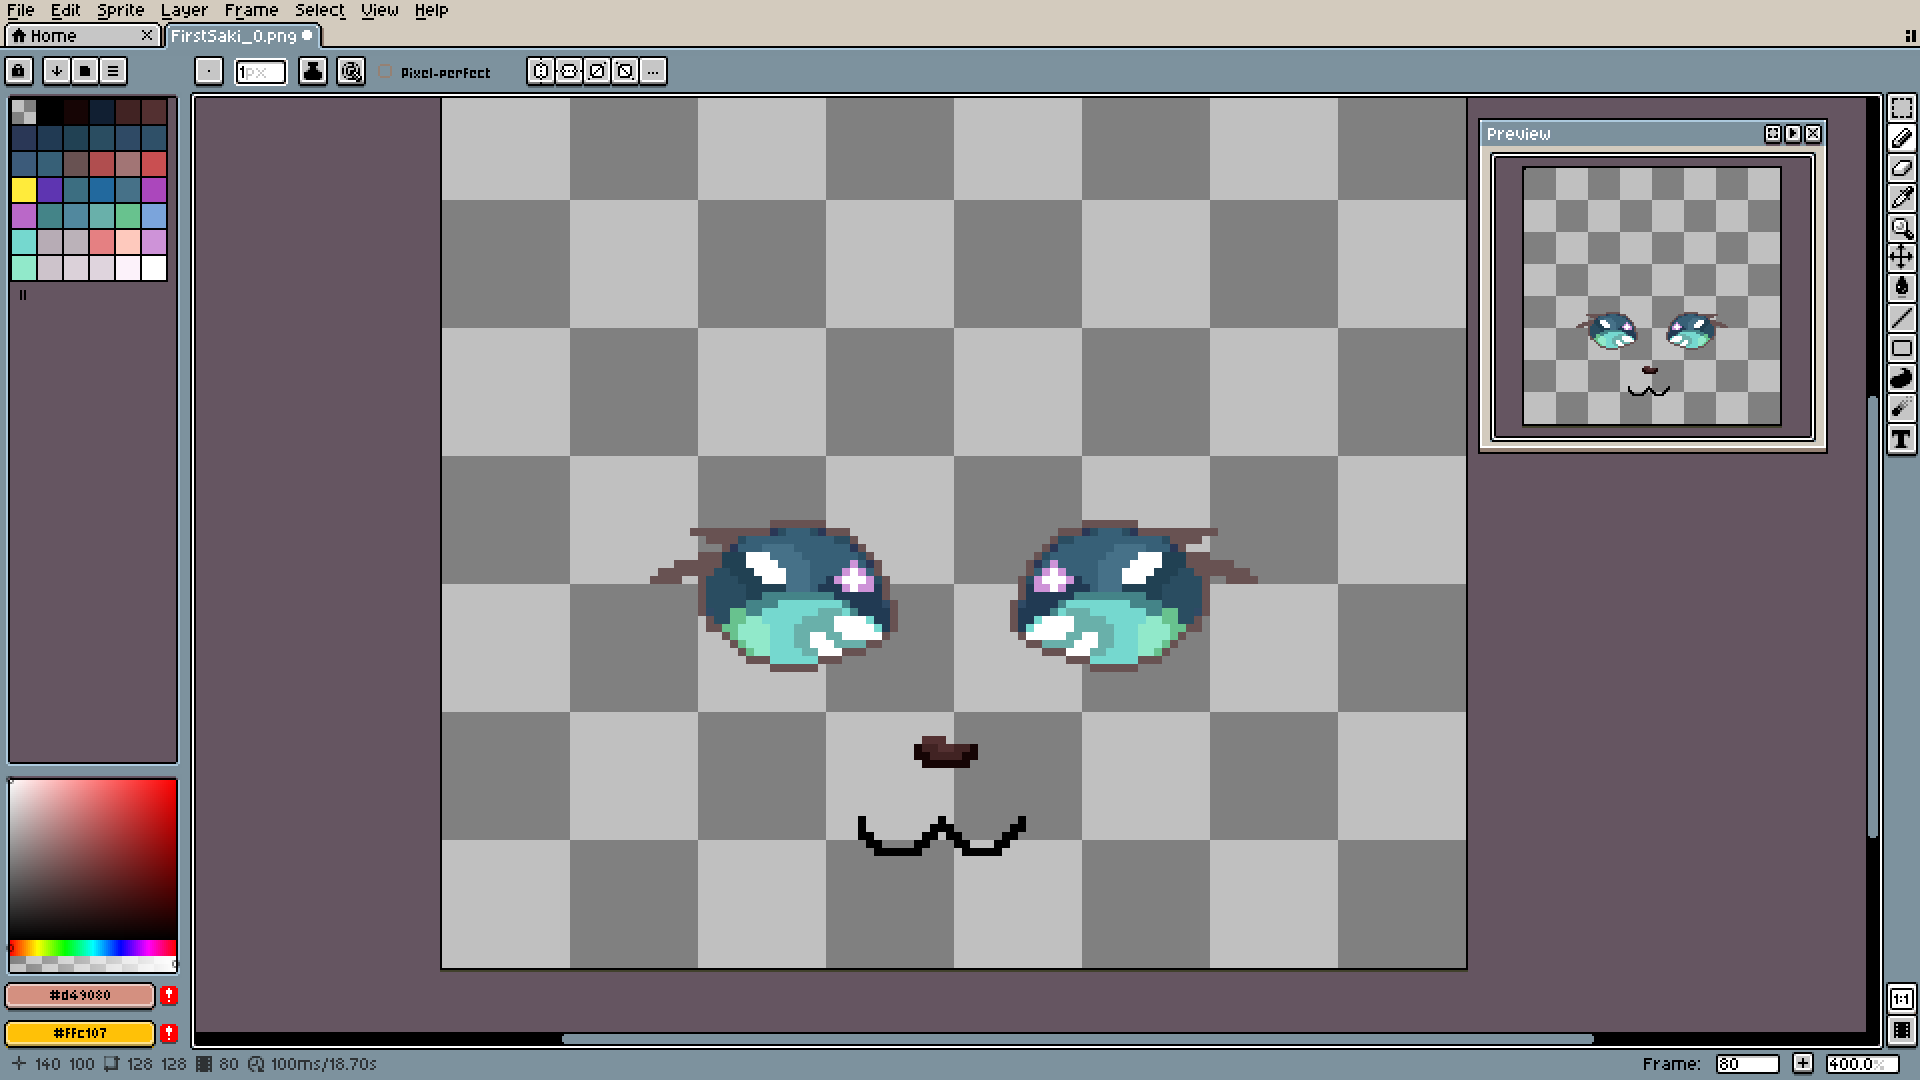
The light are dark points are much more important than the pupil. Two important things here. First: change the colors, not just shades. Here for the darker part, I went more into deep blue, and the bottom shade is closer to the green. Second: if something is supposed to look shiny (like eyes), add those darker patches under the lights.
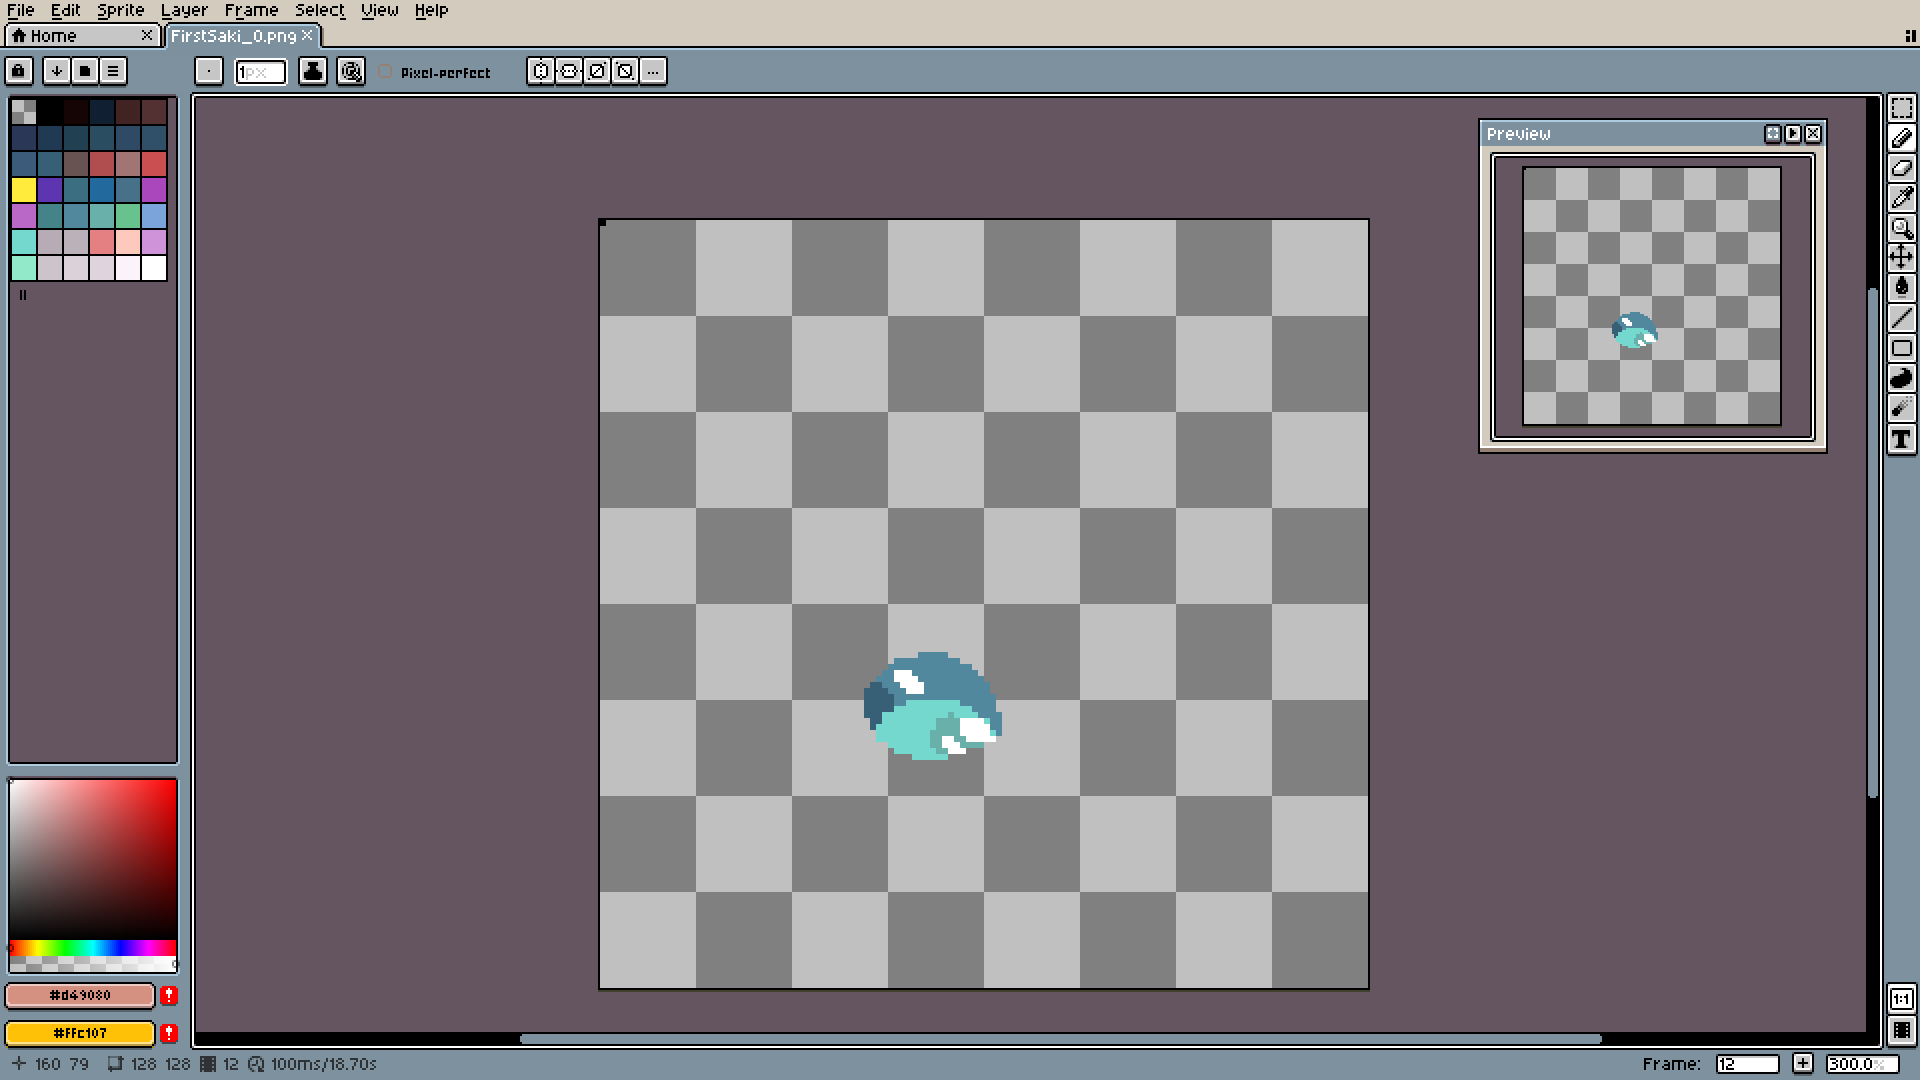
More color jumping. It also allows you to use more saturated and brighter colors.
Those darker dots around the edge are making it look smoother. Nice trick to know.
Adding a totally different can also lead to more eye-catching results.

Once again, dark around light and the eye is ready.
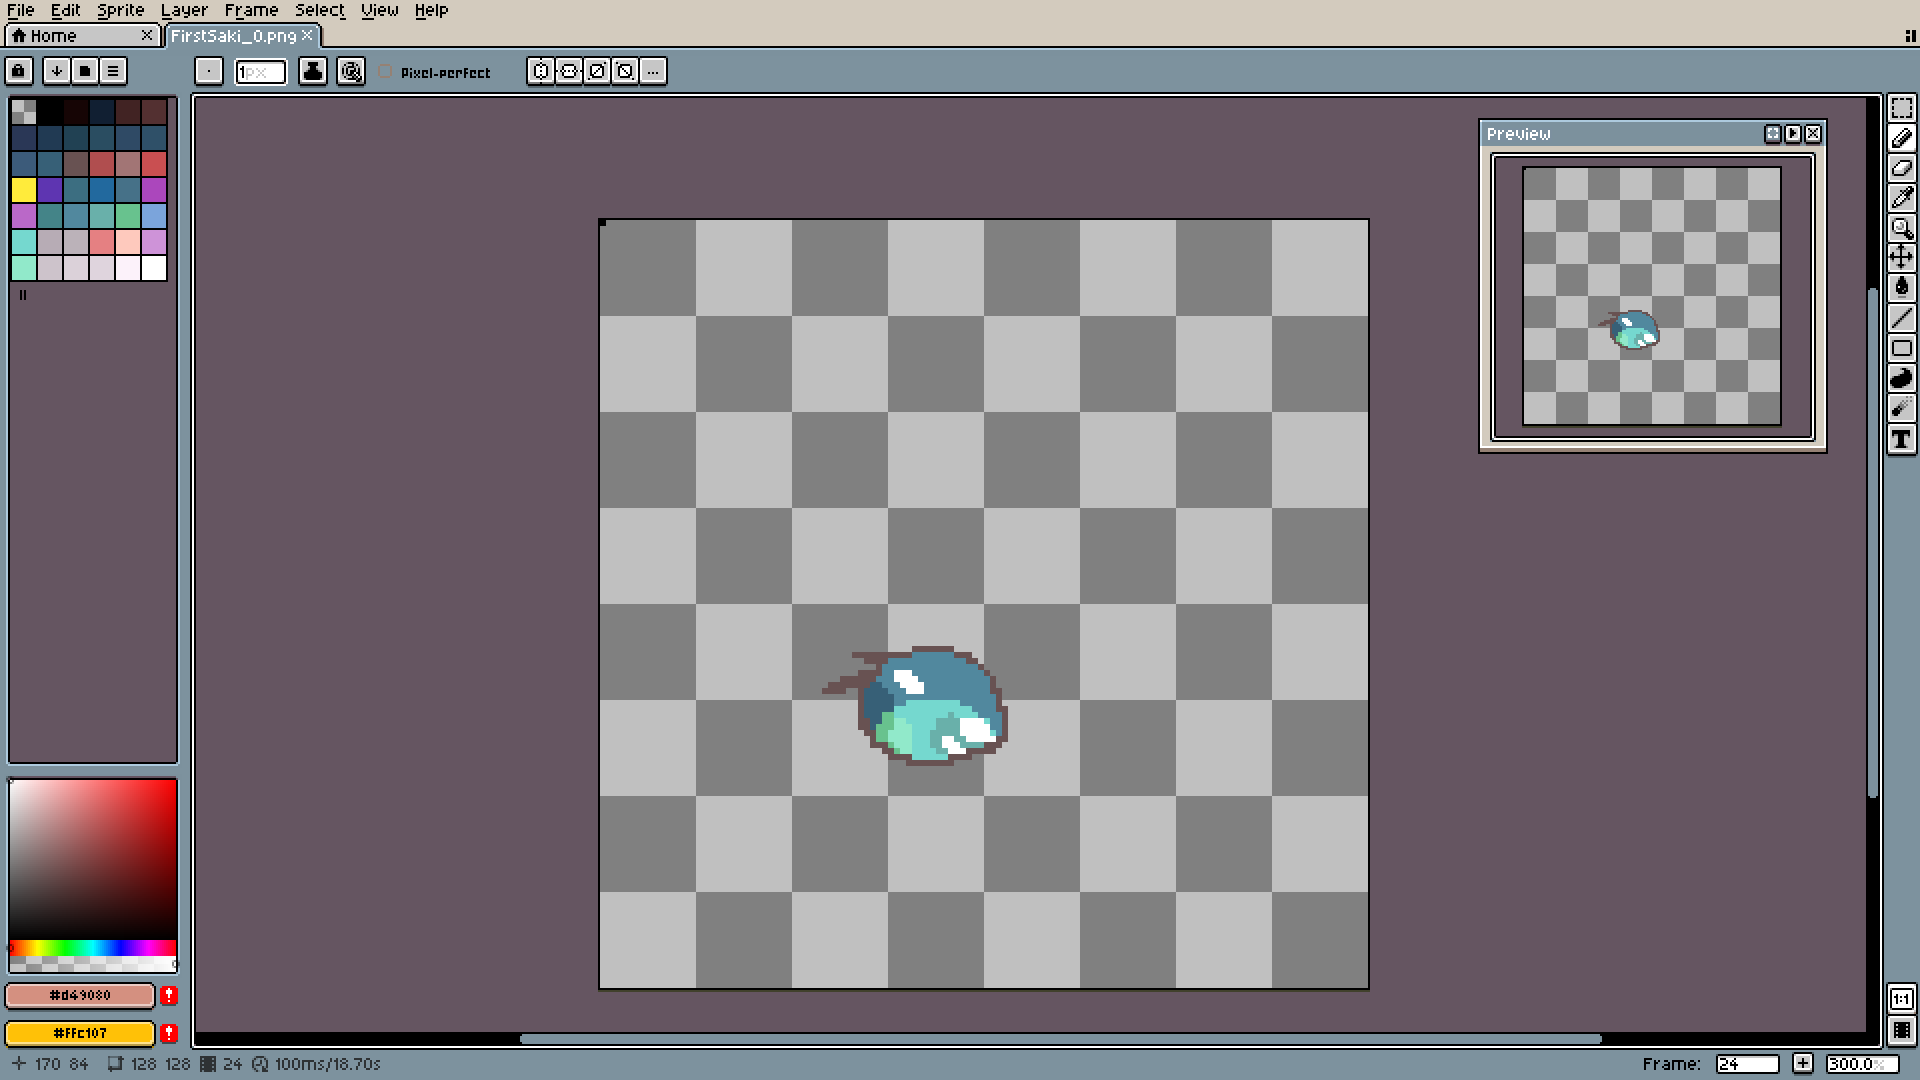
More details to help me prepare the next part.
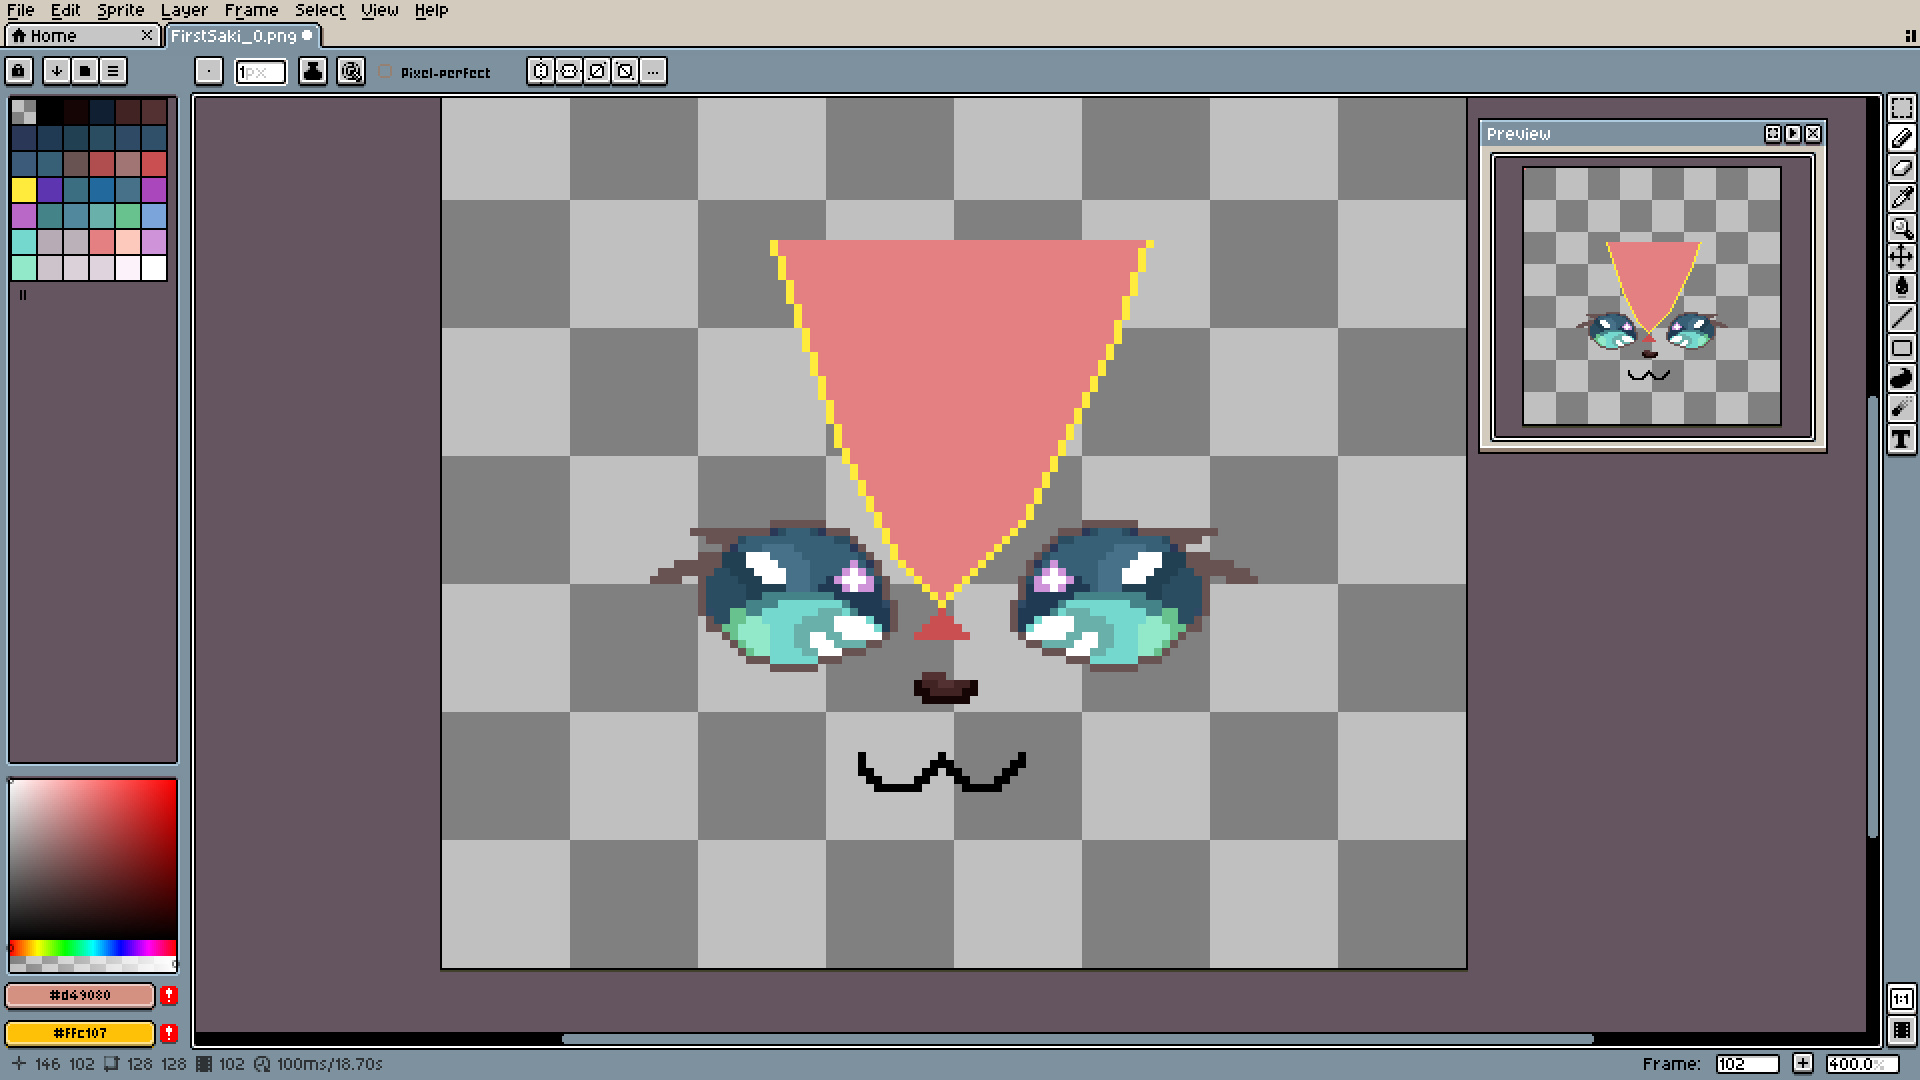
Do not be afraid to make temporary placeholders like this. Not everything has to (and will) be perfect.
Rough coloring.
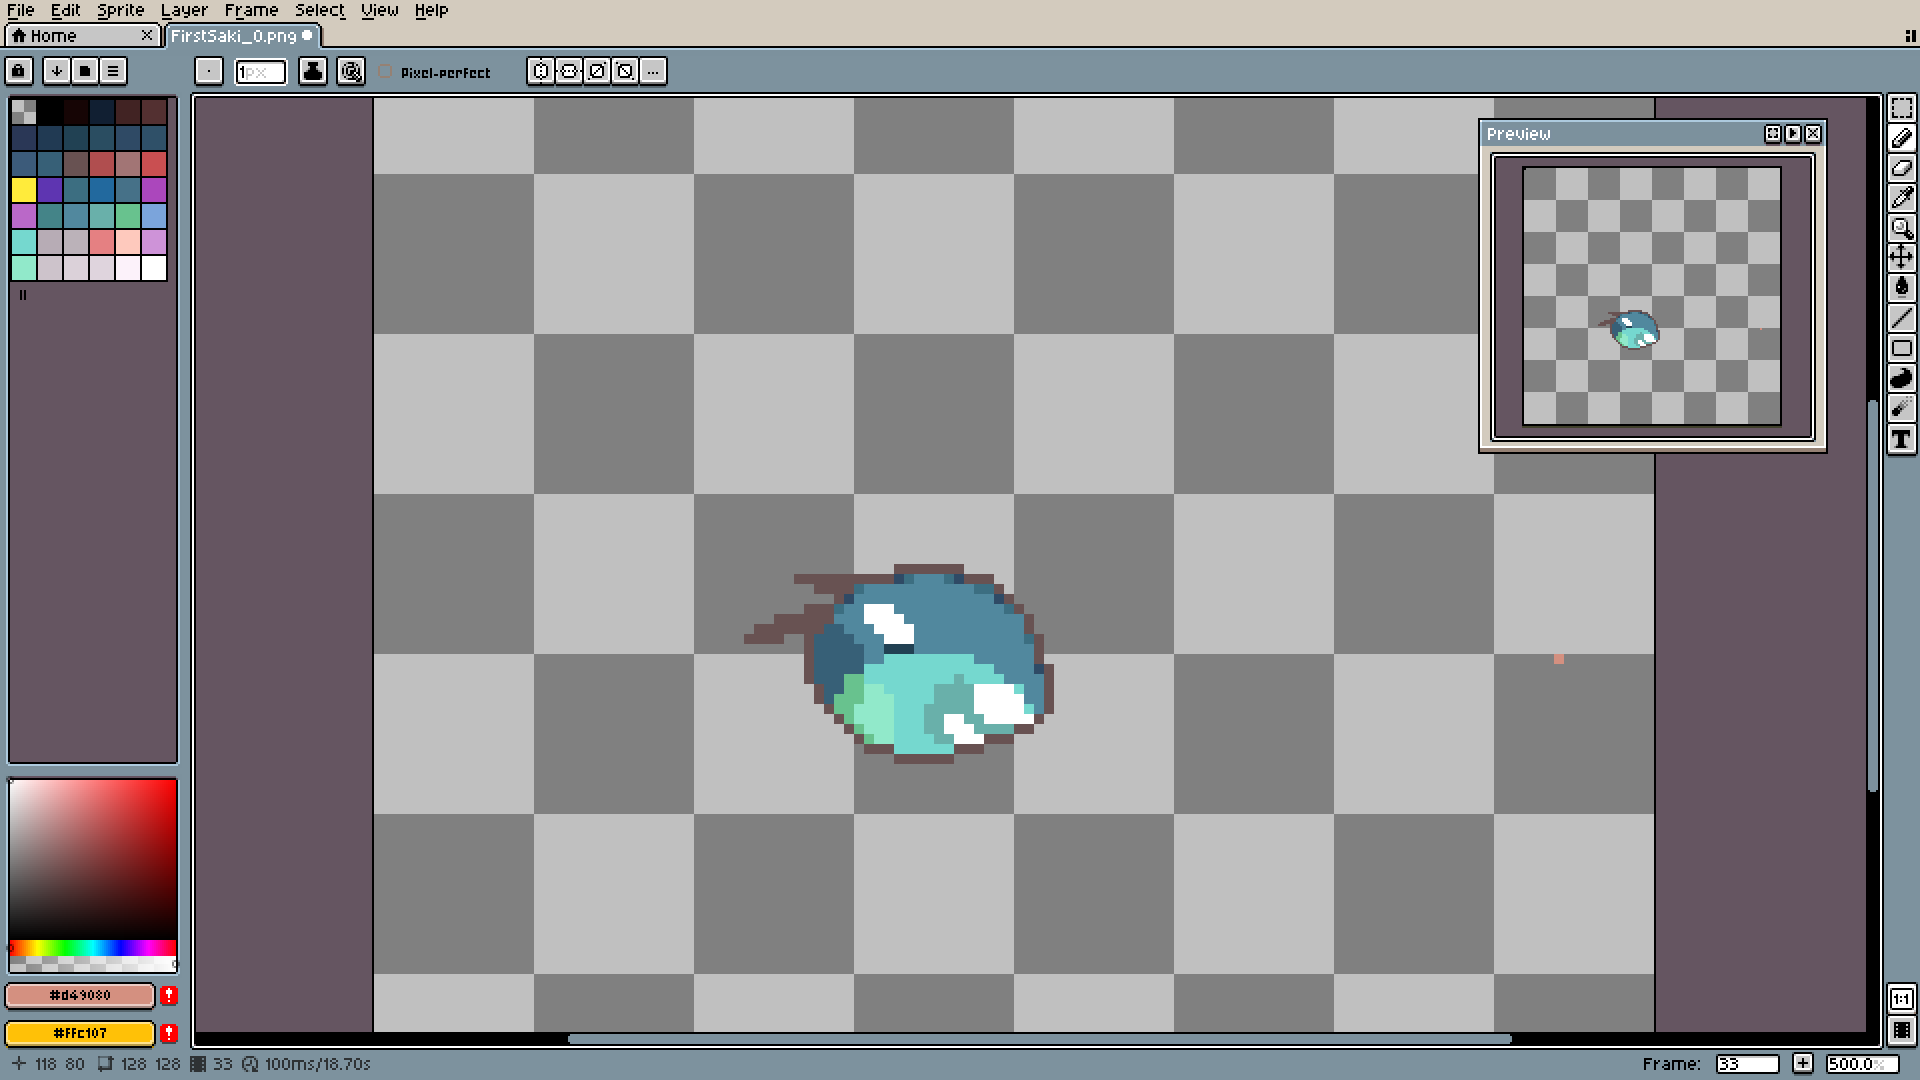
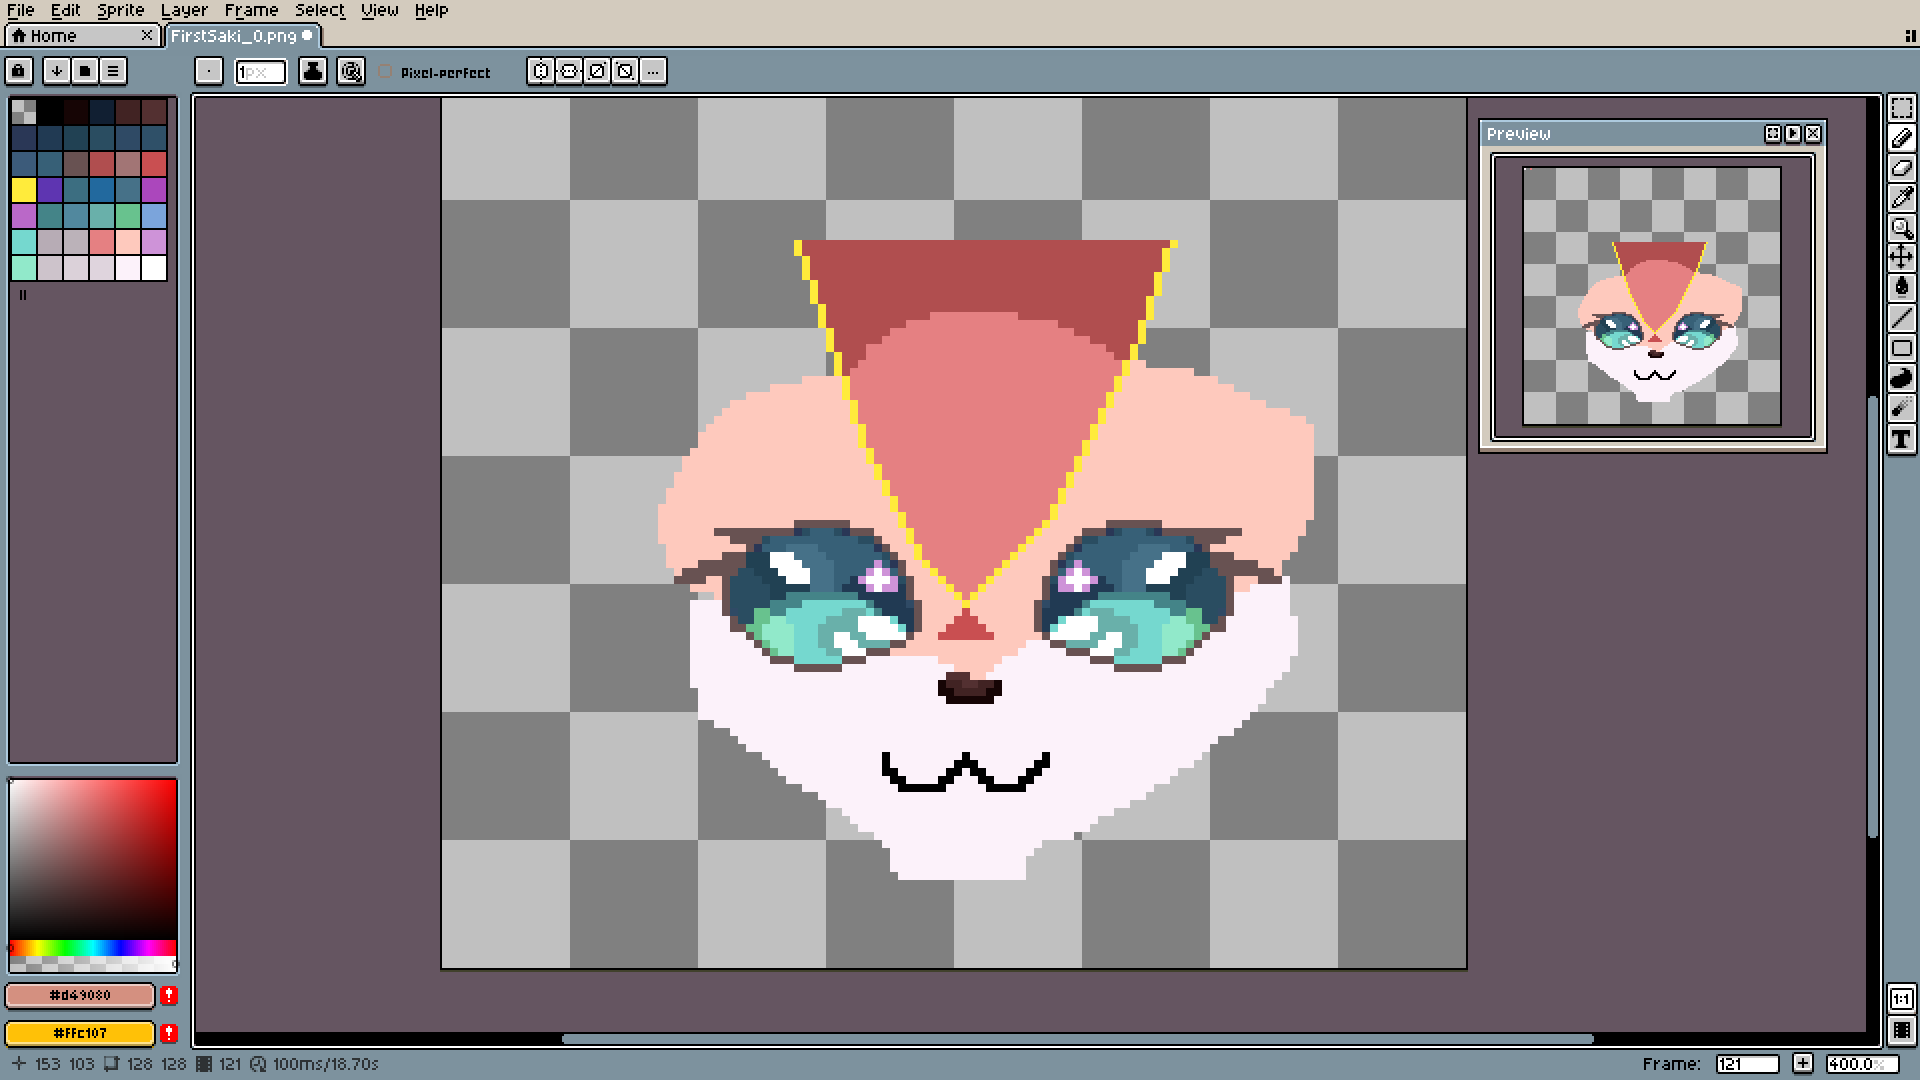
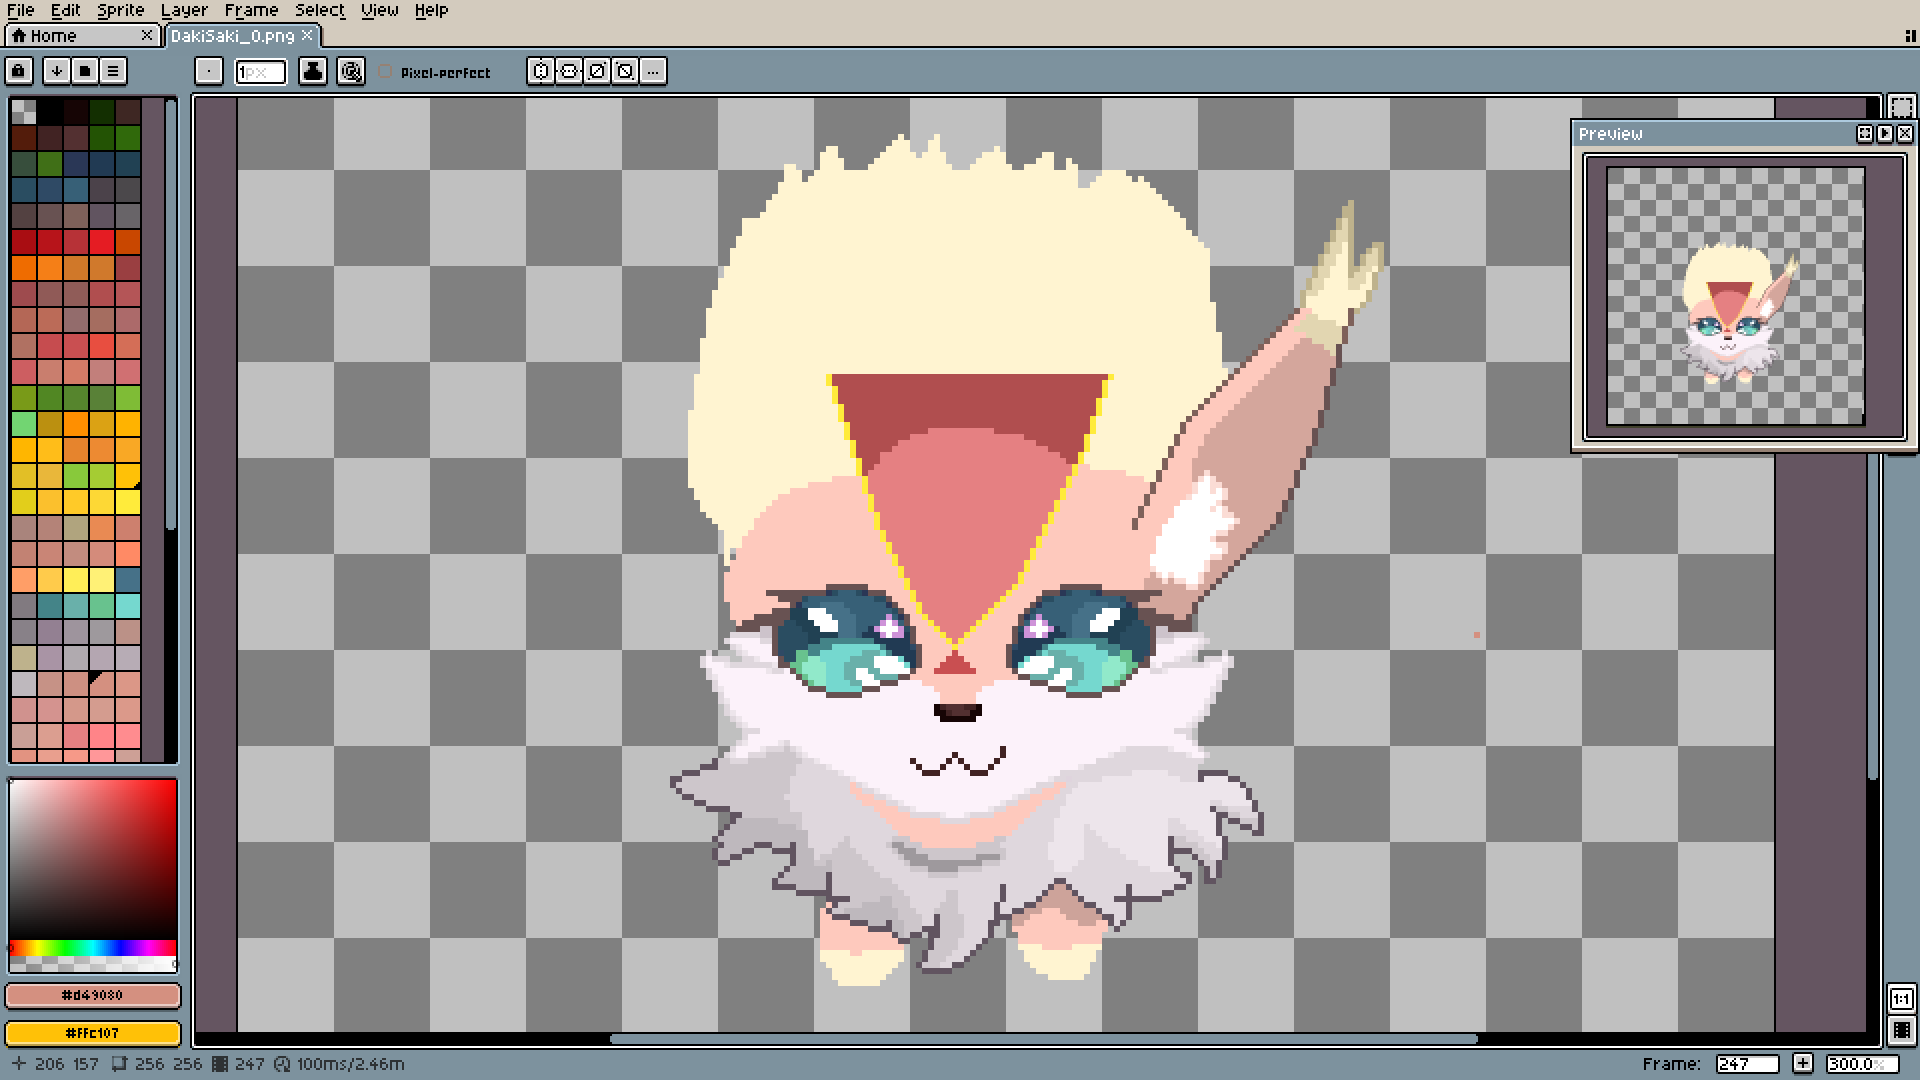
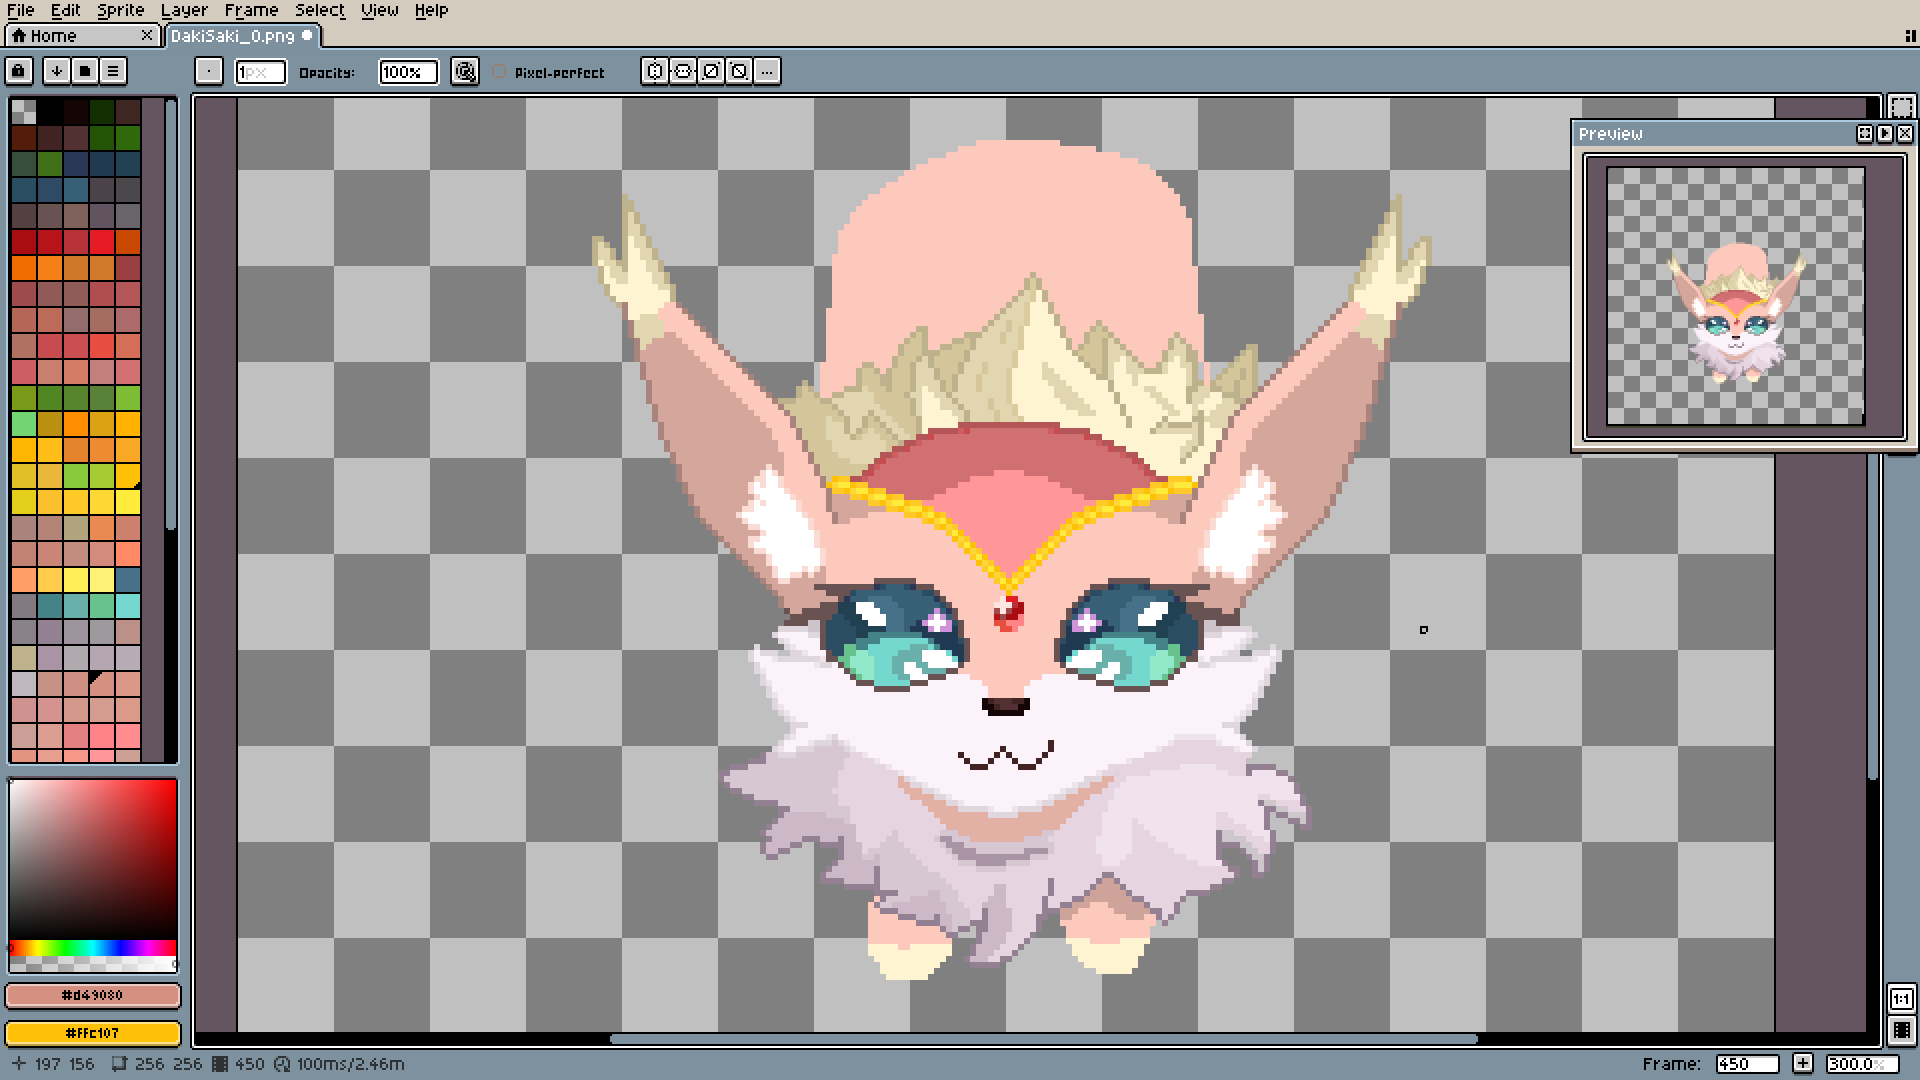
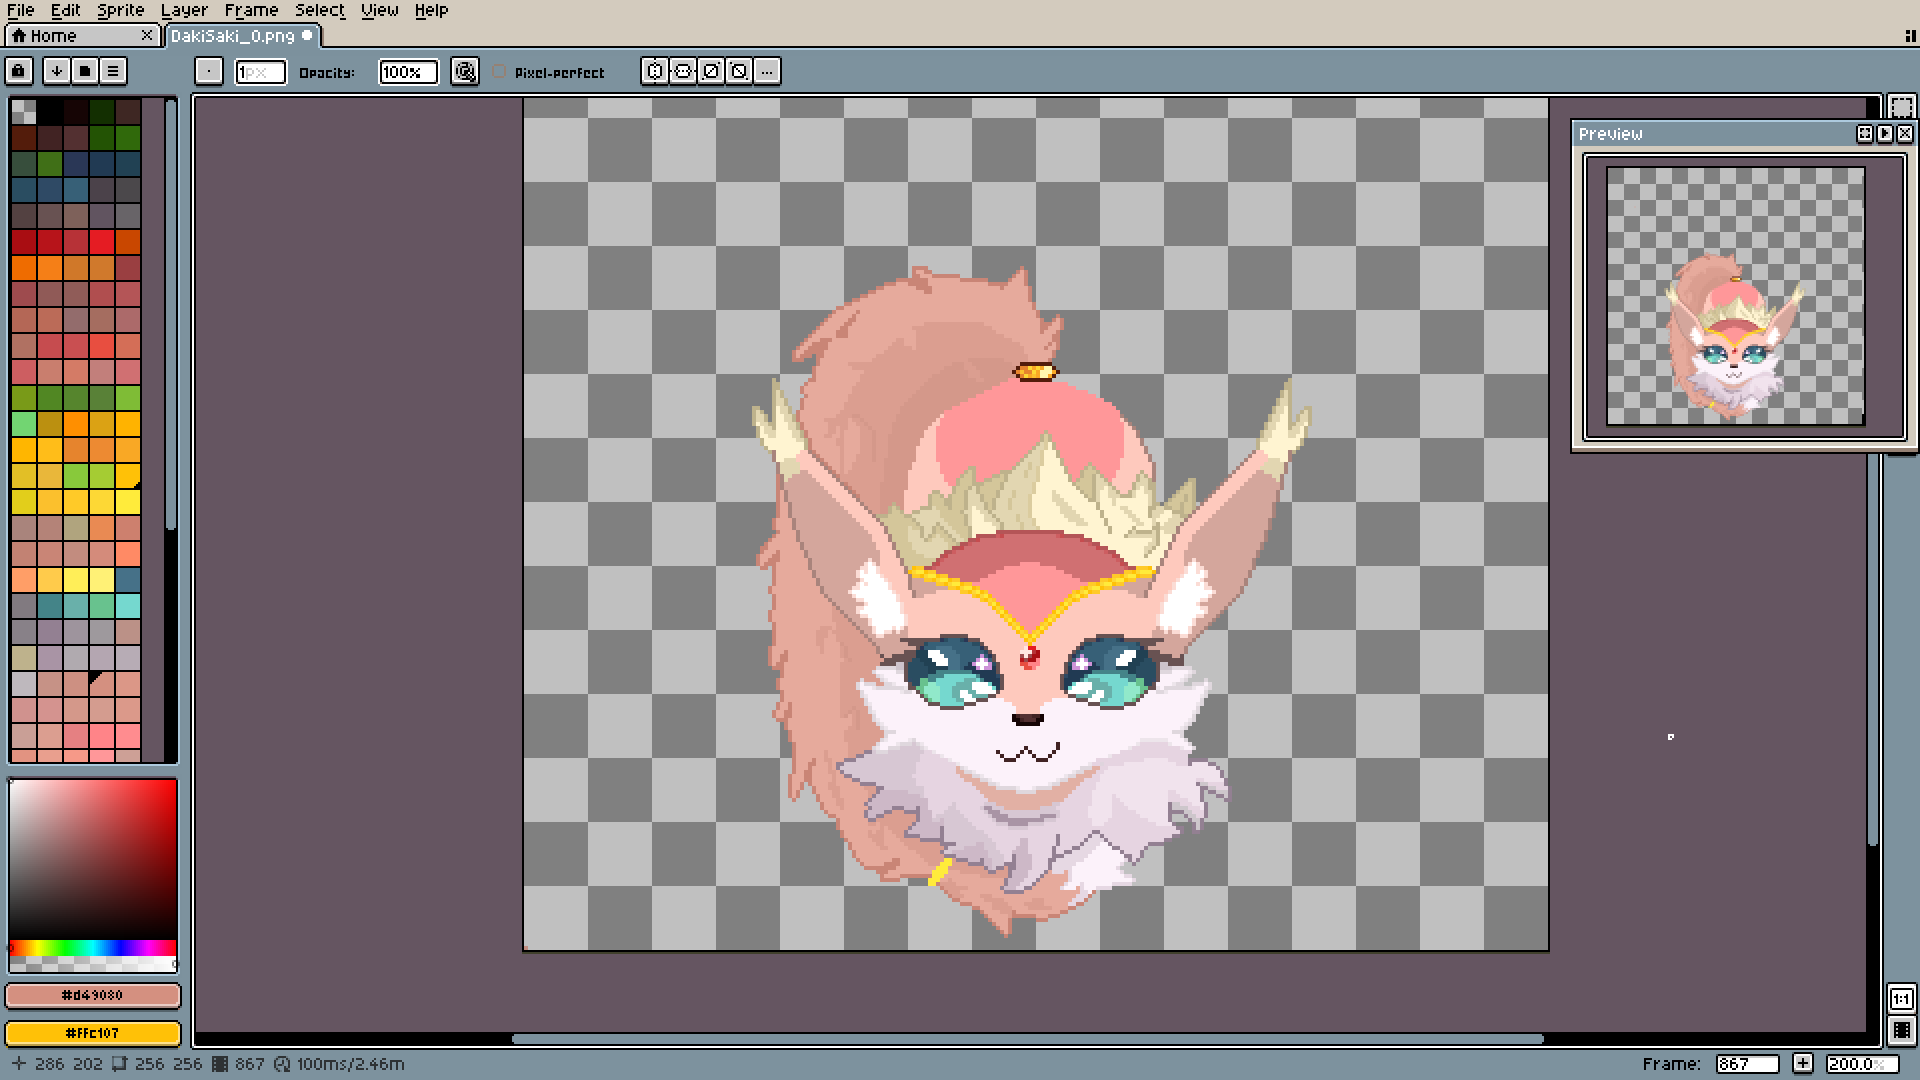
It's the first real challenge. Making fur look fluffy using only pixels is one hell of a task.
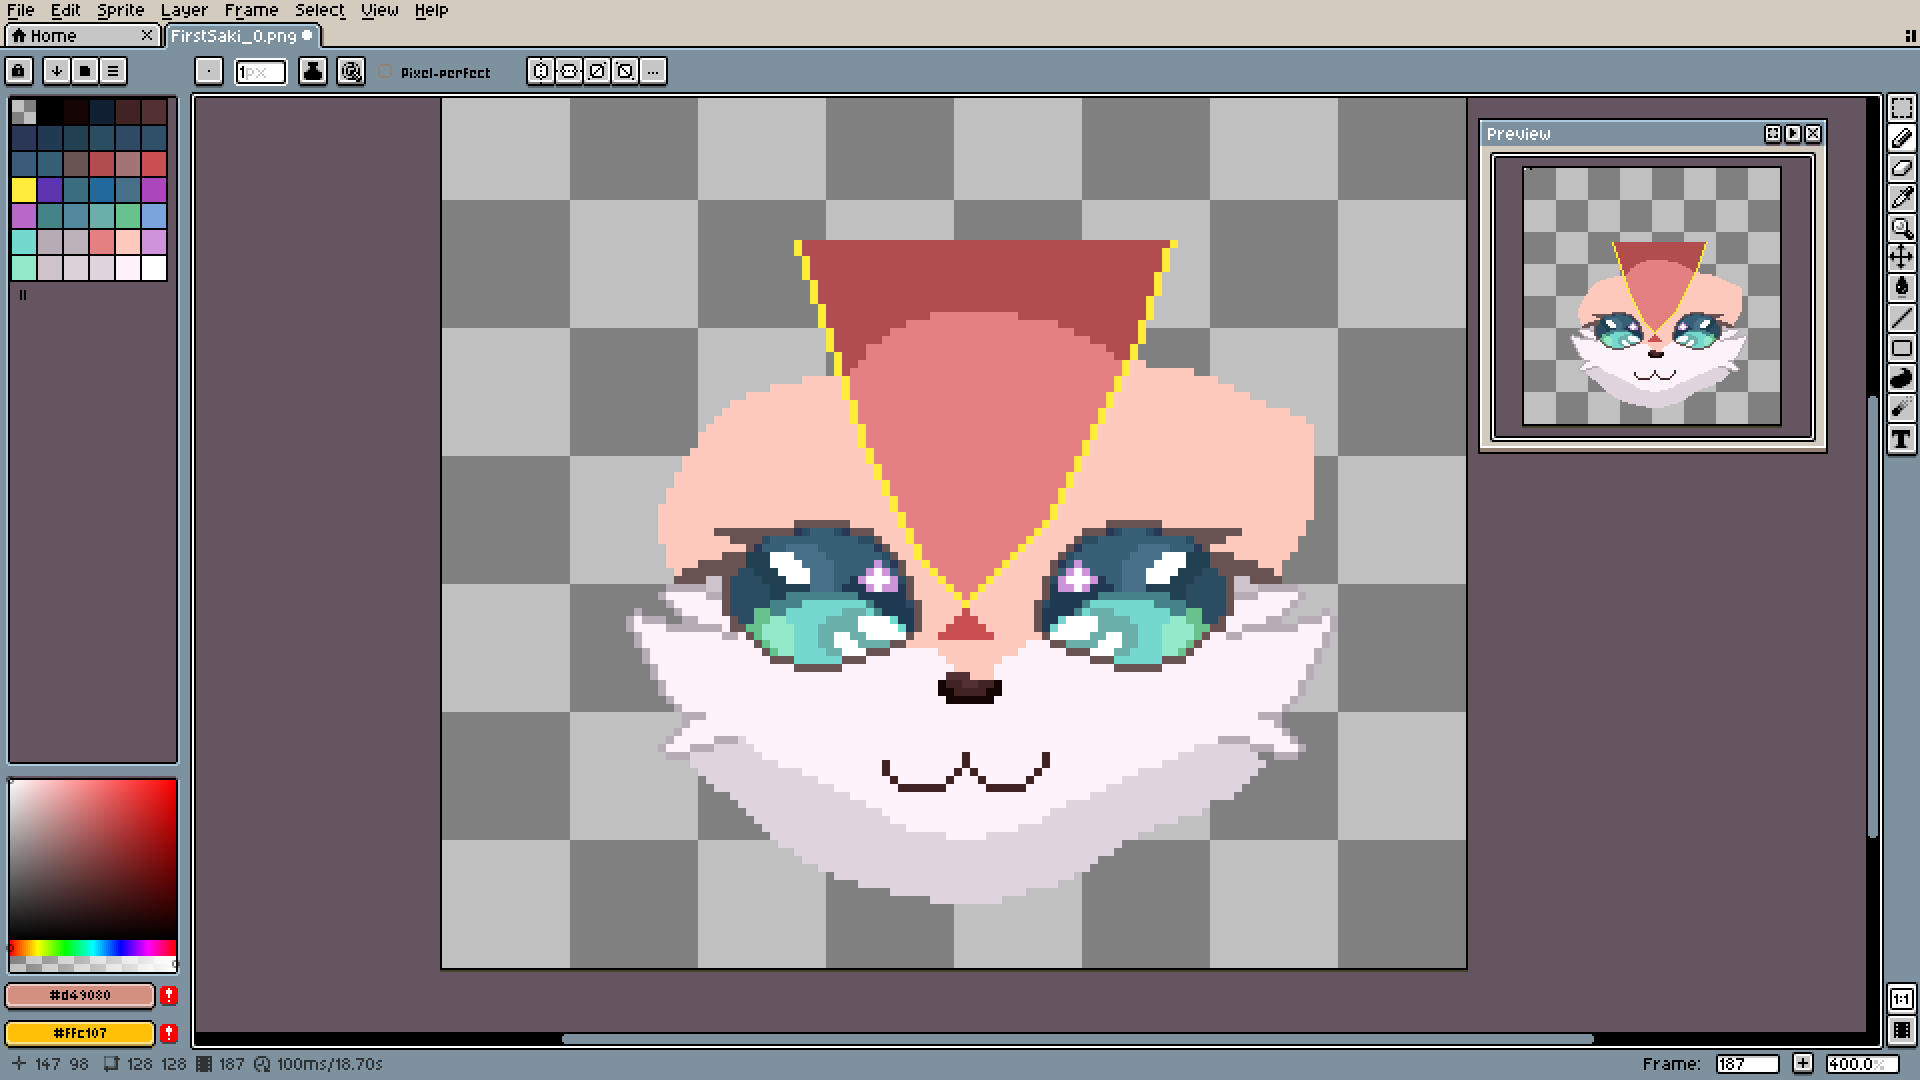
I just treated the two biggest whiskers? I don't actually know what they are called, as the front one and the other should be behind/under them.
The lower fur is very similar to the upper one, but it's supposed to look much more rough and chaotic. That's why it will end up with many more shades and details in the middle.
As you can see, every part has its own lighting... I'm terrible at imagining 3D shapes, so I just use any lighting system that helps me. Just because I became a little better, it does not mean I'm good at this drawing thingy, ok?


Please look at how the number of pixels in the ear outlines stays consistent (on the last picture, of course). It is important to pay attention to it. When you make a line, don't suddenly change the number of pixels that create it. Like on my pixel, there is a line made entirely by using one pixel left and one down, and after that, two pixels down for one right. It's the best way to make lines look smooth.
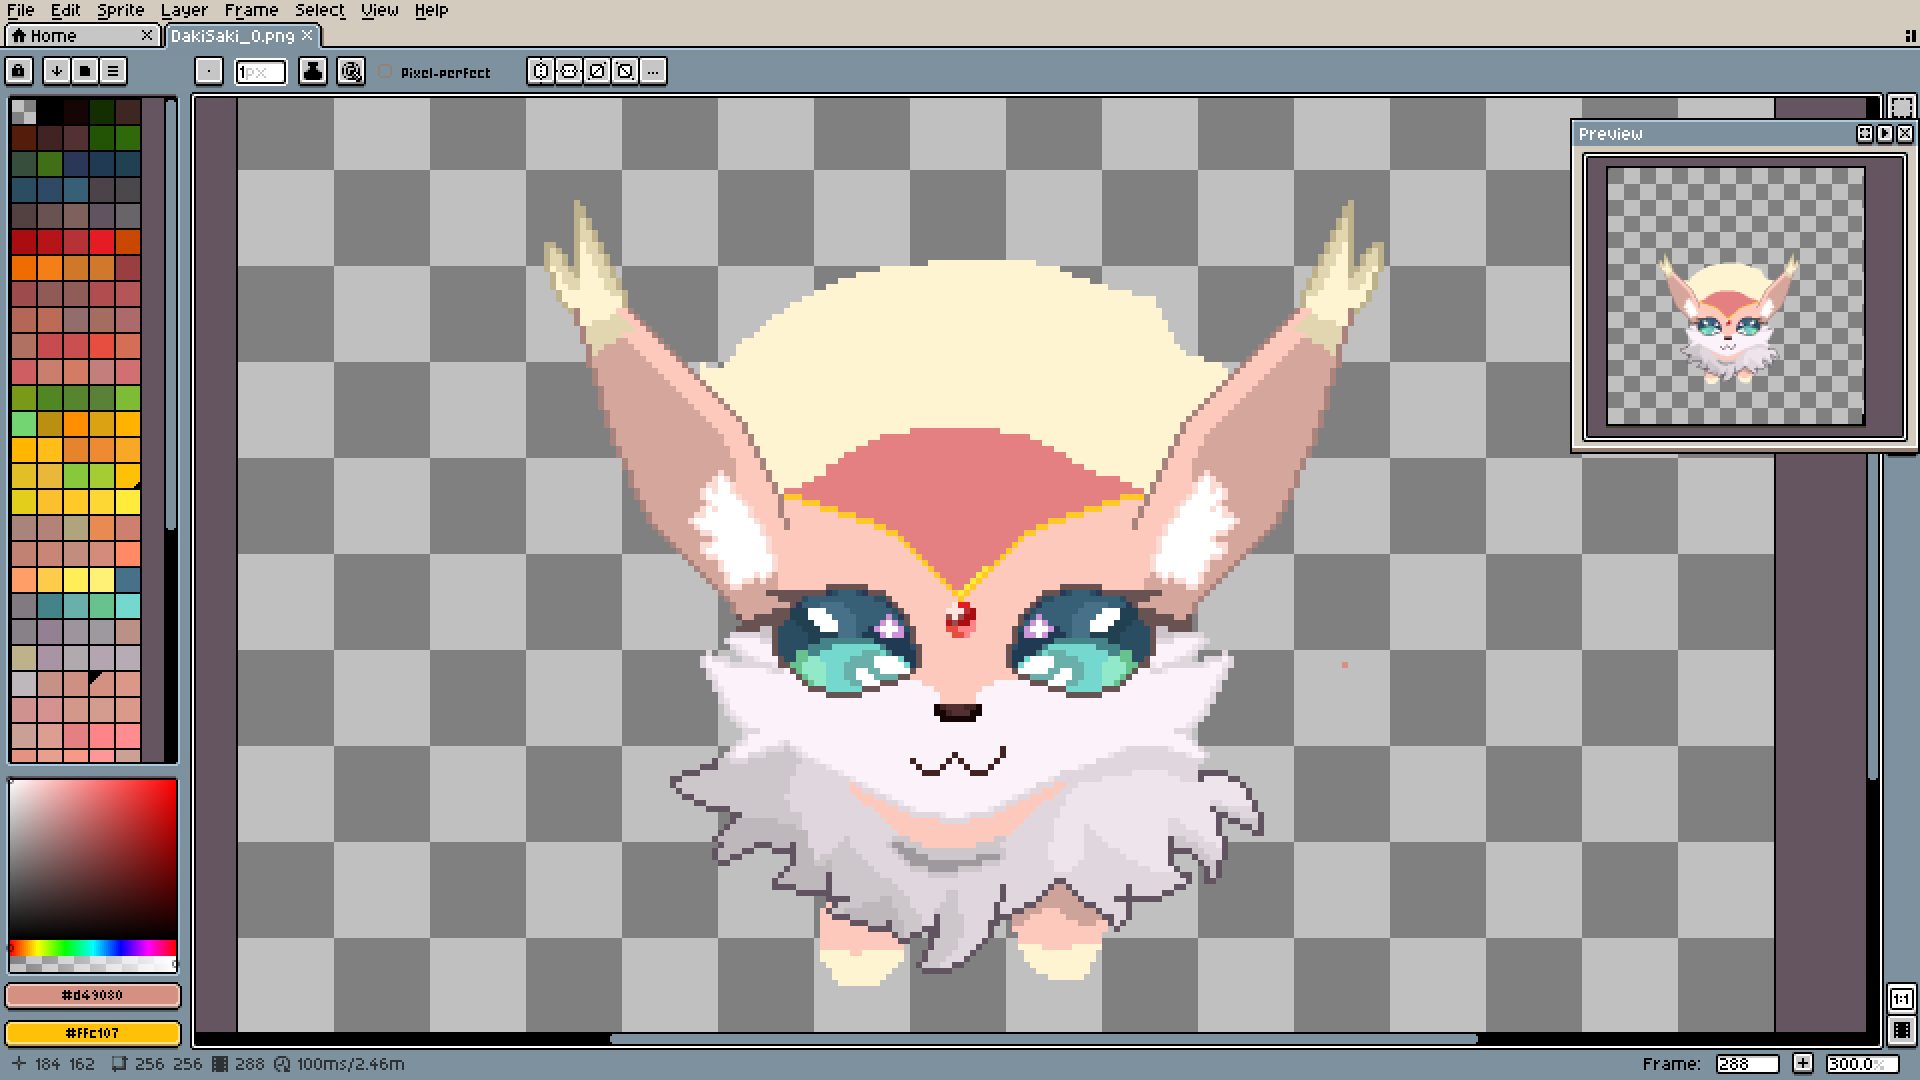
Another random shade... I'm simply spectacular...


I was also learning how to make fur on the spot. That's why every part will look a little different.
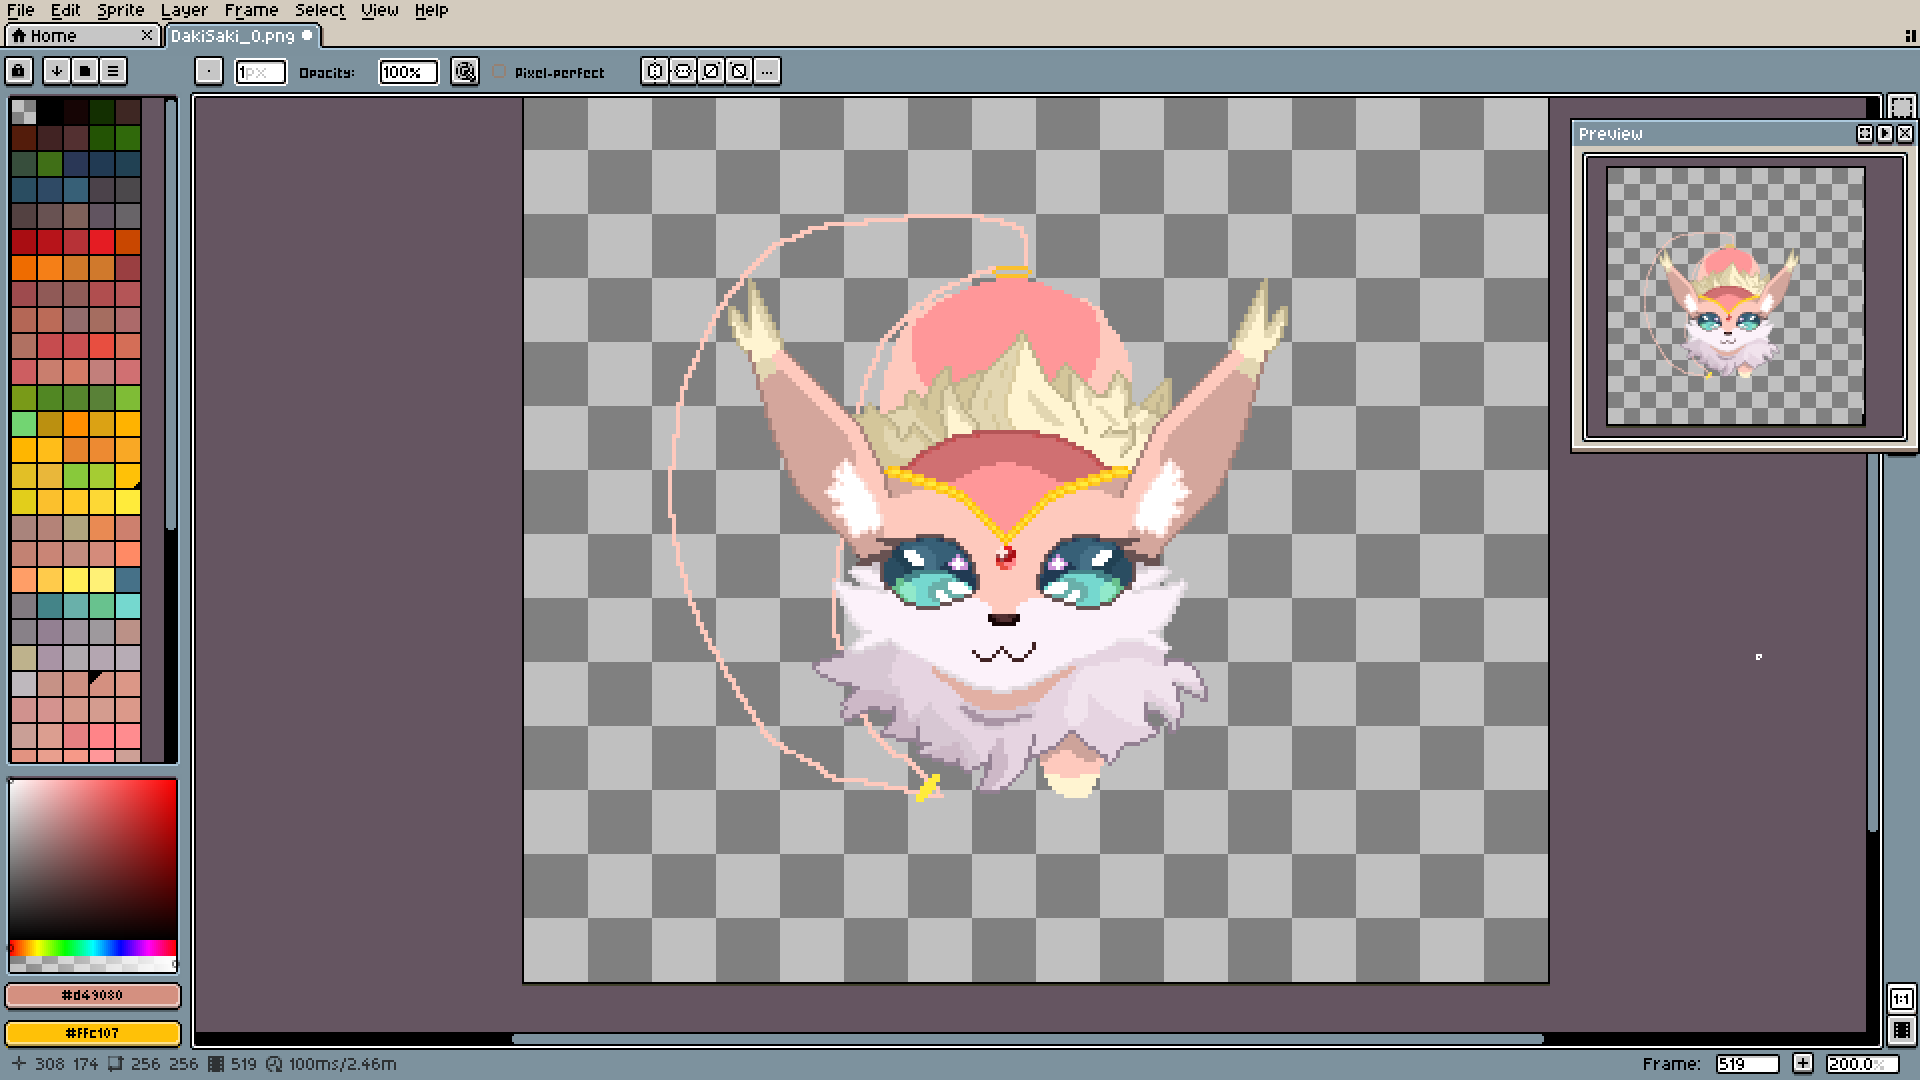
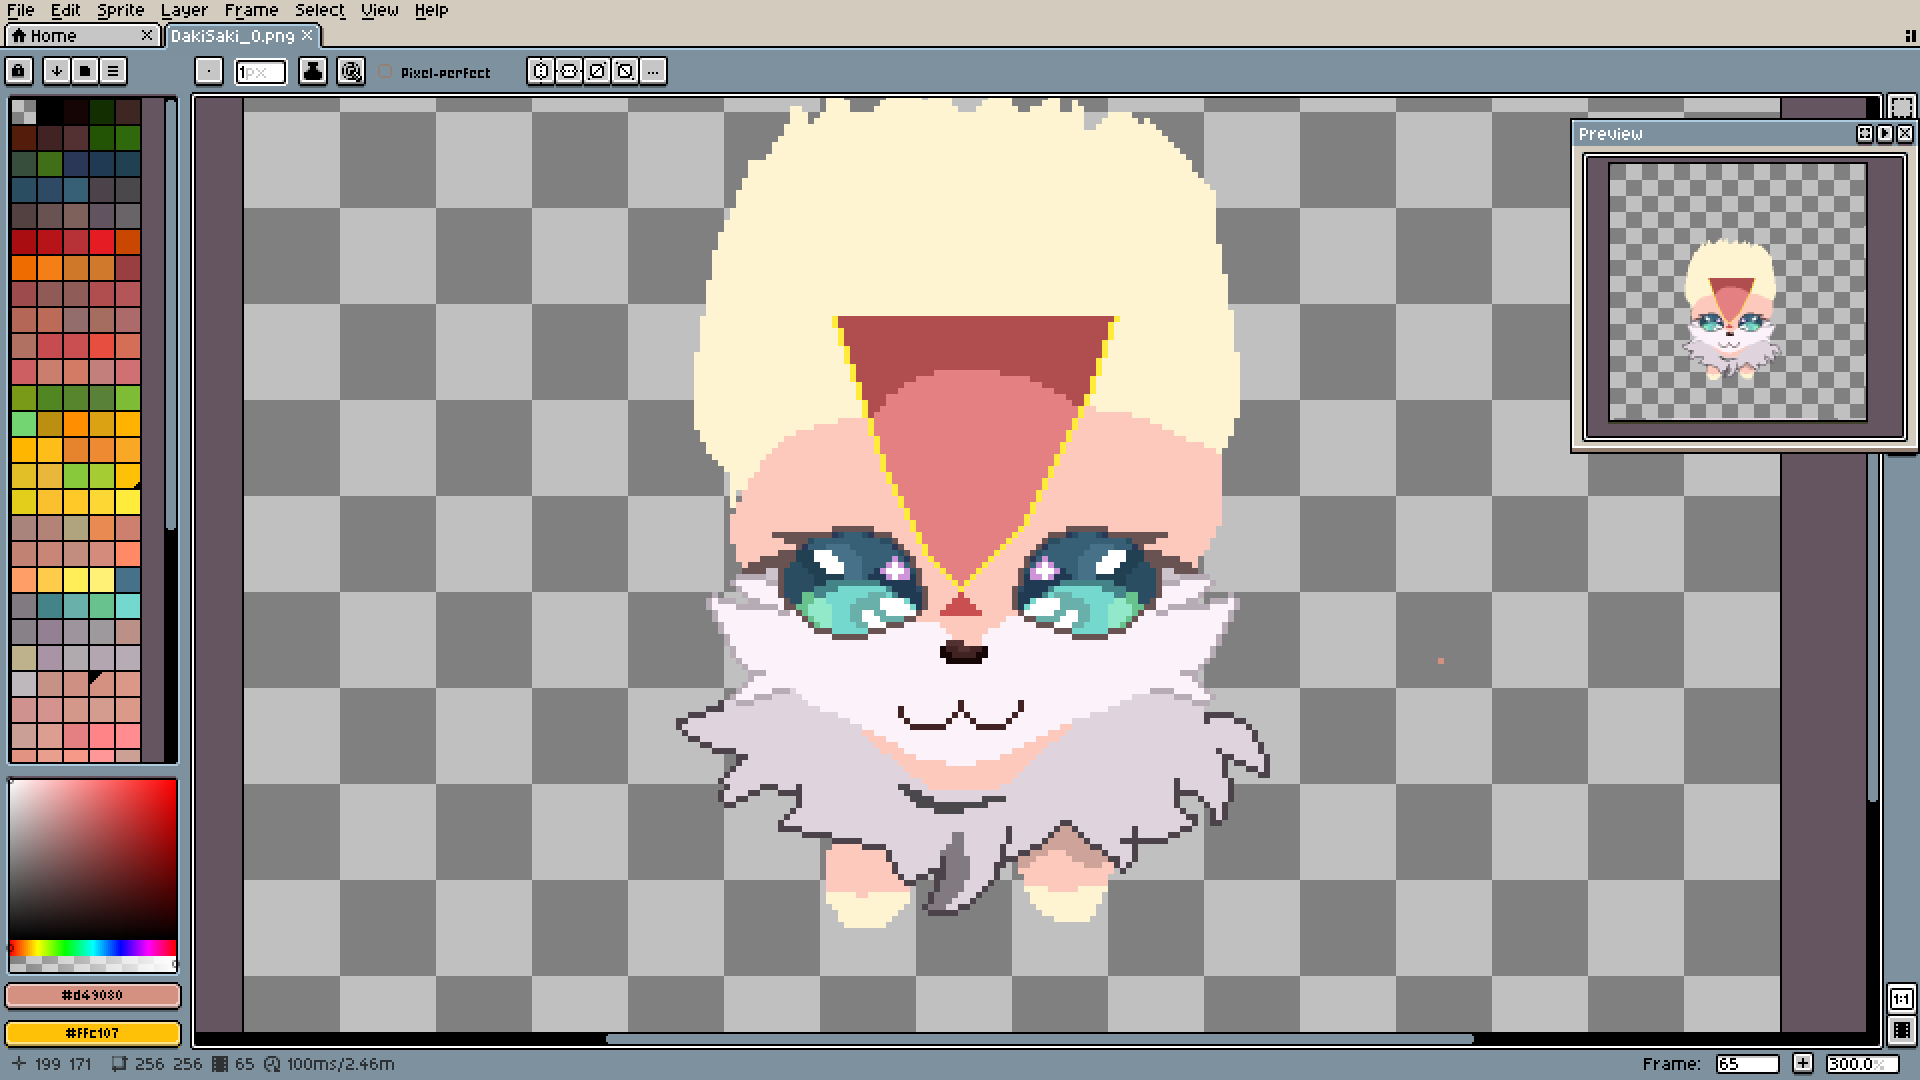
Like here: this will be the third and final fur method. First, shades (I don't think I did a fantastic job, but I will try to explain it netherless).
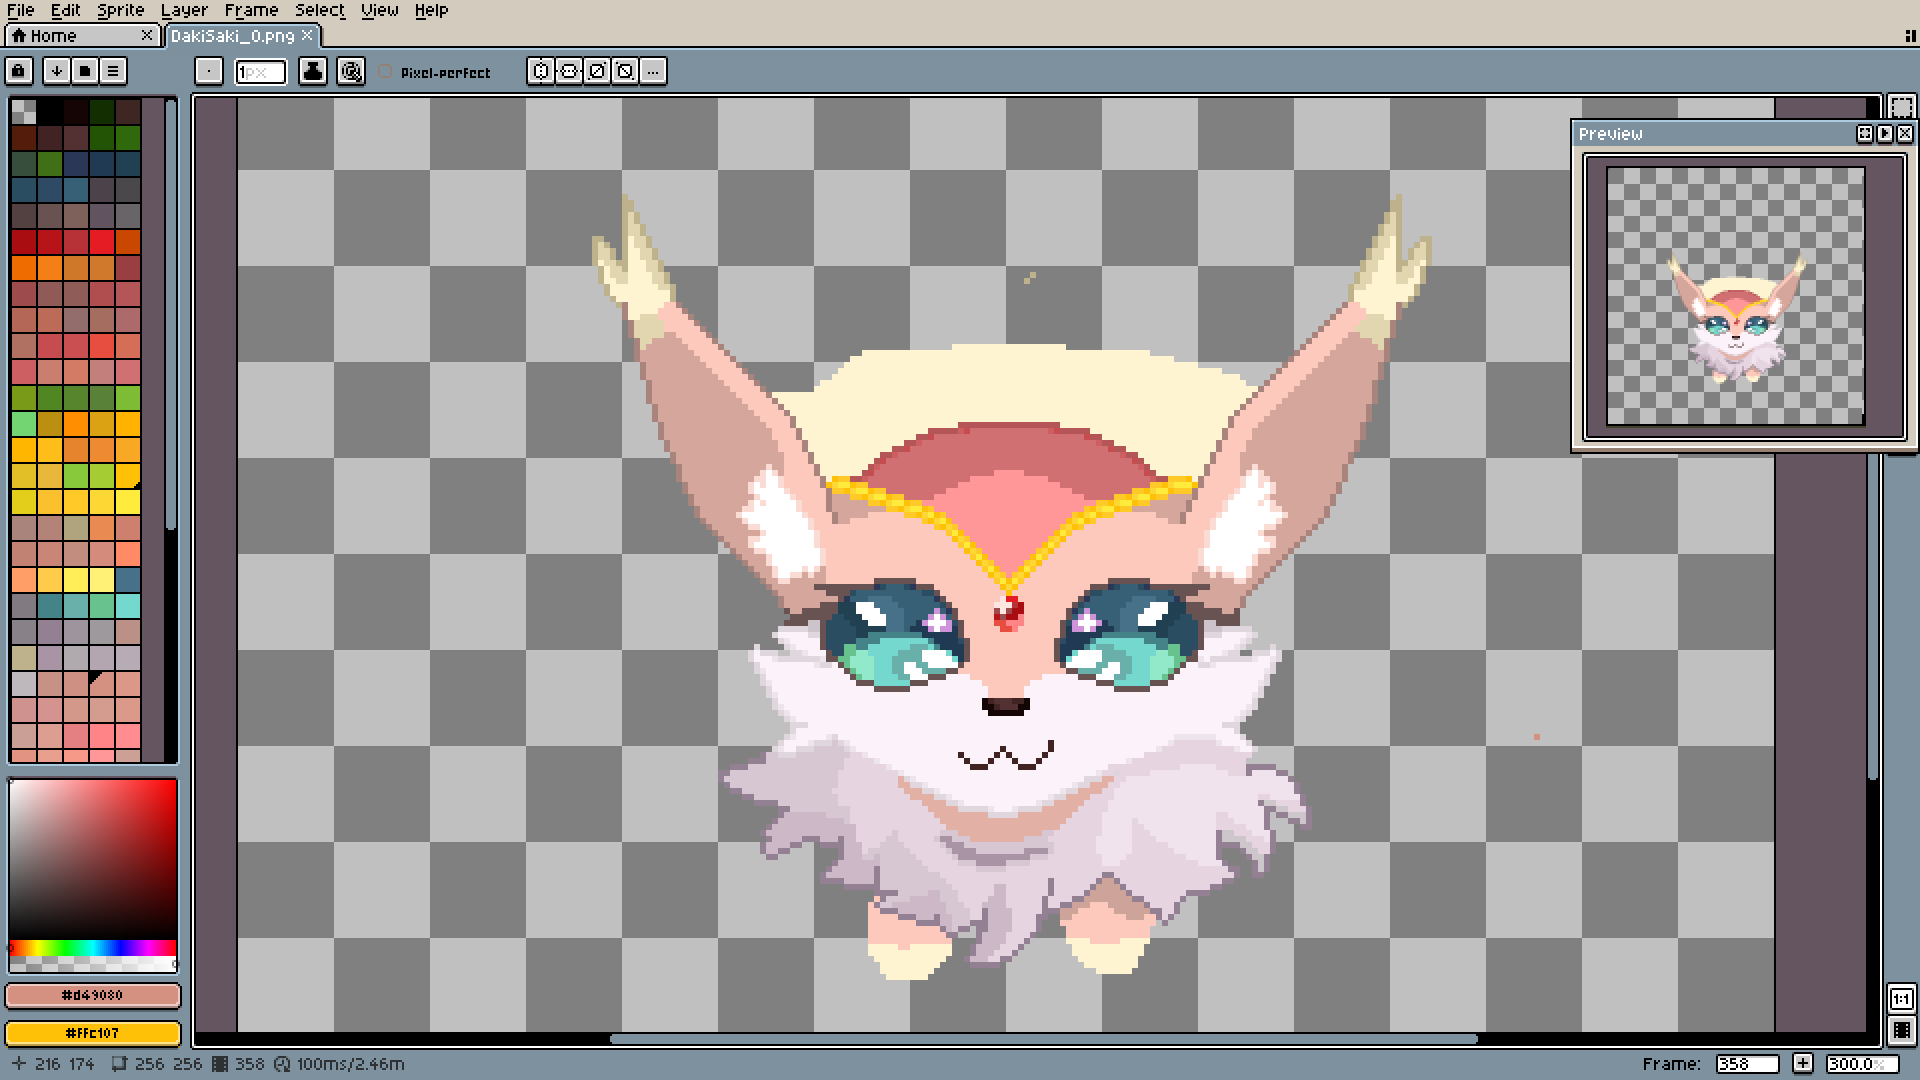
After that, we add rough edges and some texture to the inside. Here you can make the outline be irregular (you kind of have to, it's supposed to be fluffy after all).

Some more texture and breaking of the shading lines. I should have to make them mix even more.
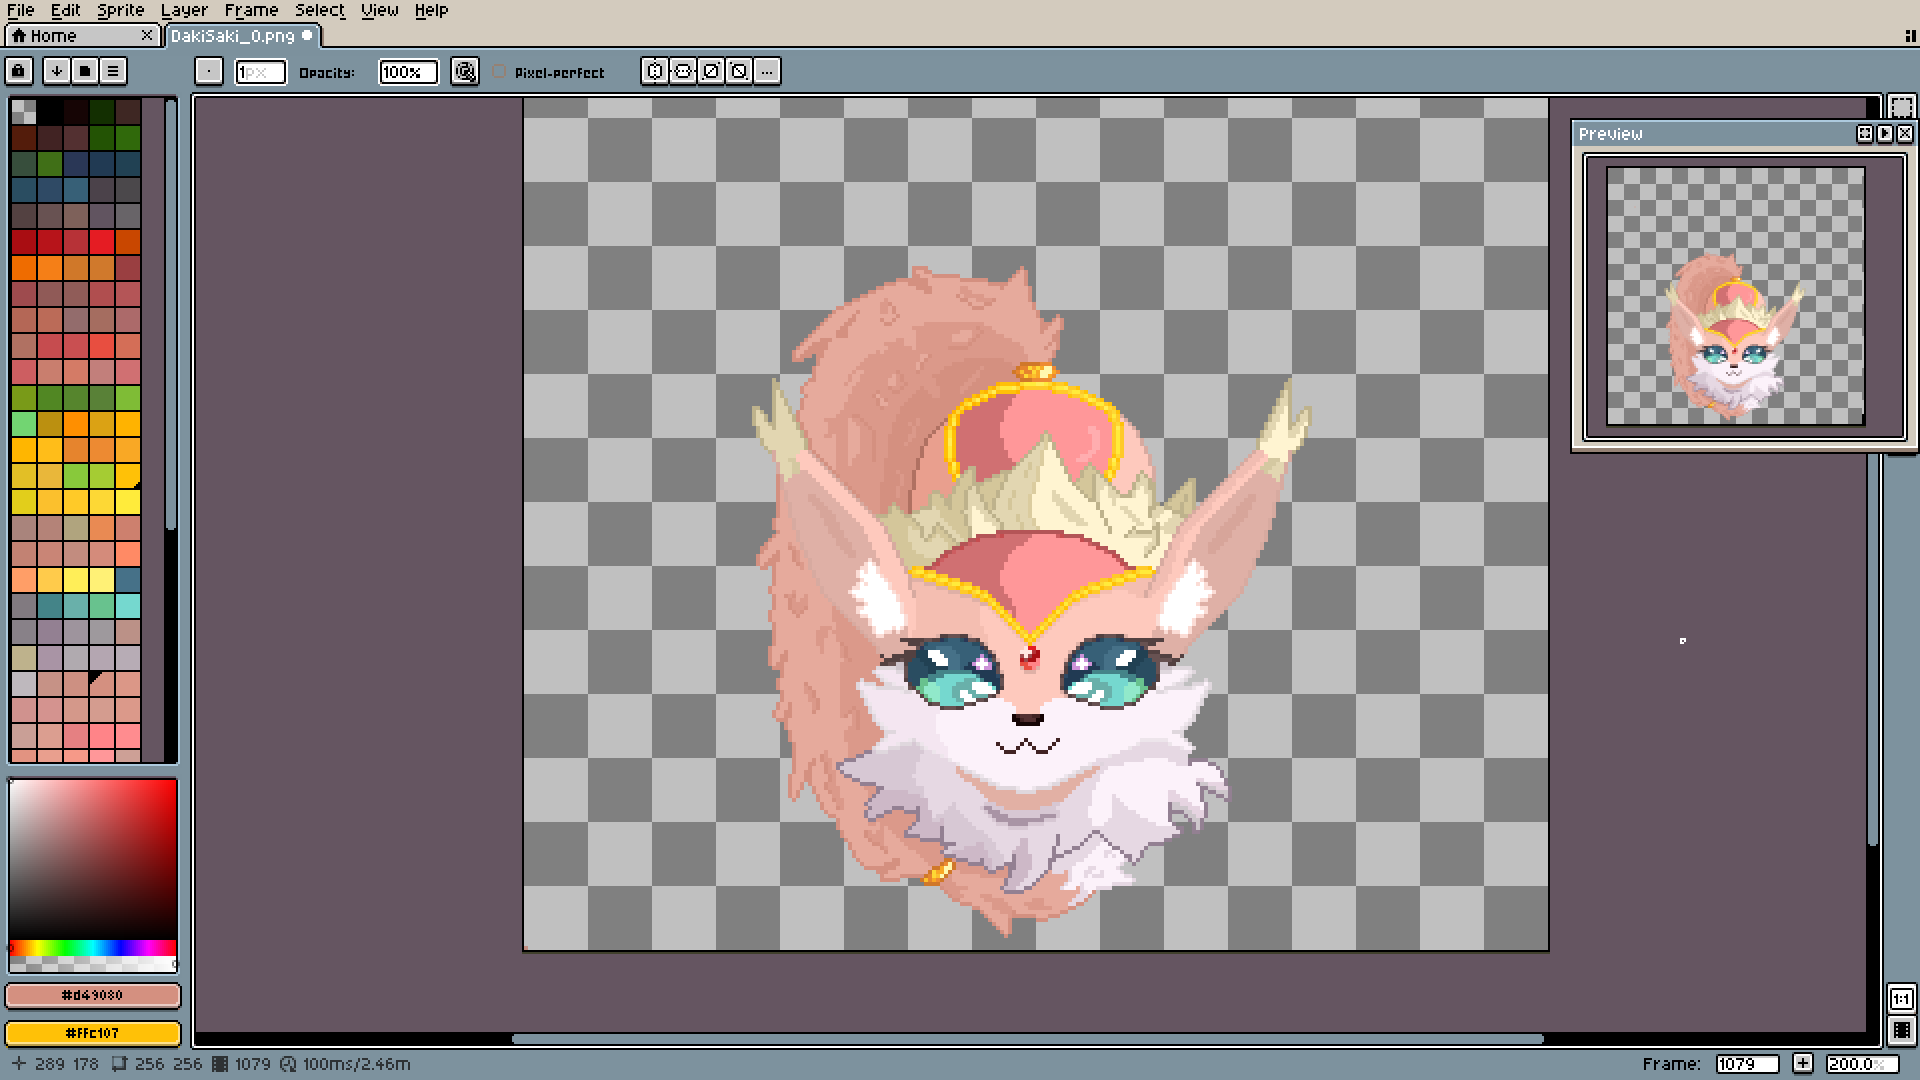
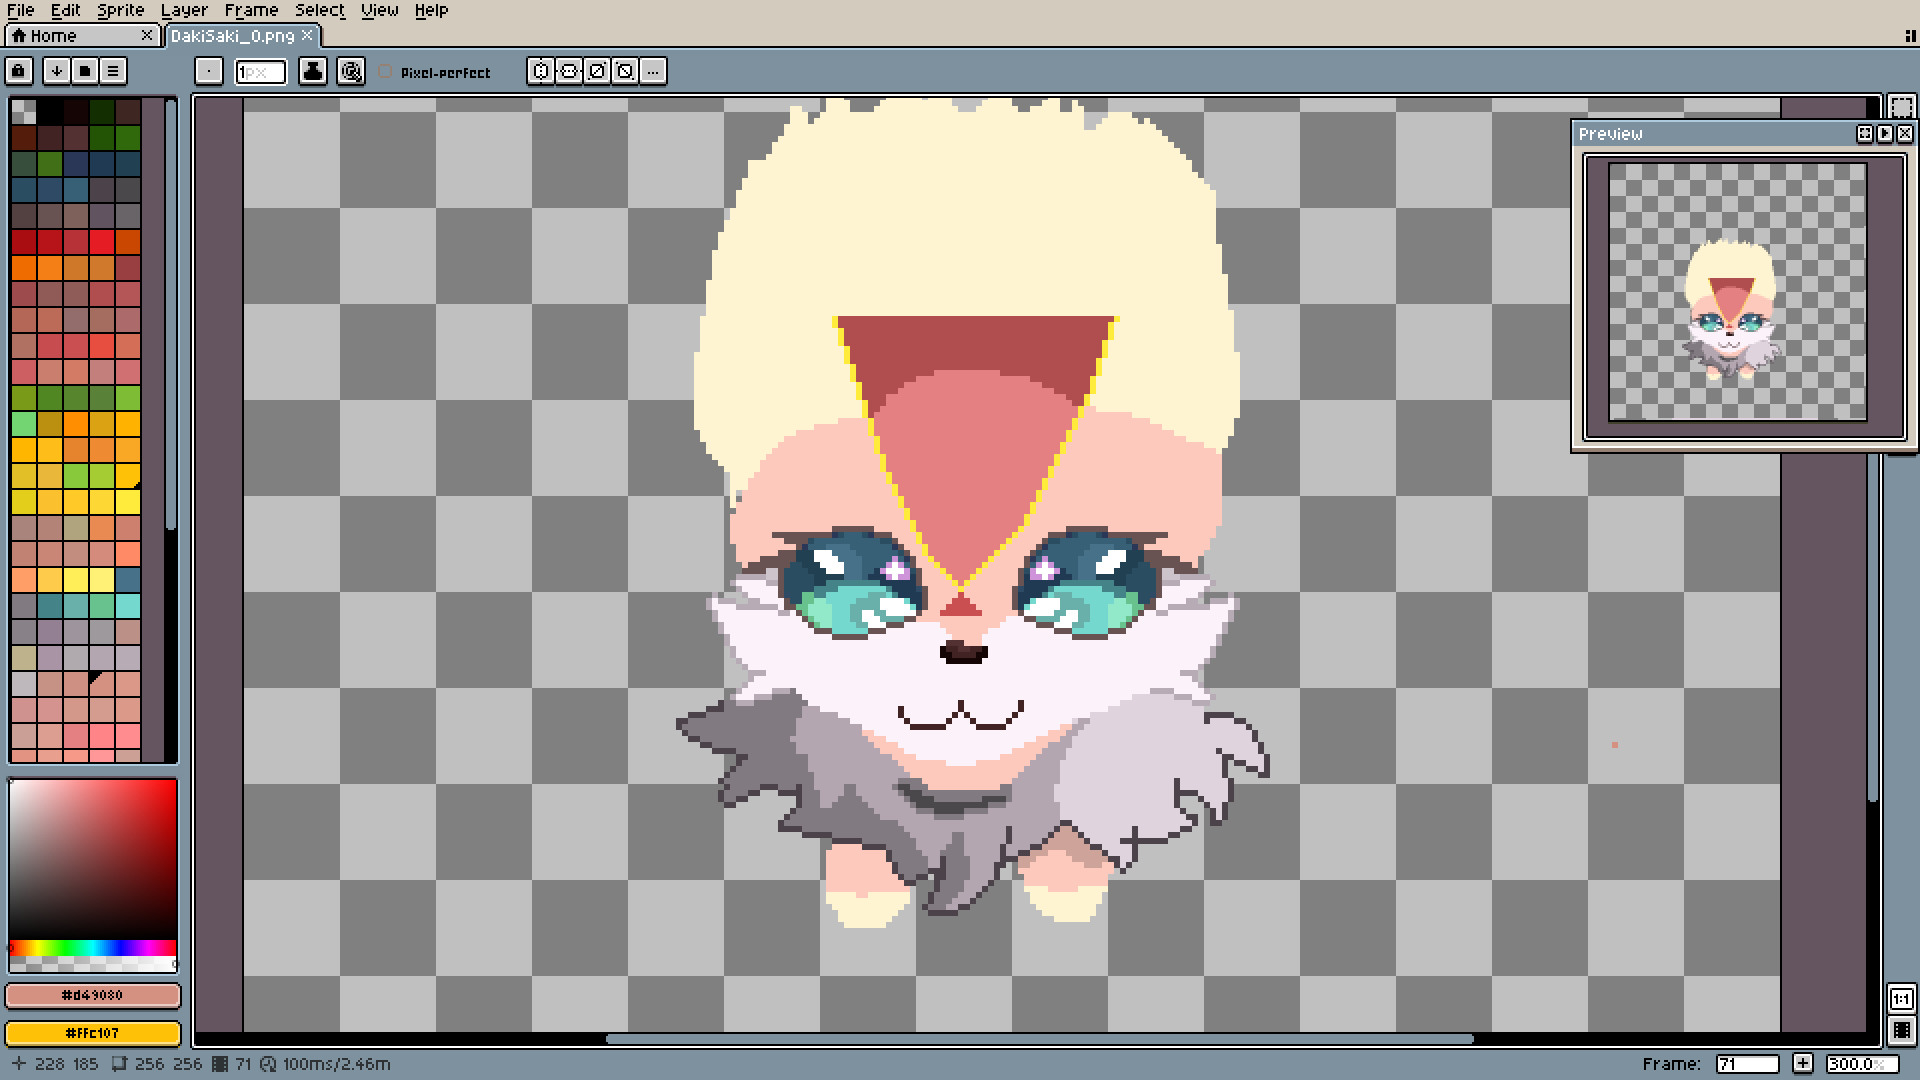
Here, I finally made the shades more consistent.
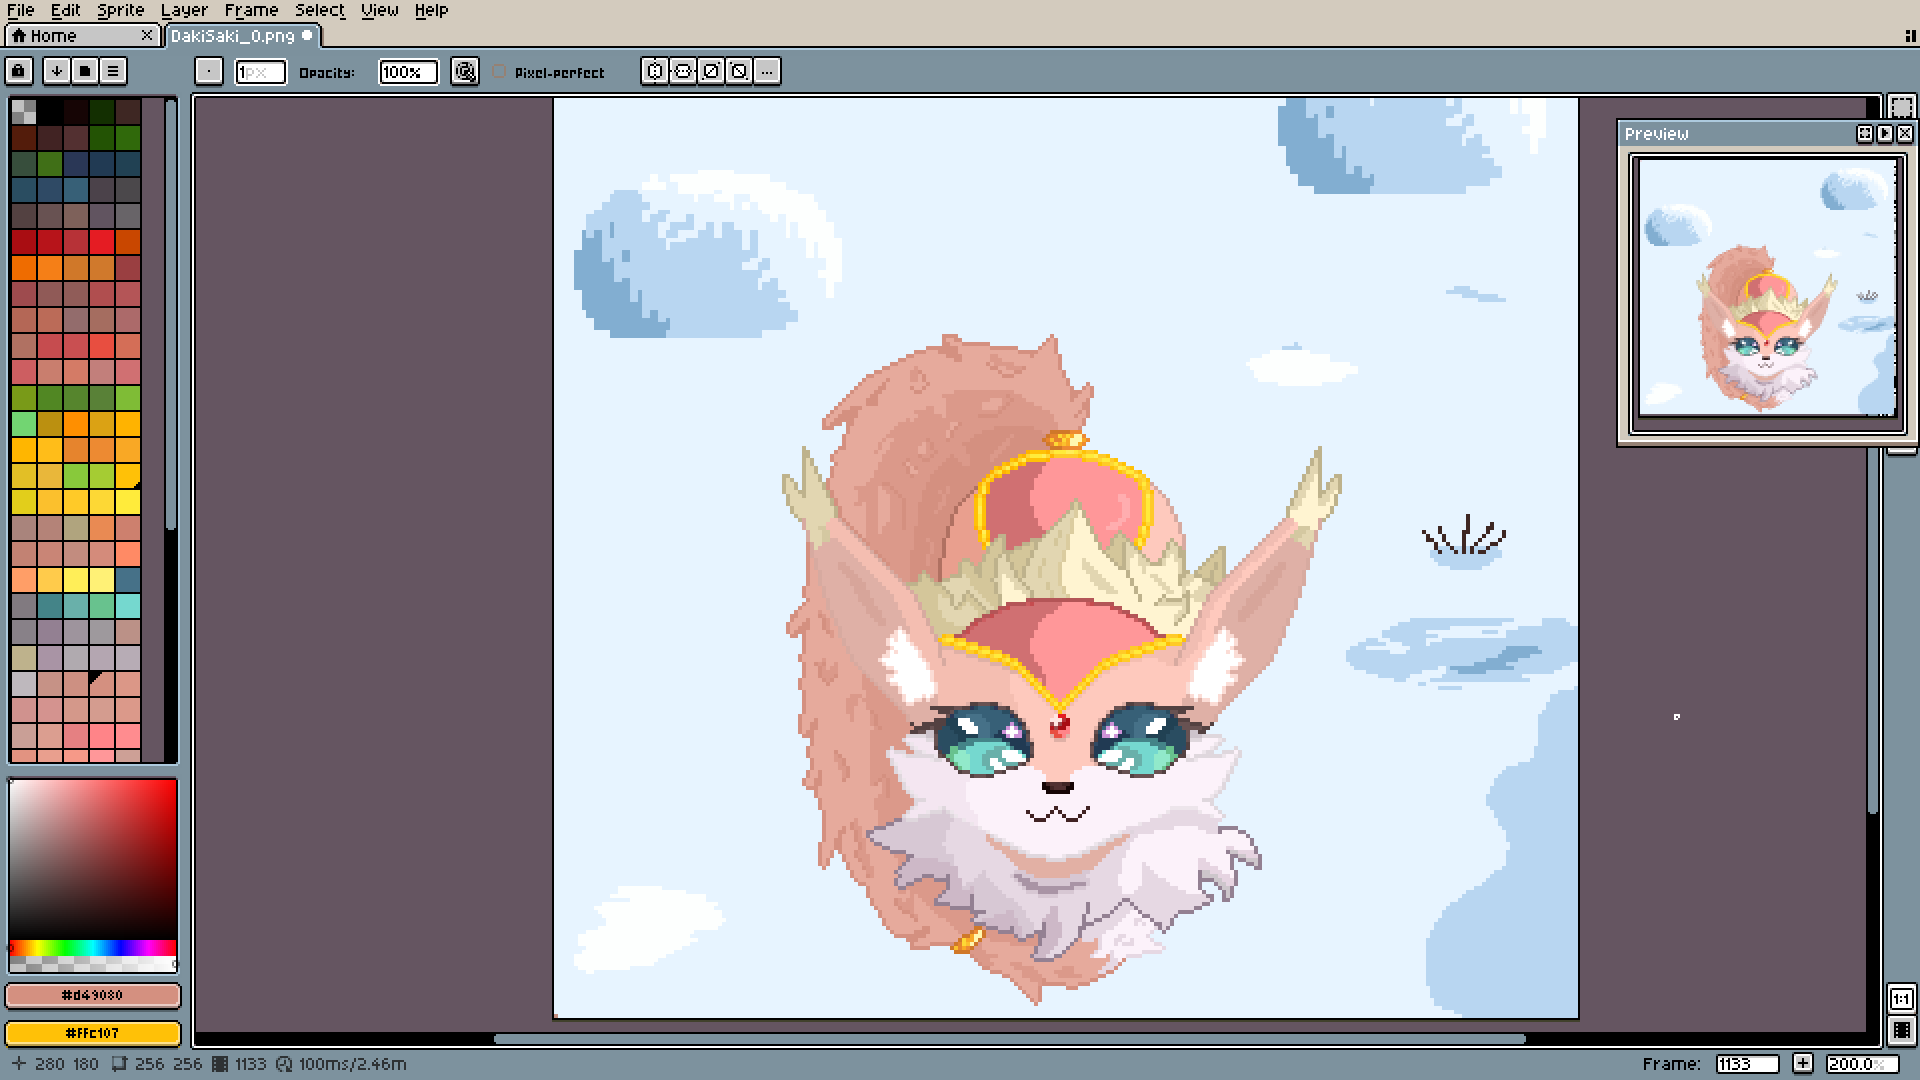
Now it's time for the backgrounds. I'm yet to learn any cohesive method of making good-looking snow. Right now I just make the whole ground kinda blue-ish and then add details, like those bushes some darker and lighter patches.

As always, shades are what keep the illusion alive. Never forget about them.
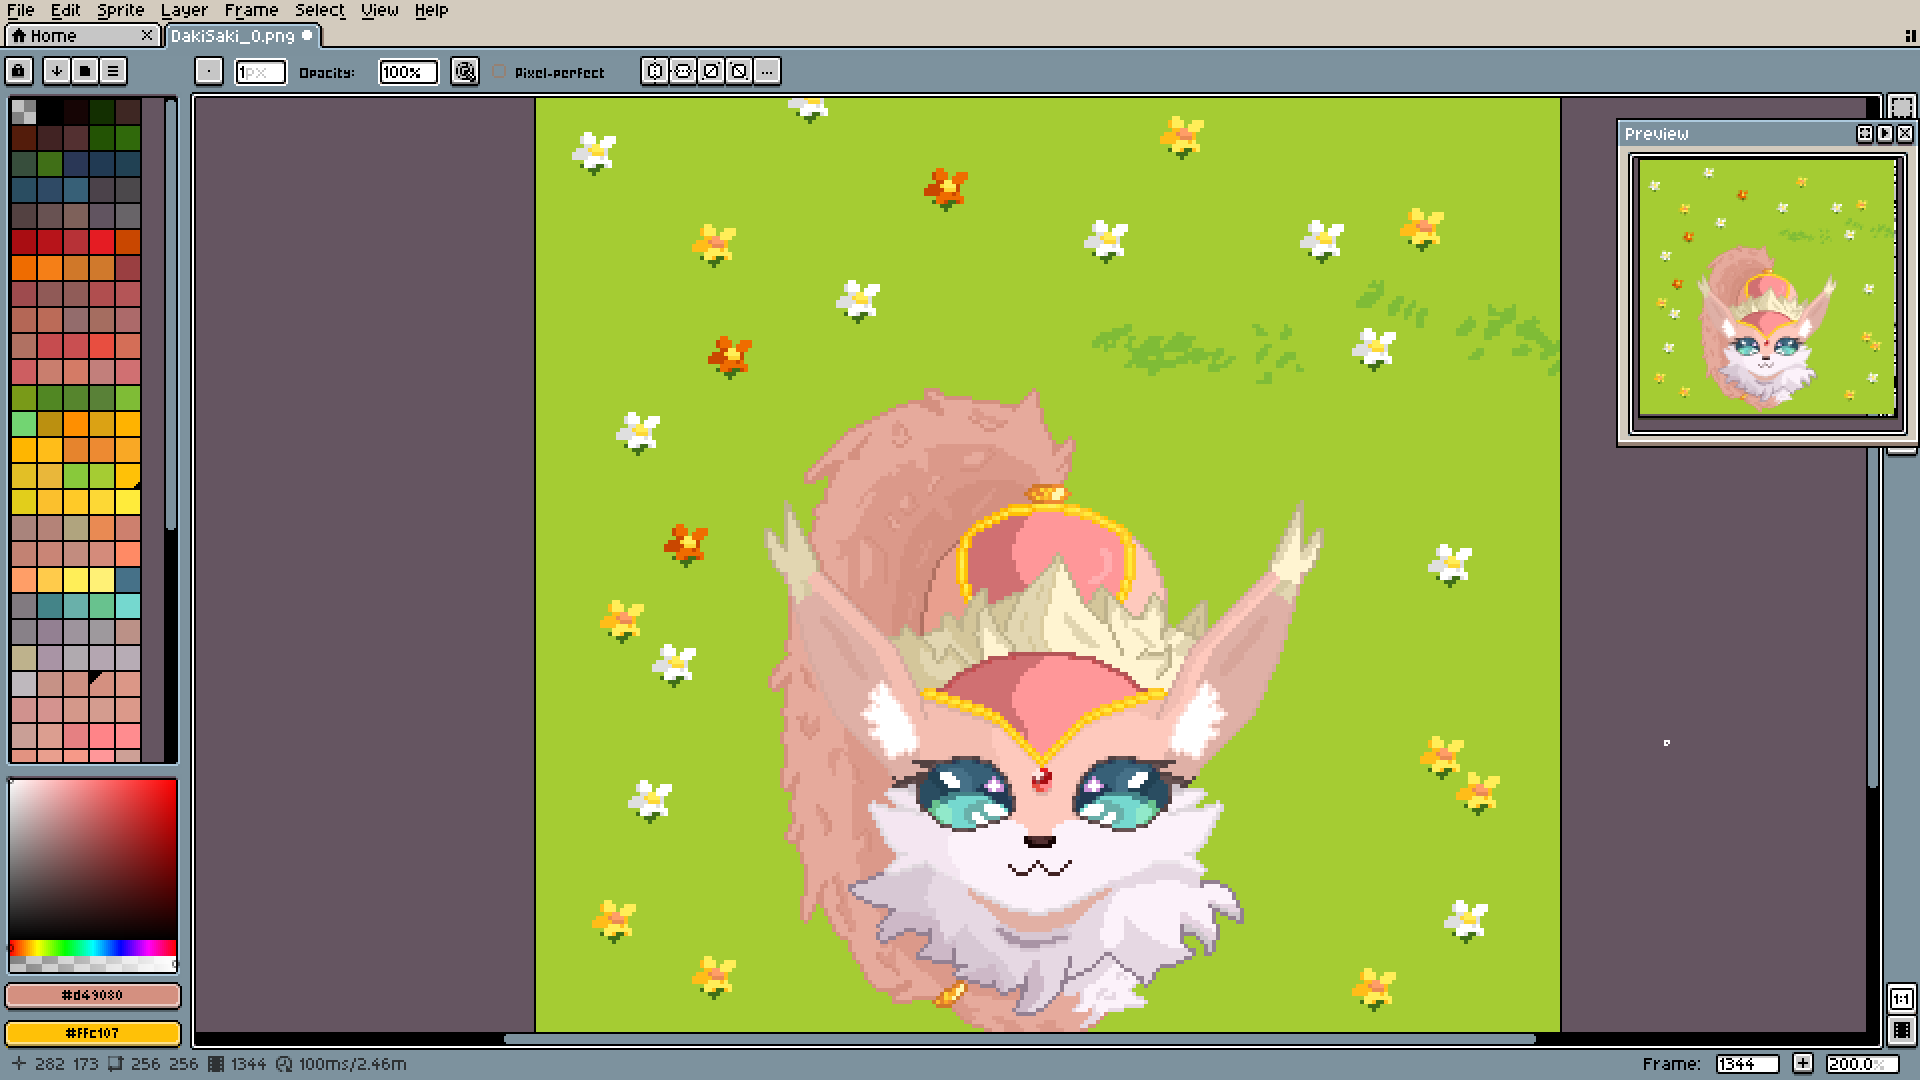
Now the spring one. The flowers are all the same, just with different colors, by the way.
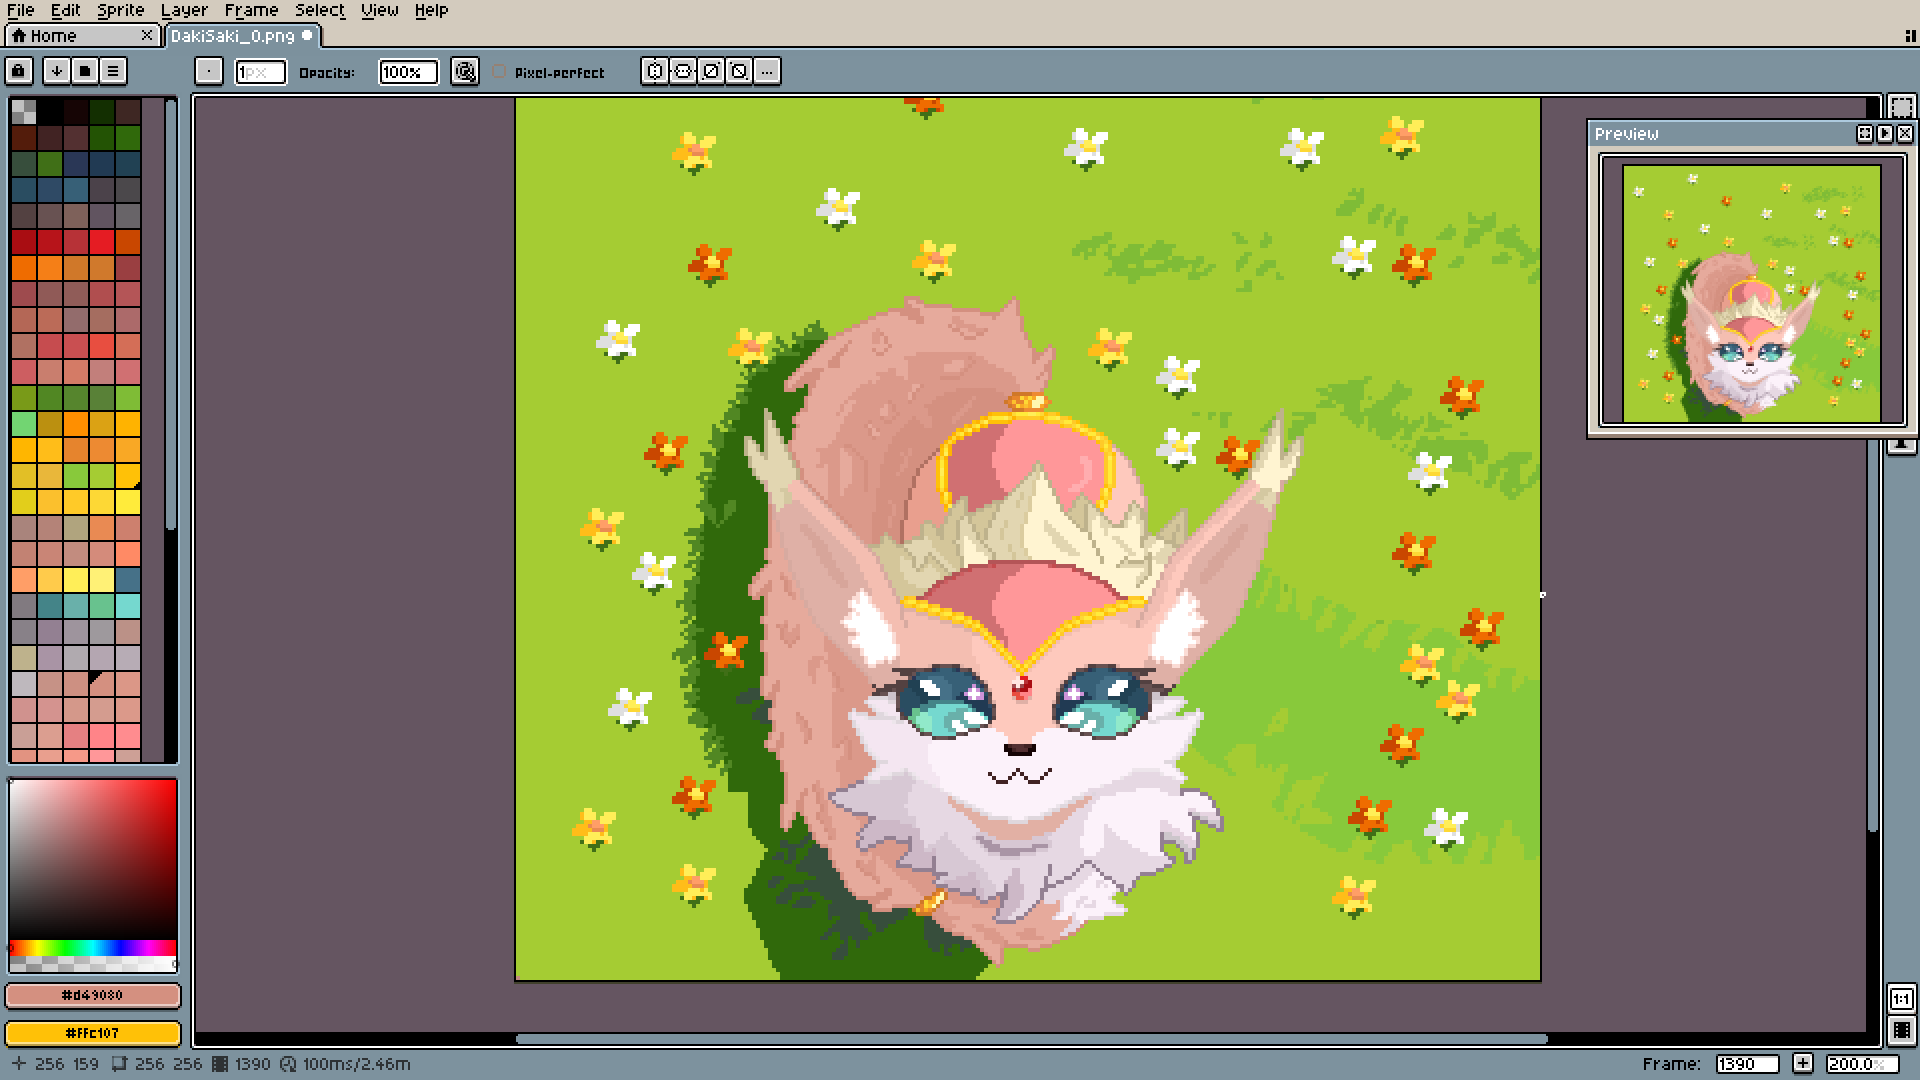
This cute grass effect was made by adding those lighter strips around the edges. It's not difficult to do, and the results are definitely worth it.
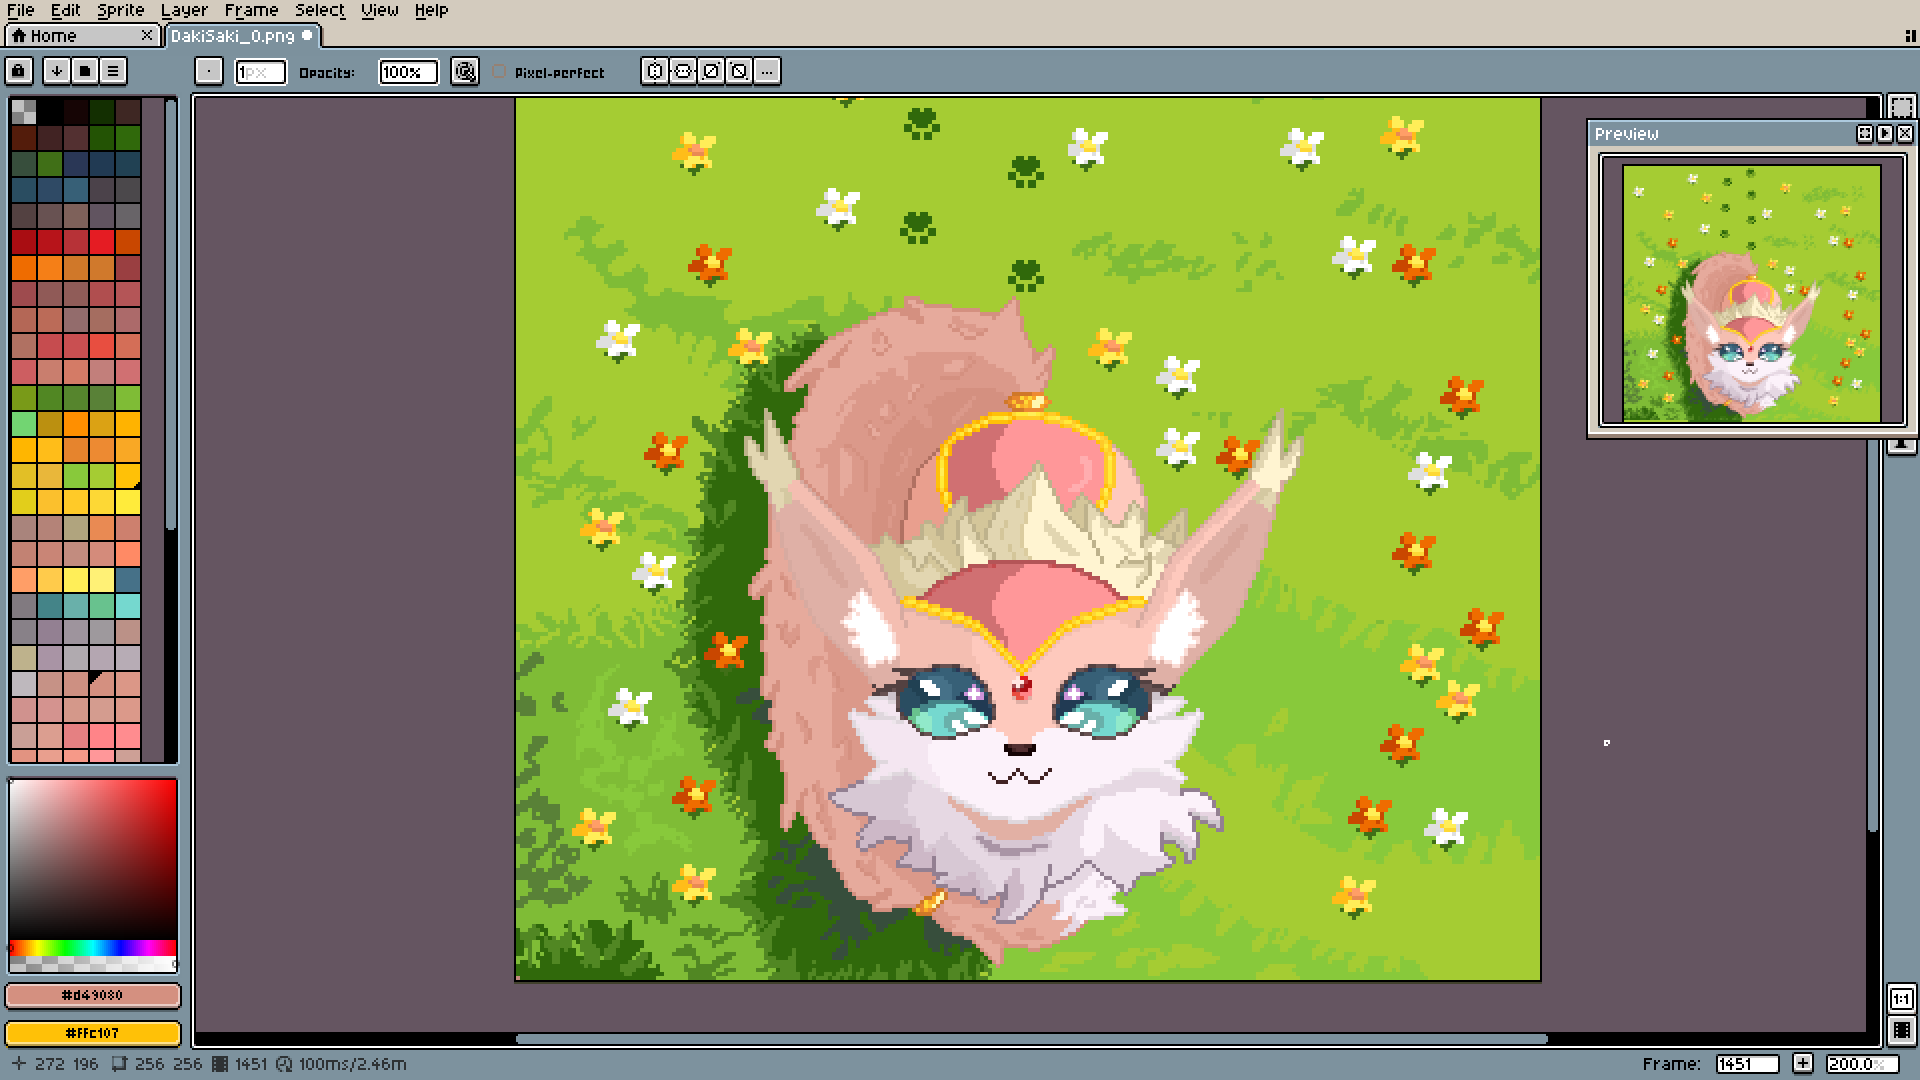
Final spring one.
Wooh, that was definitely my longest post here. But I'm happy and thankful. All the support I got working on this whole thing is beyond belief.
Thank you.