#63.2 Black hole
I wonder if anyone will ever guess how I'm naming these posts.
No yapping on this one, straight to business.
Animating is just the art of placing small changes into the pixel. There is possibly some "correct" way of using the right amount of frames and giving them a certain length. As you probably guessed, I don't know them, so the number of frames is random (I literally was adding more until I had enough to animate what I wanted), and the length was set by trial and error (here every frame is 0.4 seconds long).
I was using mostly the Marquee Tool (the very top one) to move small elements, pixel by pixel, every frame. Writing this now, I think it's not necessary to move only one pixel at a time, soon you will see.
A small but important change happened here. I realized that I had to create the new arm position for every hard movement. Because of the nature of the chibi, it looked really weird, like the whole body was shaking. Instead, I made the whole body one "block" and didn't animate it at all. It saved sooooo much time, believe me.
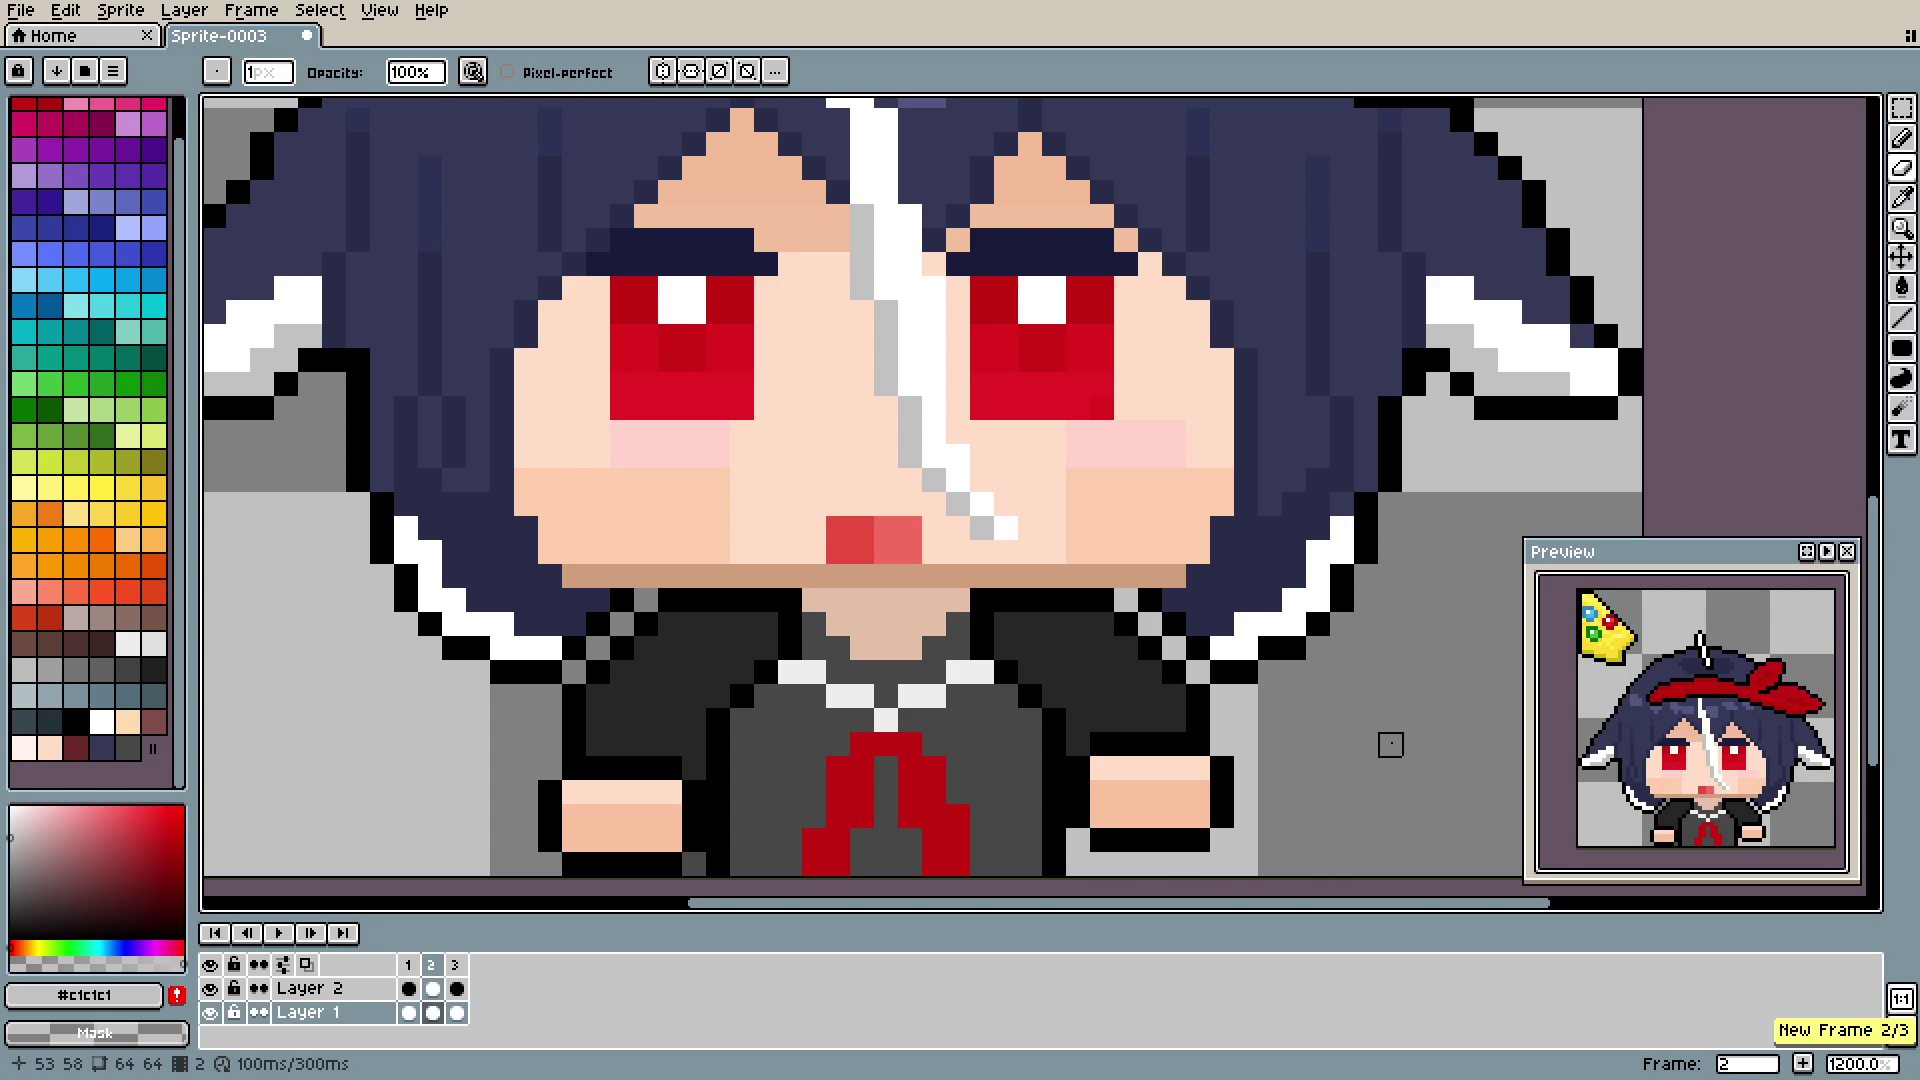
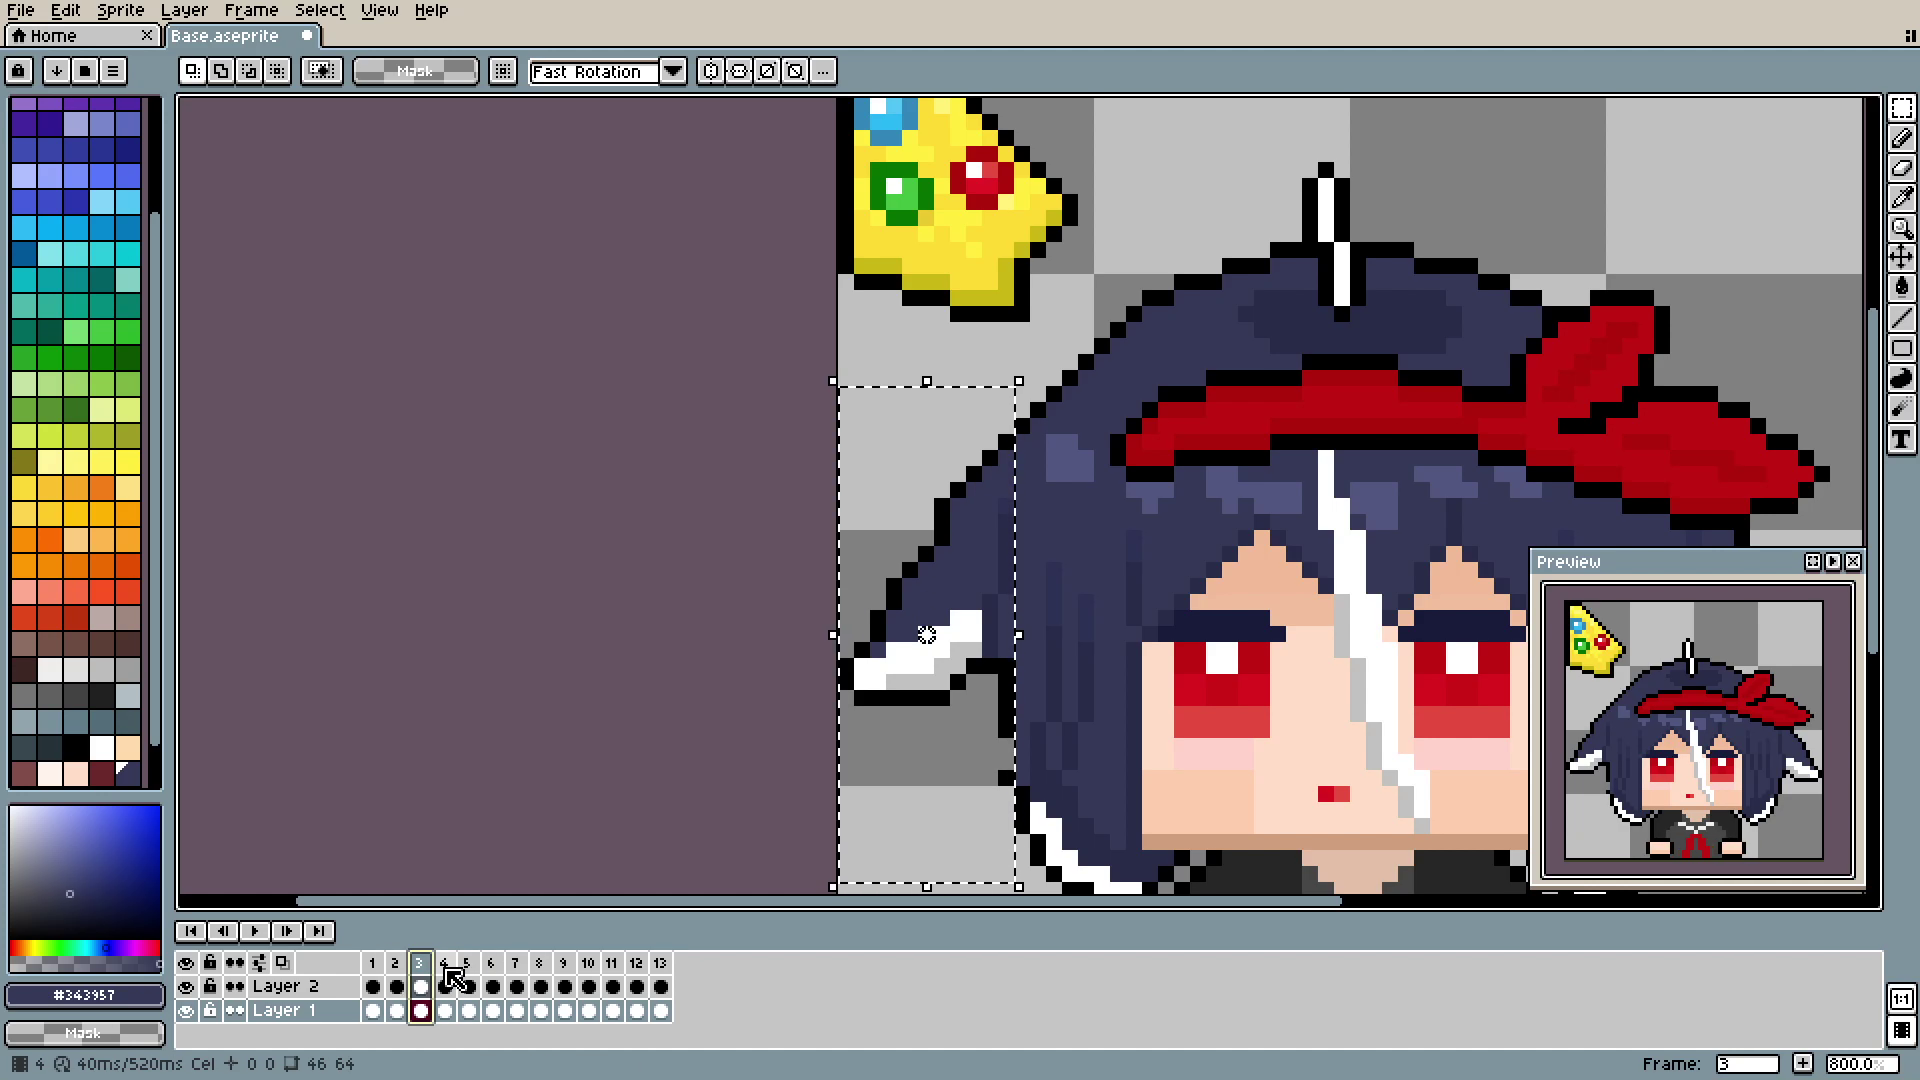
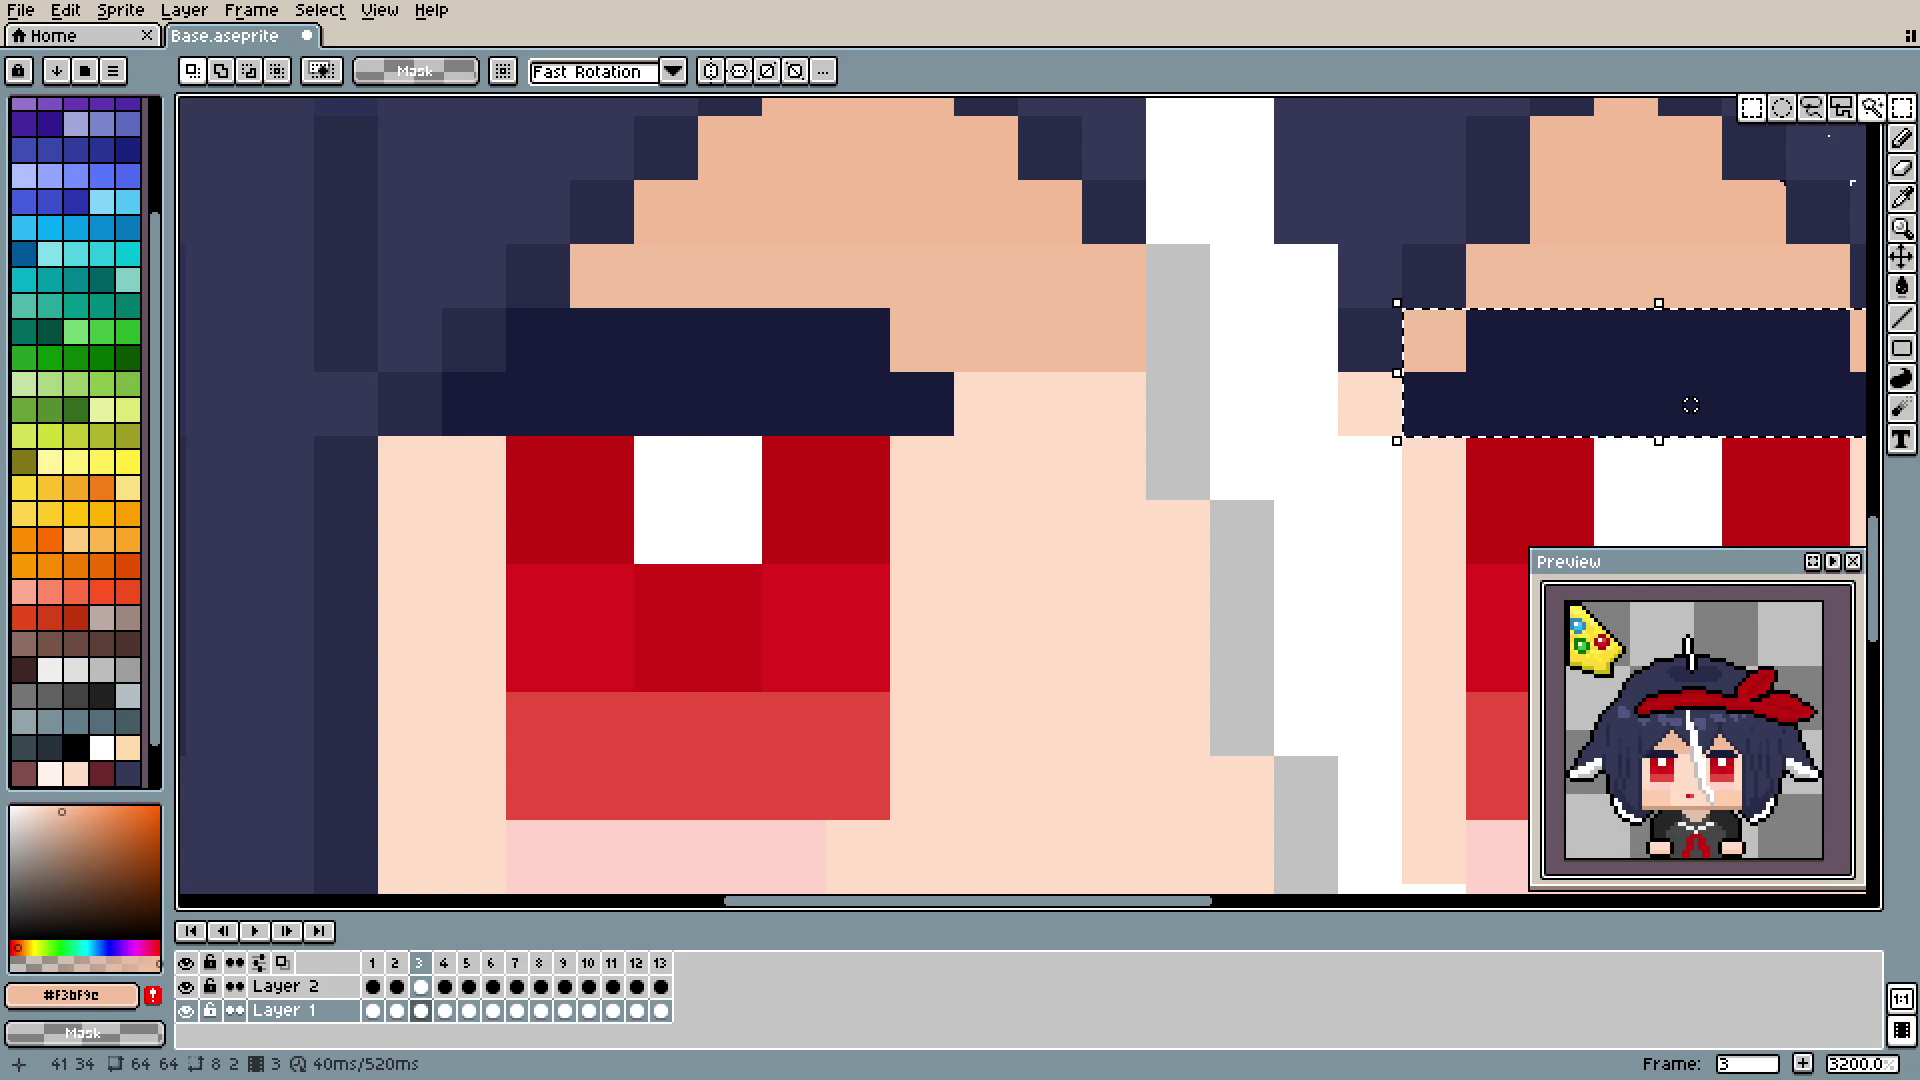
Also, put the parts that you want to animate in a different layer. Here, hands are in layer 2, and it made all the animation process much easier.
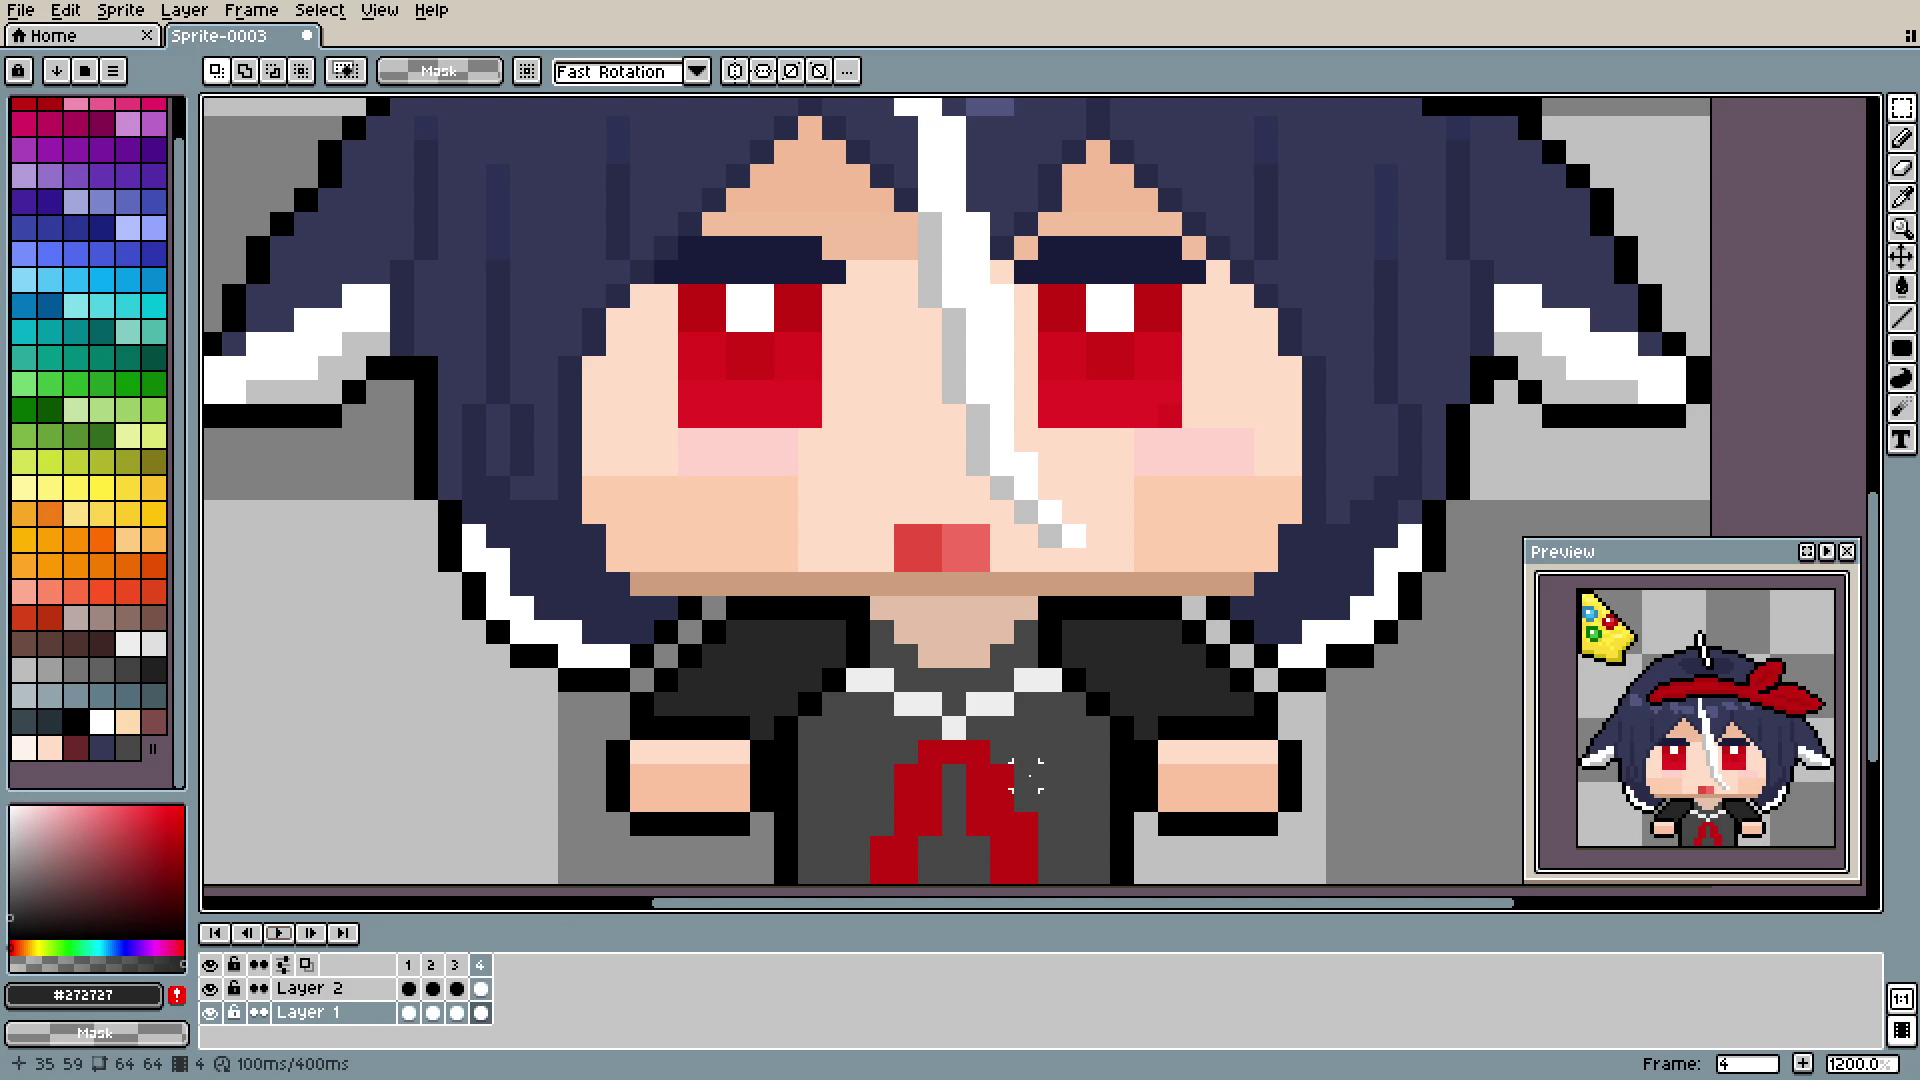
Here is another tip that I cannot overvalue. YOU CAN MOVE ELEMENTS ON MANY DIFFERENT LAYERS AND FRAMES AT ONCE!!!. To do this: choose the Marquee Tool, mark the part that you want to move, and then, pressing shift, choose which frames you would like to move. If you want to move only elements from layer 2, choose only the white dots from this layer.
I'm putting so much pressure on this because on my last cursor I was moving EVERY SINGLE FRAME ONE BY ONE. It was not only incredibly time-consuming but also infuriating.
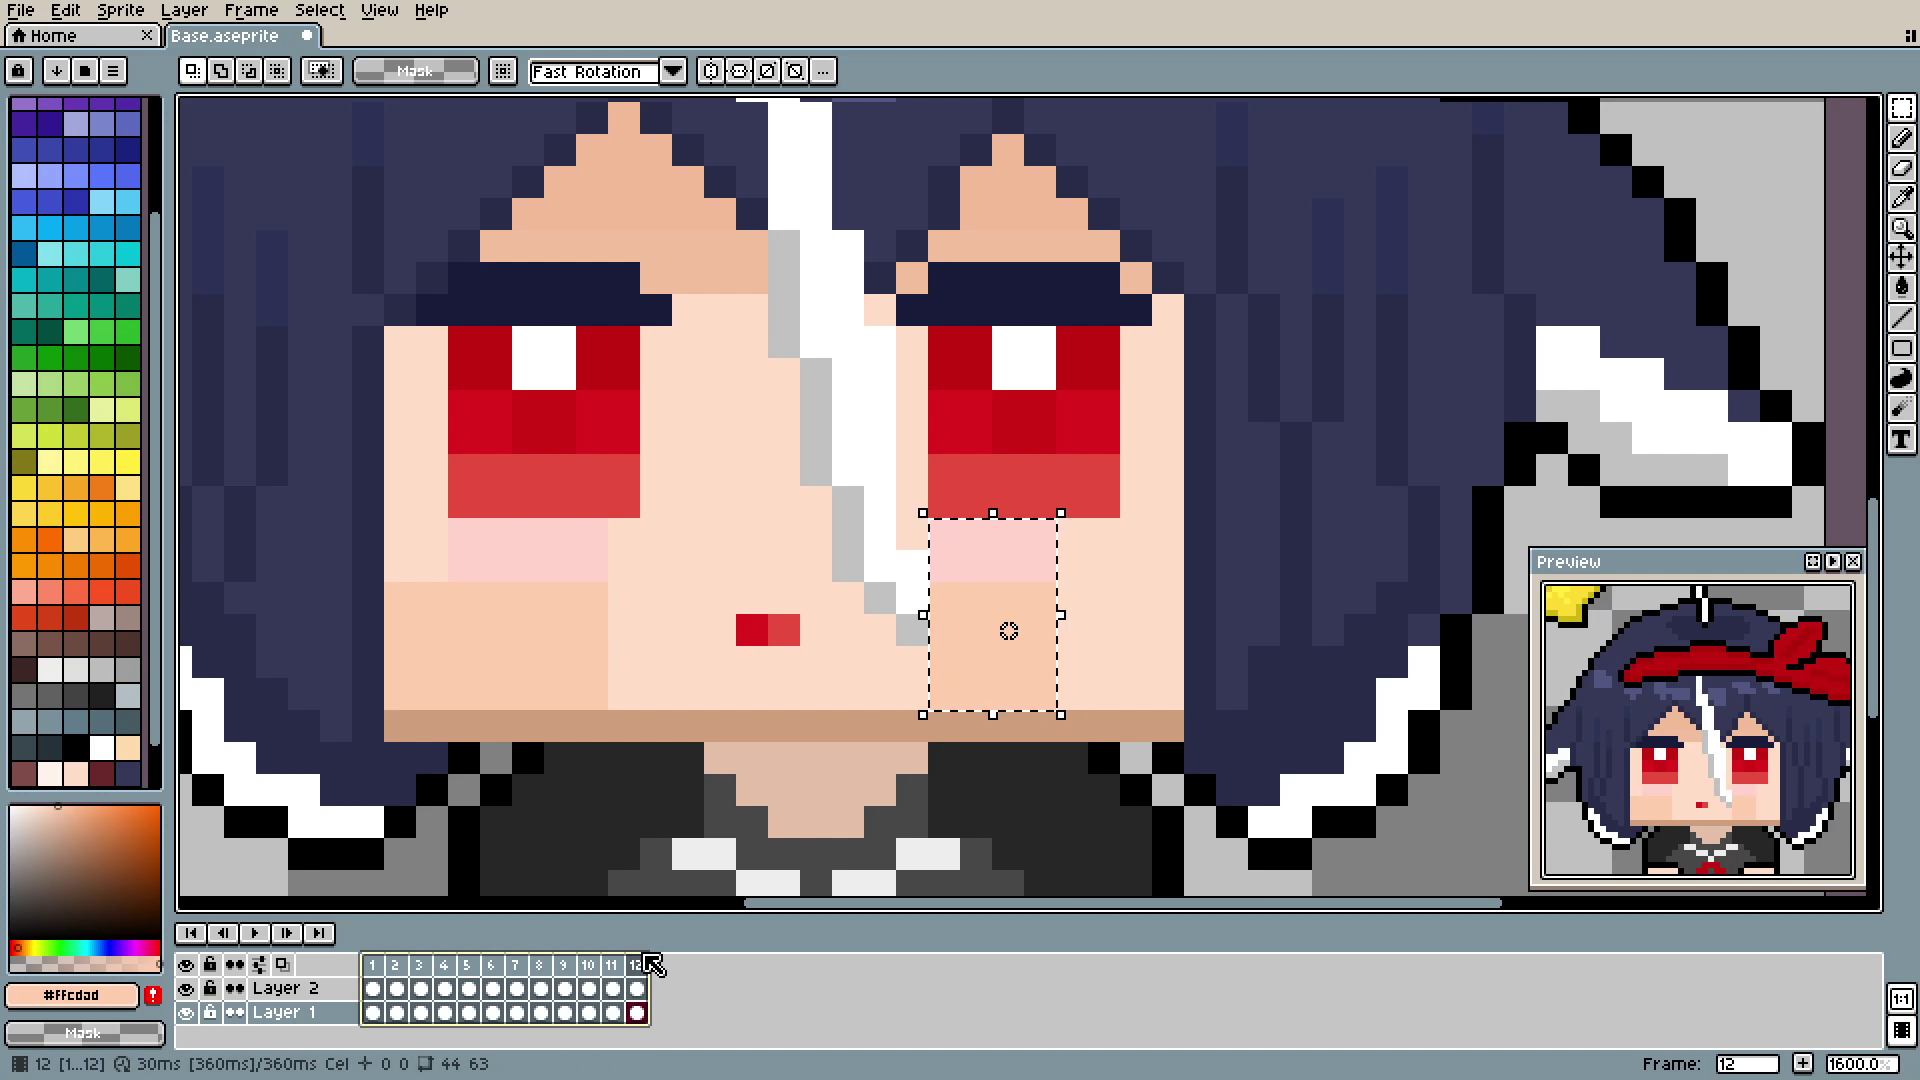
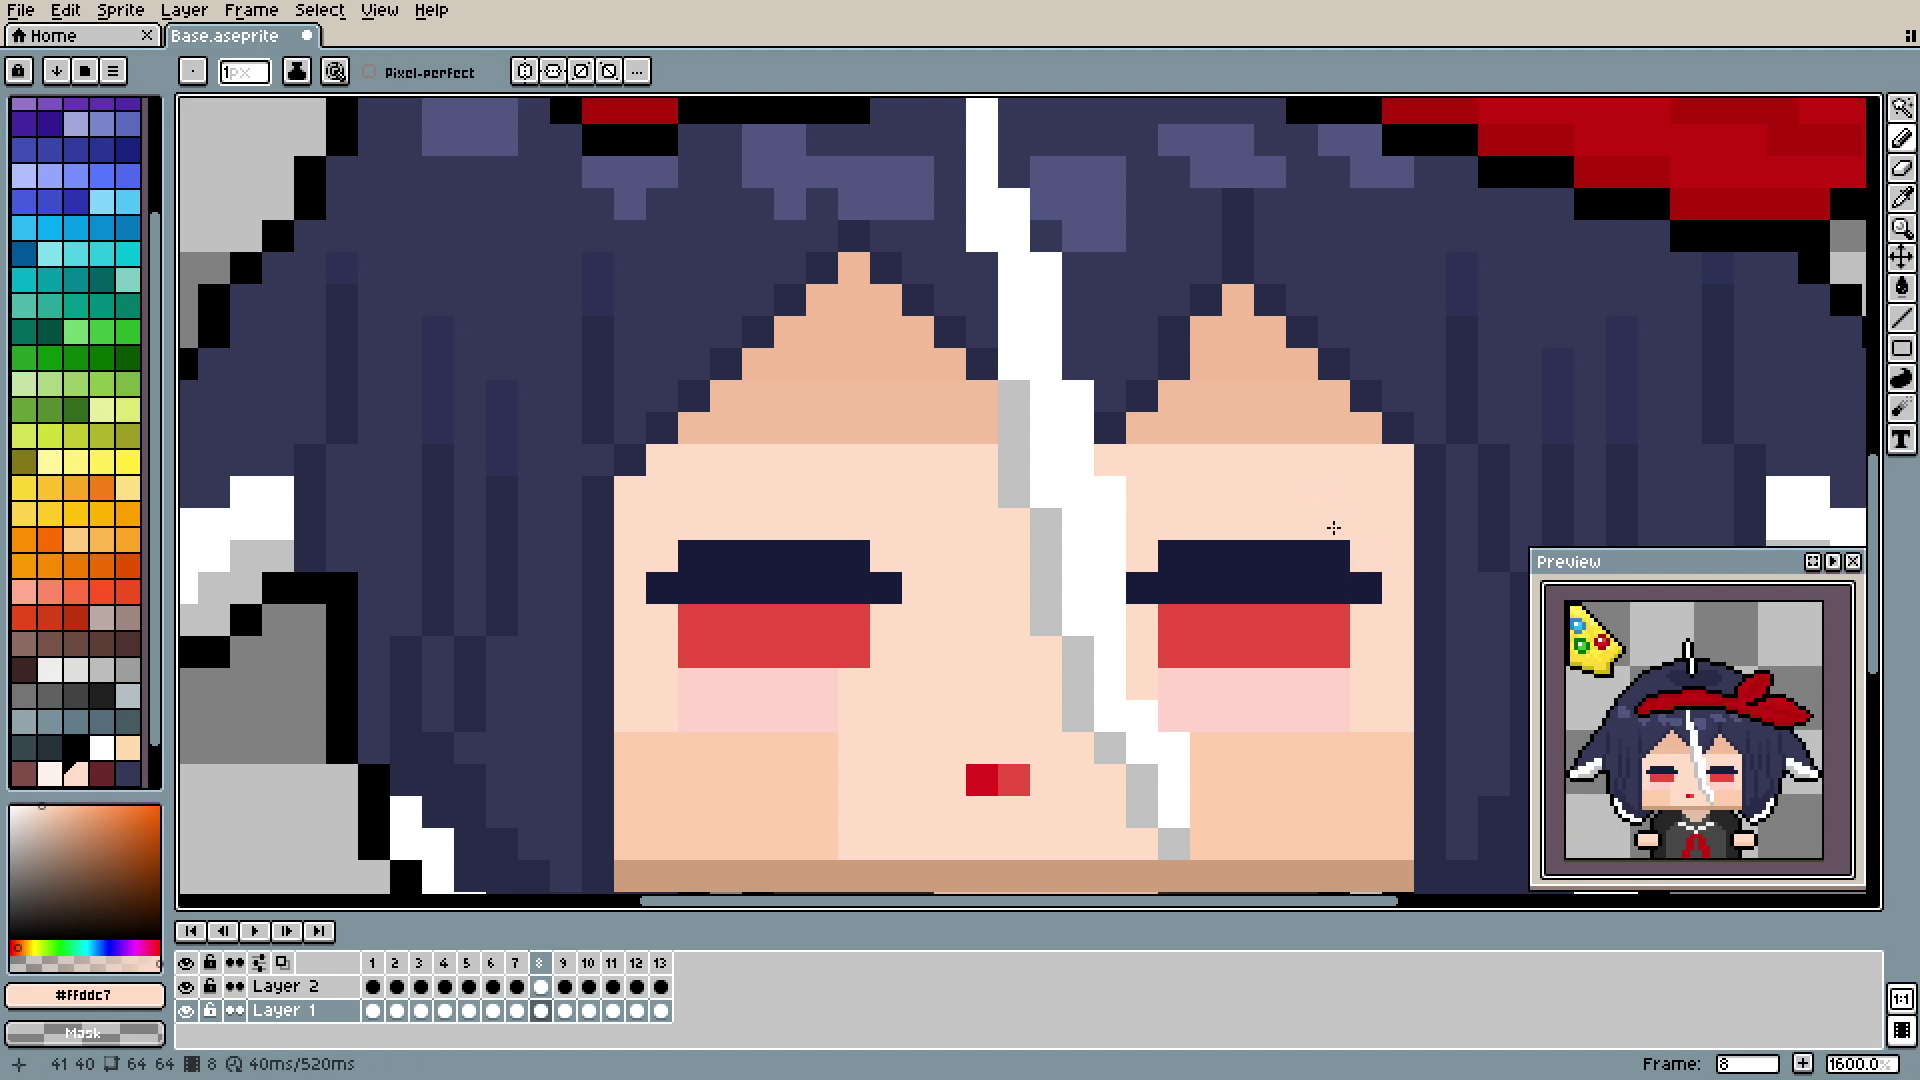
The flaps and head animations were made by simply moving parts up and down and filling the gaps. Starting, I was overthinking this immensely, trying to find the perfect place to move. But in the end, on a 64x64 canvas, movement is so minimal, it's barely noticeable.
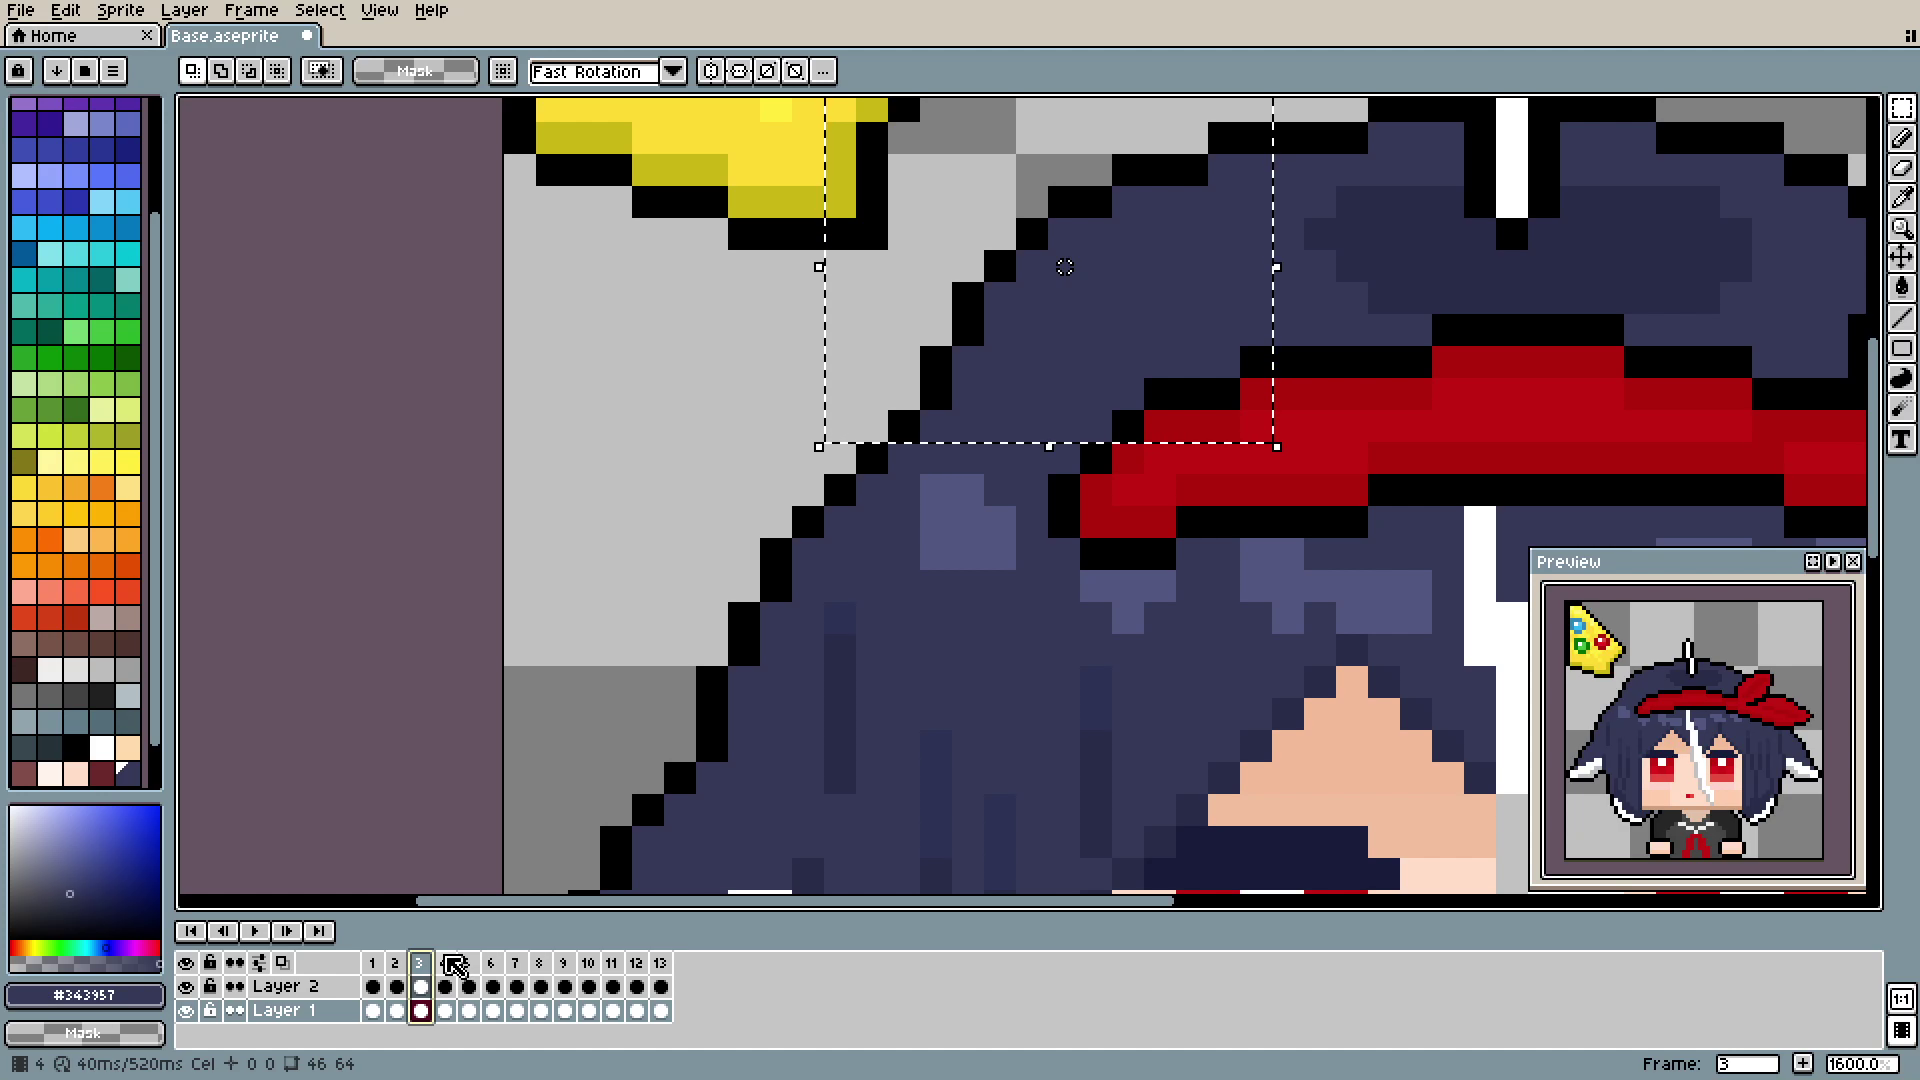
In fact, there are 7 moving parts in the head animation. Left hair string (on the bottom), left flap, part of the head (in the picture above), top of the head, the band, and the right flap and right hair string.
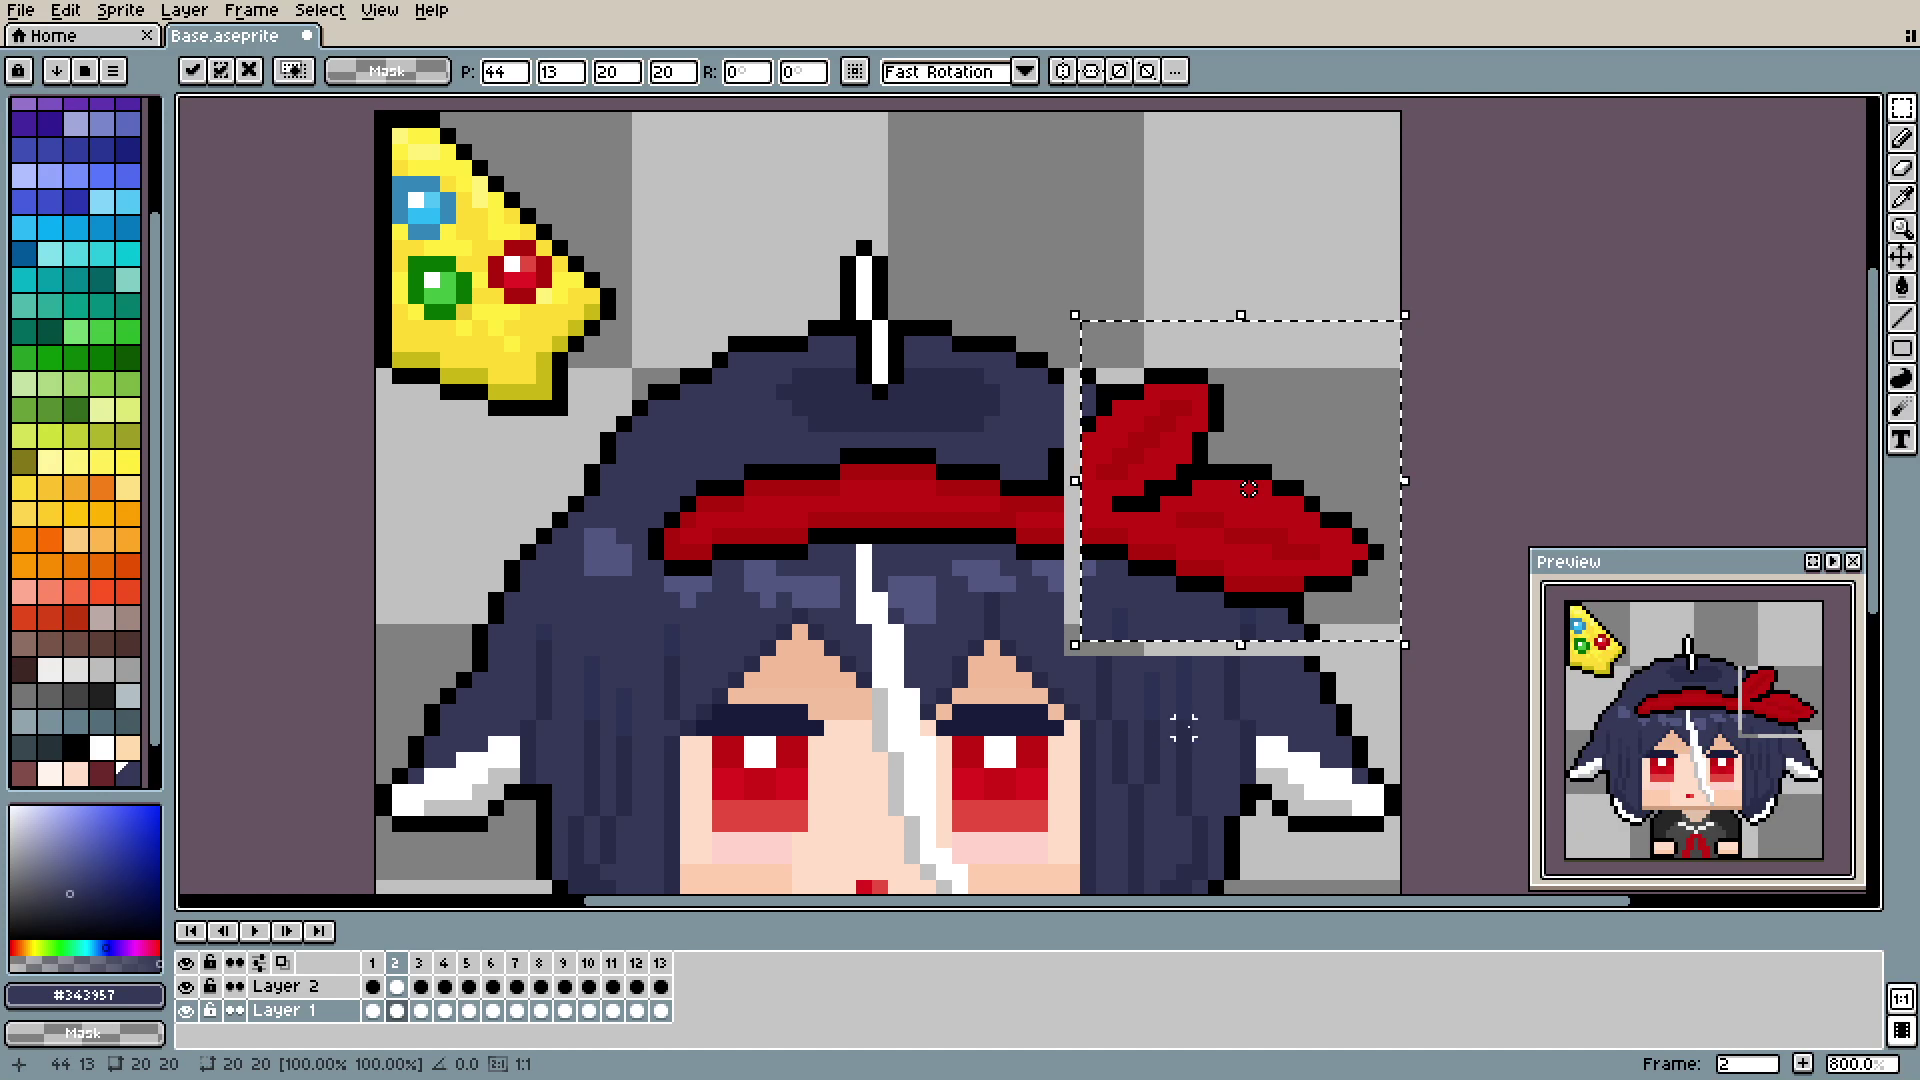
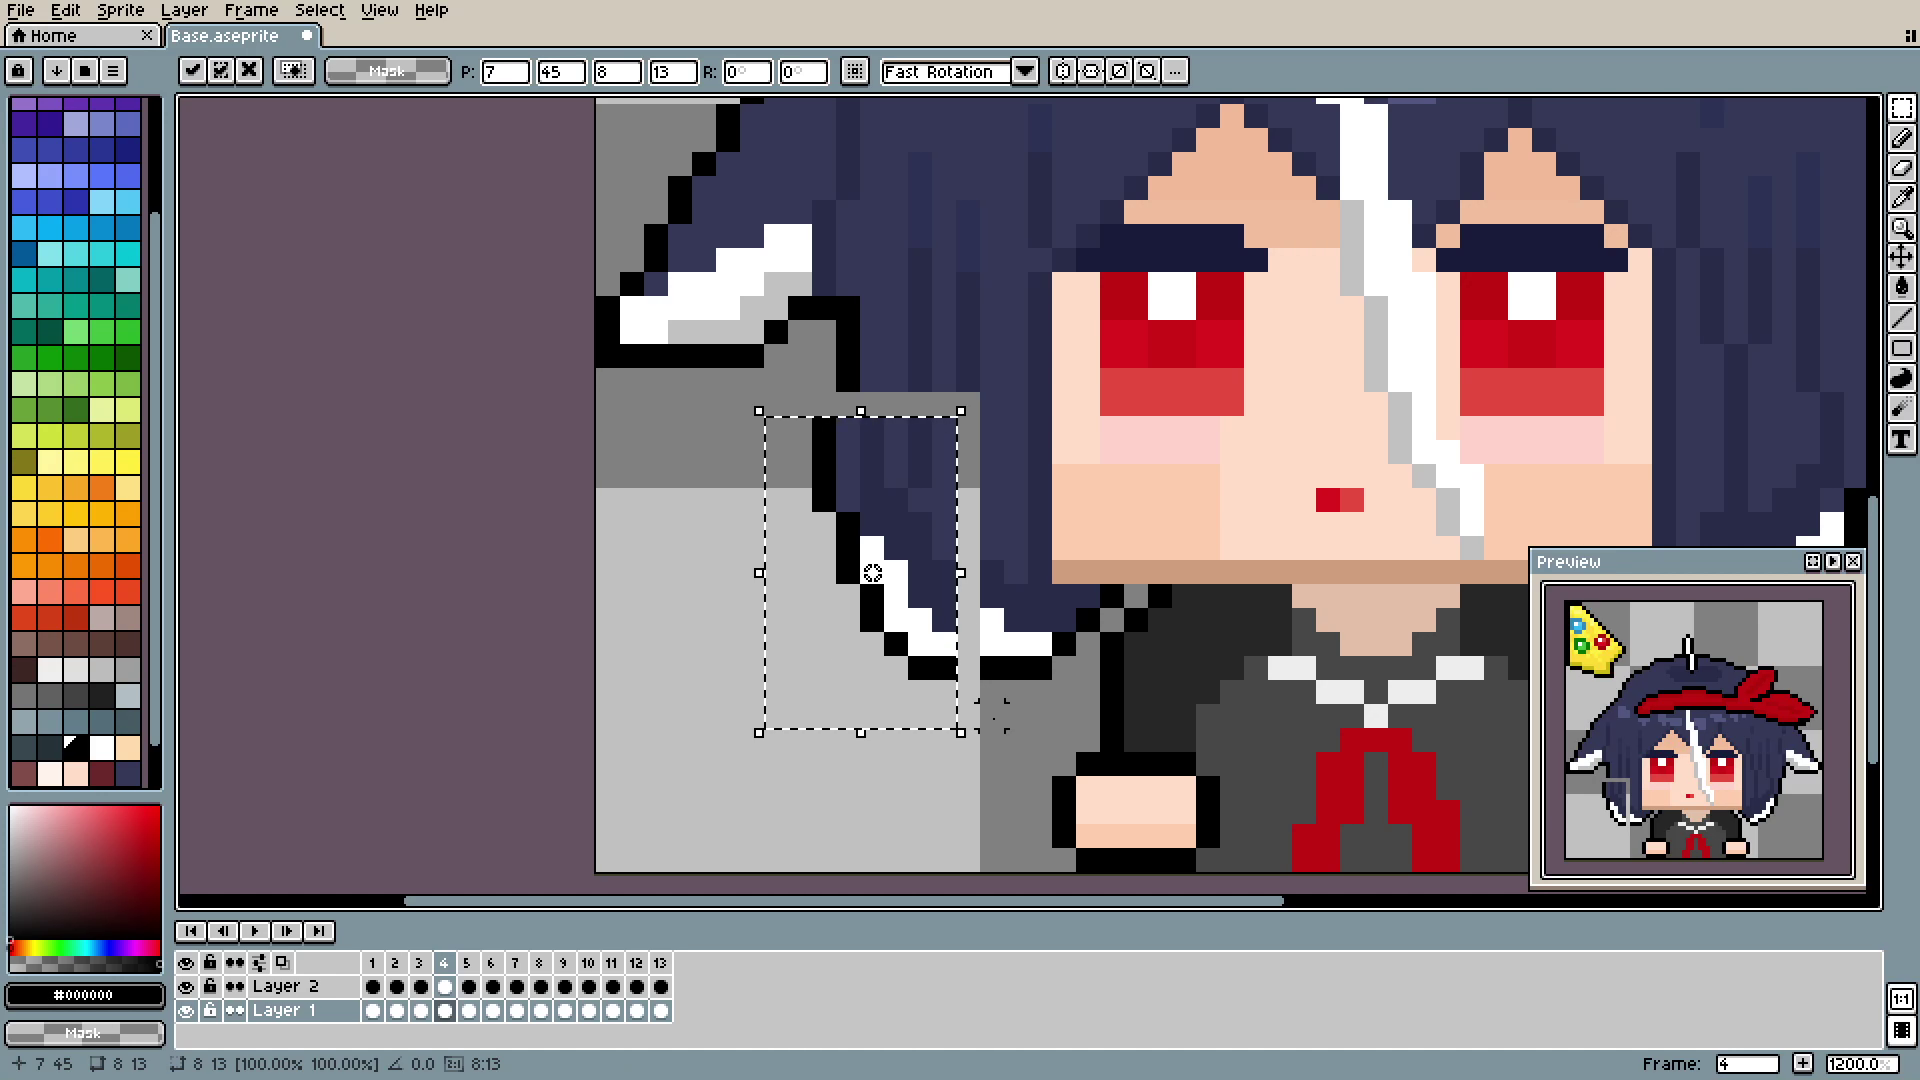
Just like that, move the part a little, and fill the gaps.
The important part is that they move in a sequence or at least not every single part at the same time. That makes the illusion of "going" up and down, instead of teleporting into the new position.
If I were to change something now:
Use fewer frames on the hand movement, 14 is way too much.
Bigger moves with the head parts, but much longer frame length, right now the animation is very "jumpy". Maybe slowing down the animation would make it look better.
Now the eyes. My first instinct was the same as with the hands: one pixel, one frame. I made it all the way through, only to realize that it looks terrible. Now there is only an open and closed position and 3 in between them. Eye movement is also made on double frames: every position uses 2 frames out of 14 and leftovers are used to keep the eyes open for a little.
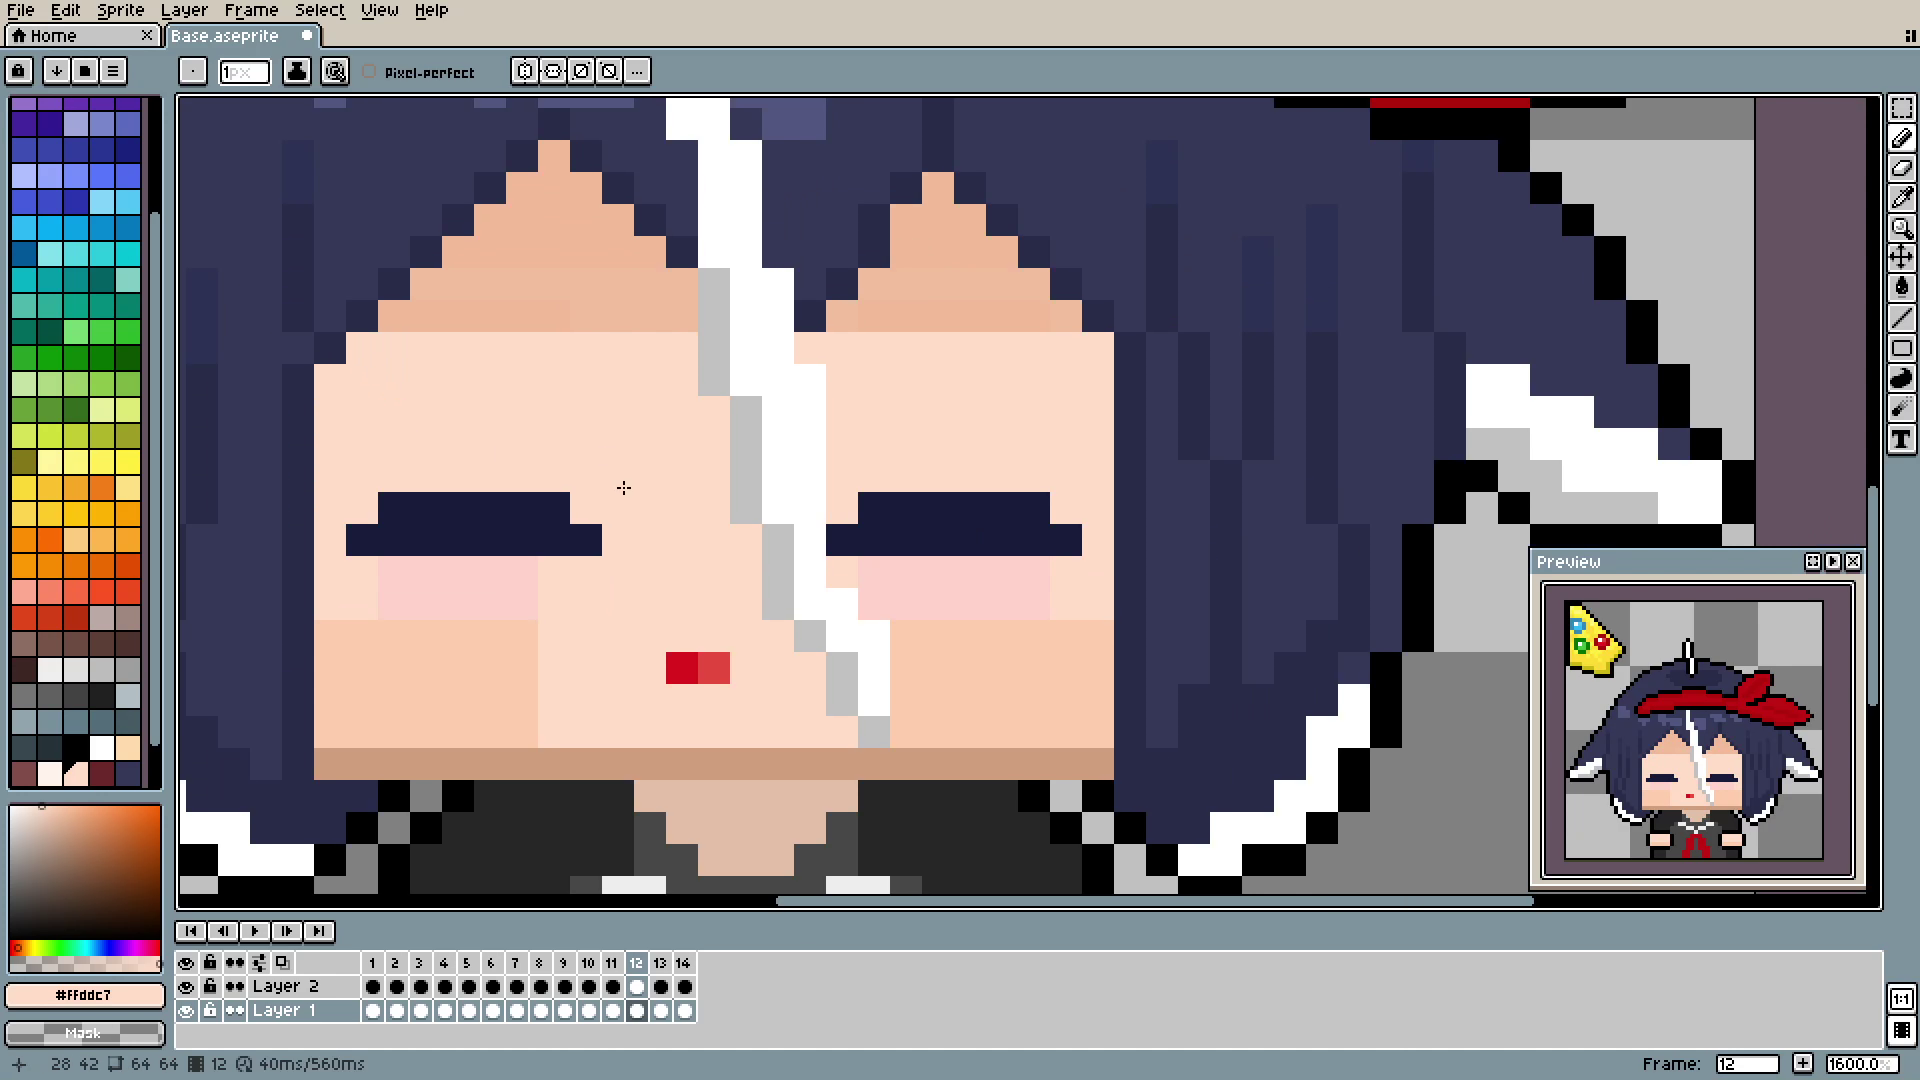
This is the entirety of the blinking movement, and it still looks nice and smooth. Really, 14 frames is beyond what's necessary.
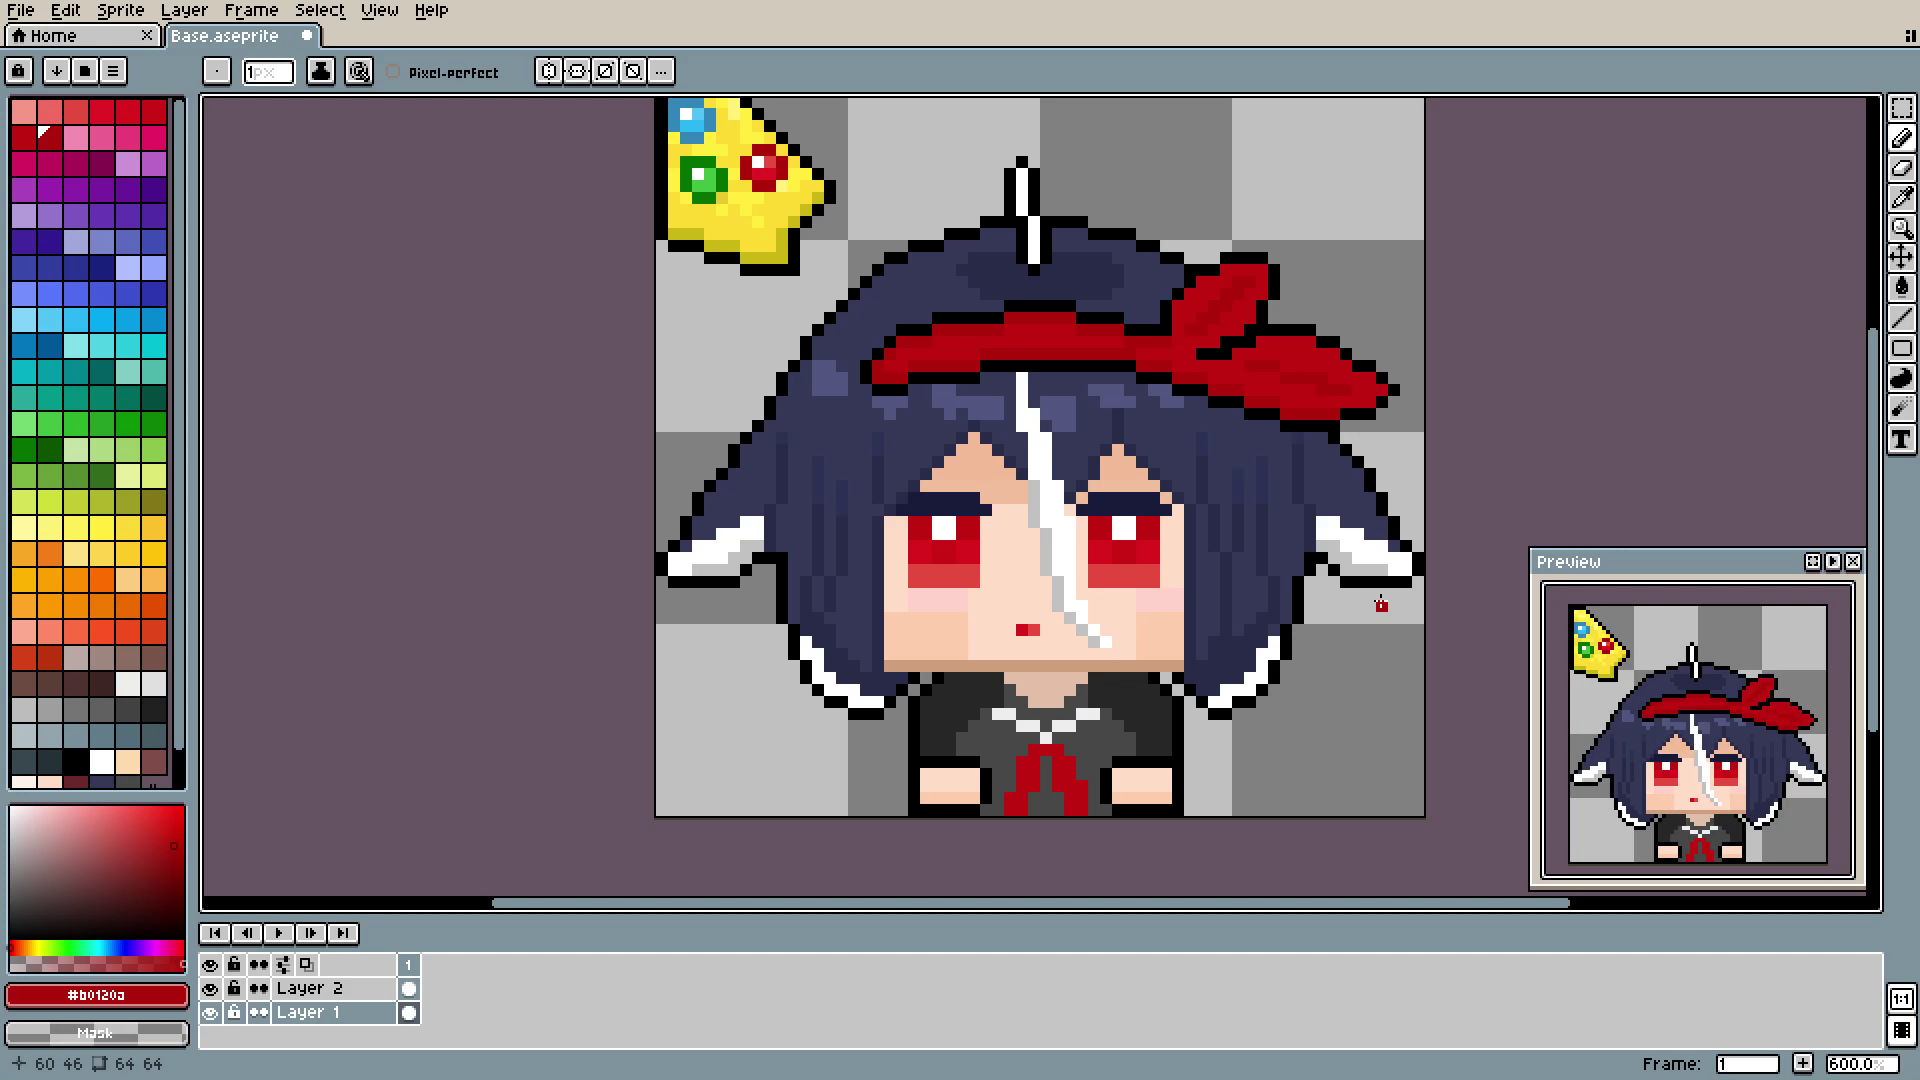
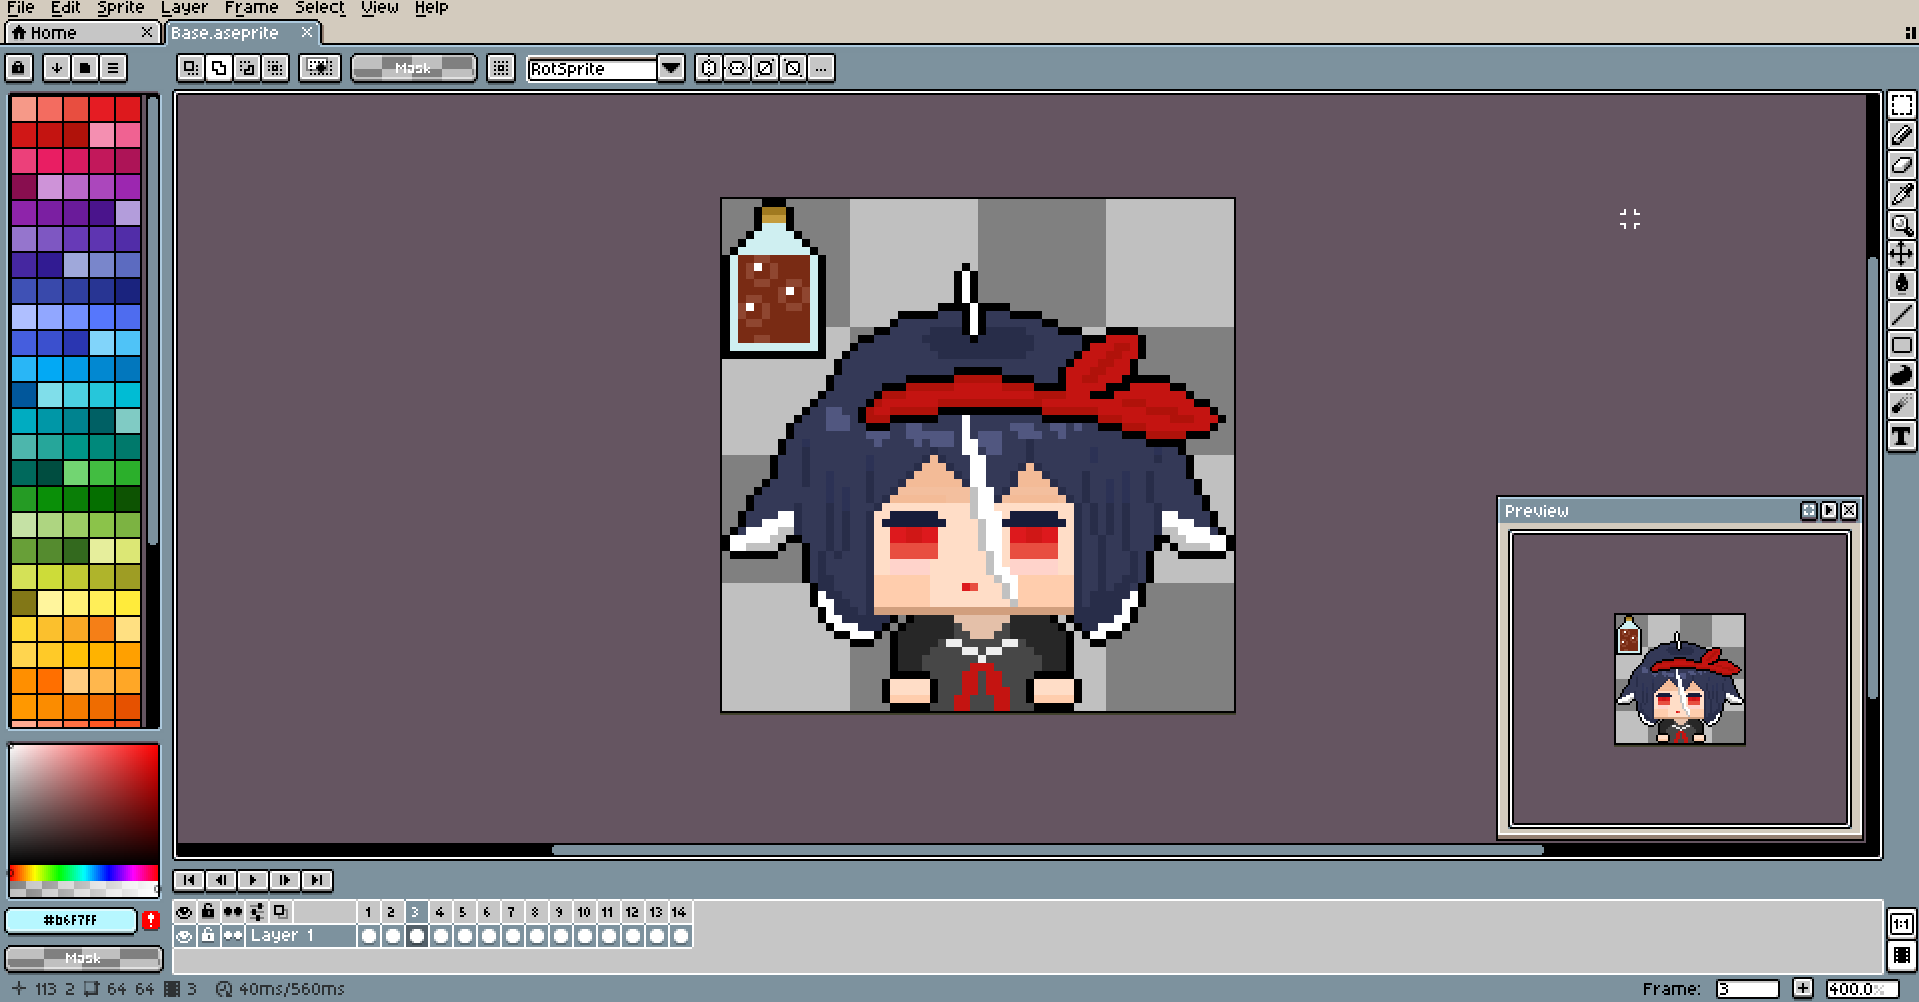
And this is all the animation on the base character. From now on, we will only add some cosmetic elements using this one as a base (I literally have the file containing it named "base").
Thank you for reading, and see you next time!